
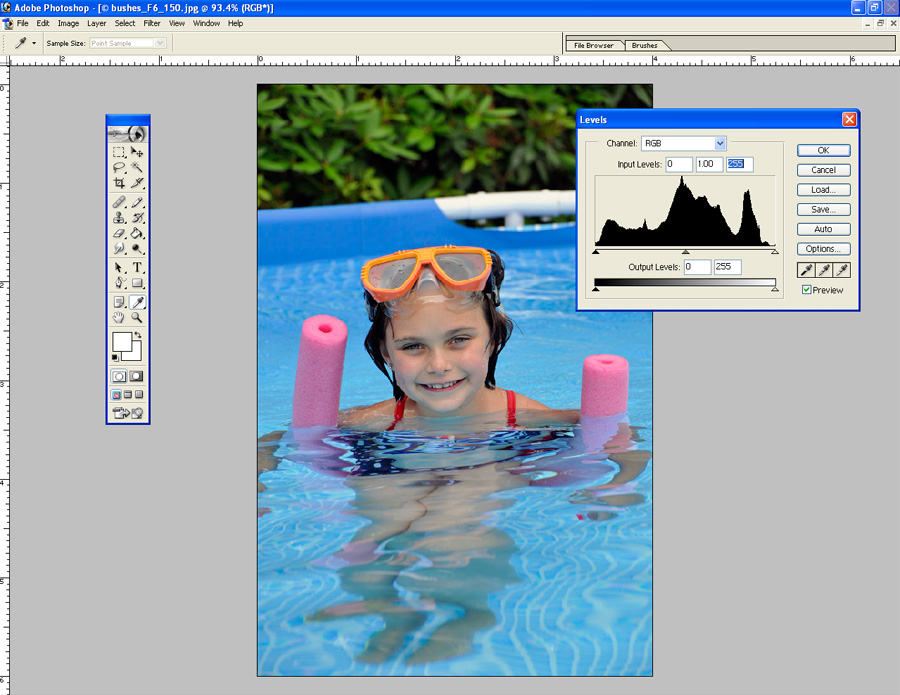
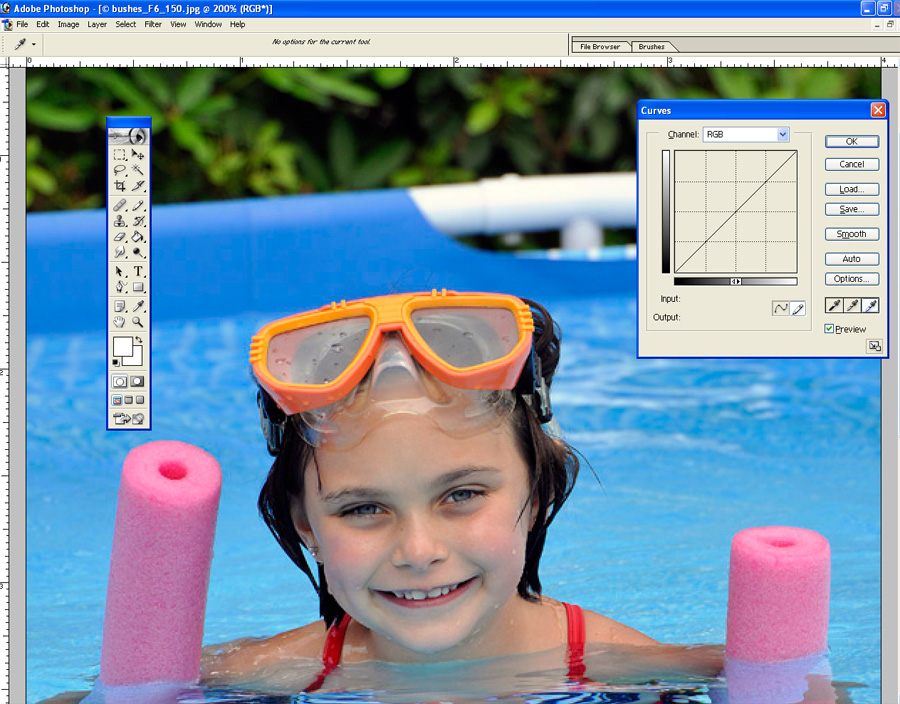
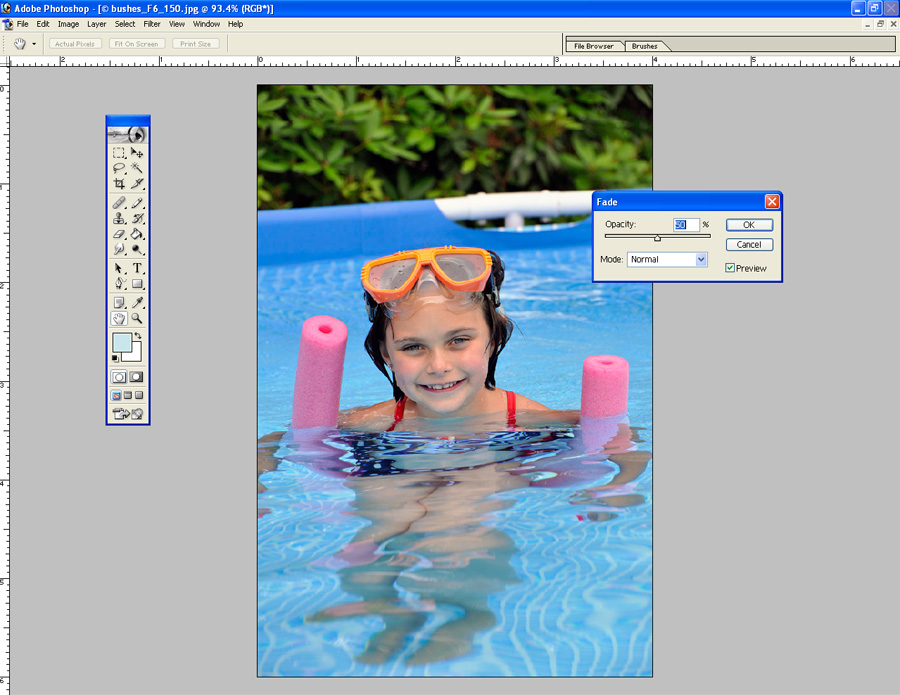
I am no Photoshop guru. Everything I know I learned from photographers Ken Hubbard and Andre Costantini, two pros who DO know their Photoshop. But I can fix a shot that’s too dark, or the wrong tint. Sometimes sharpen it up a bit. The thing to remember with digital is that almost all images need a little boost. If you send your images out to a lab to make prints (like Shutterfly or any other online processing) or drop them off at a drug store, the images automatically go through processing to increase contrast, correct a little color and sharpen them. But if you print at home like me, it’s worth the little bit of time to take a great shot and make it even better. Software like Photoshop Elements, Picassa and more are a great investment of both time and money. I noticed my shot of her in the pool from Sunday’s aperture post was looking a little blue. So I took a moment to fix it and thought this would be a good post. Here we go…

hi
your blog is cool.
wanna link exchange with my blog
URL:- http://real-photos.blogspot.com
Title:- Real-Photos
Email Id:- pawan.webmaster@gmail.com
I am loving the photo tips! I’m following you via MBC.
Whitney
Great article! I can always use good technical info on PhotoShop. I am thinking about taking some continuing ed classes at our local U. Like I need one thing to take up my time!
A little photoshop goes a long way though!
Its fantastic…
Its superb…..
So such things and help us…
Thanks a lot….
Regards,
image coloring