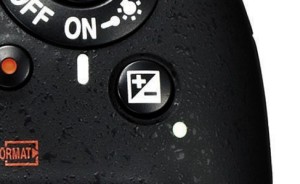
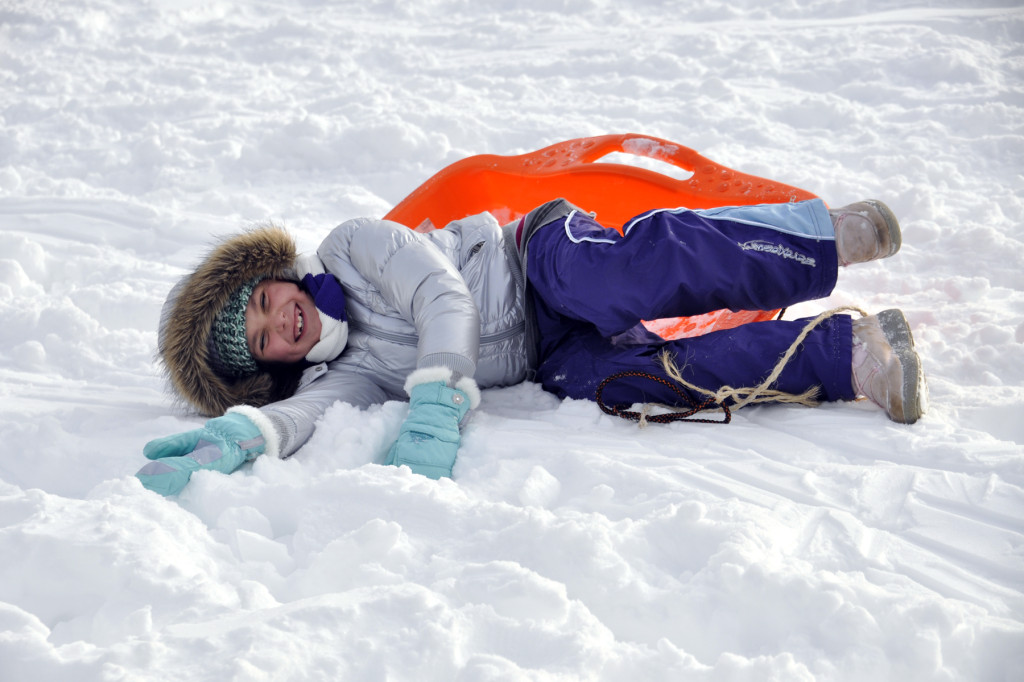
After the snow falls and school is cancelled for the day, the first thing the kids want is to bundle up and build a snowman. And we can’t help but grab our cameras and shoot the whole process. Sometimes, you’ll find the snow in your uploaded photos looks slightly grey and/or the overall picture is on the darker side. One way to fix this before you shoot is to adjust your exposure using the exposure compensation dial (see photo below and be sure to look this up in your manual). See, your camera’s meter reads the whole scene as very bright since there is so much white all around your subject. In turn, the camera closes the aperture a bit to make what it believes to be the proper exposure (like squinting when it’s too bright out, your camera wants to put on sunglasses).
 So you need to trick your camera and “add” more light by holding down your exposure compensation dial (+/-) and moving the thumb wheel to add exposure by going to the plus side. I usually add +0.7 when shooting in snow. The result is a bright picture and whiter snow. So next time there’s snow by you and you go snowshoeing or help the kids with their snowman, add some extra exposure (+0.3~+1.0) before you start shooting.


Good tips, I’ll give it a try half years later…
I wish we actually got snow so I could try that. LOL
Thank you, very useful 🙂
This is a trick I learned from my friend because I, too, have been wondering why after I took a photo of a snow, it looks darker.