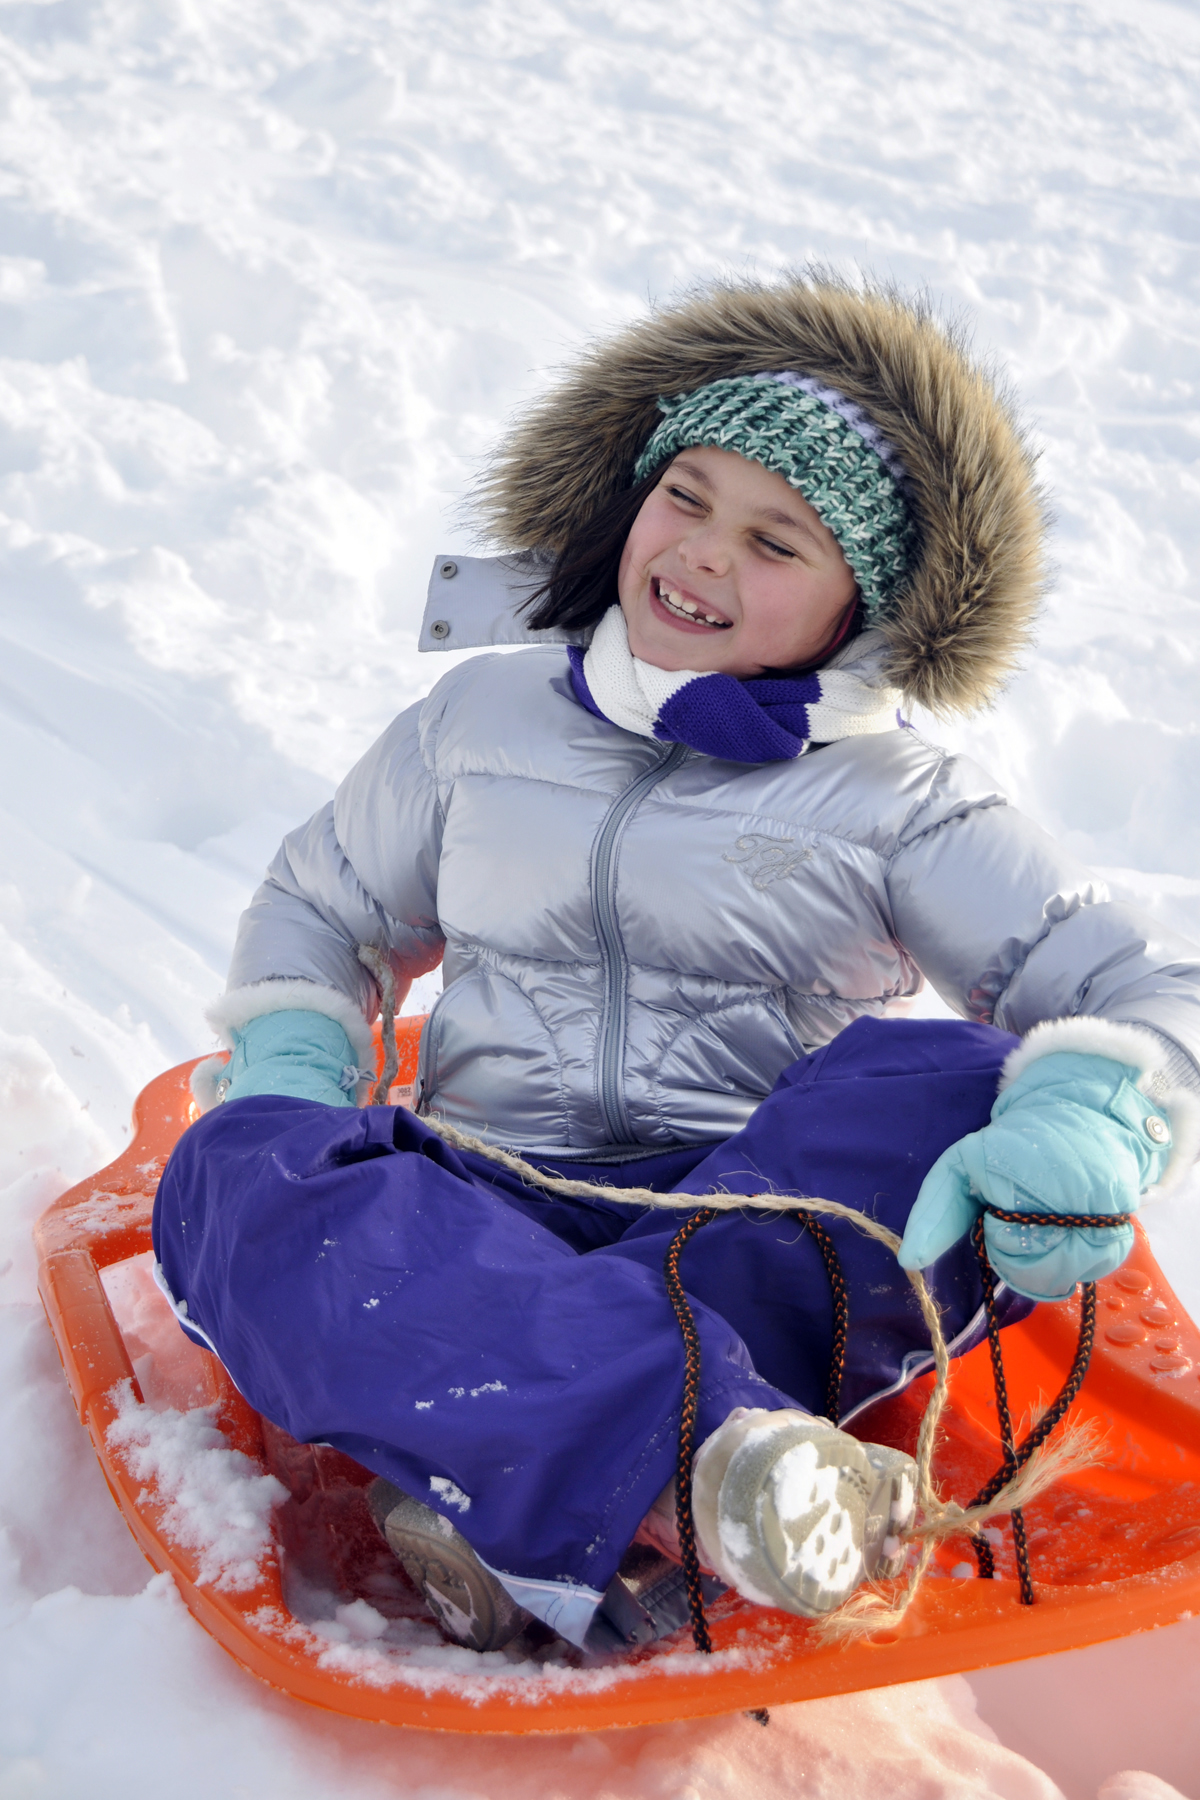
A common problem when taking photos in the snow is that they come out a little grey and dreary. This is because the camera sees such brightness that it tries to compensate almost as if putting on sunglasses; and the white balance tries to make white a neutral grey. One way to fix this is with exposure compensation which adds light to the scene.
By adding exposure to the scene, you force the camera to overexpose just a bit. I usually start with +0.7 in snow and then either go up to +1.0 or down to +0.3.
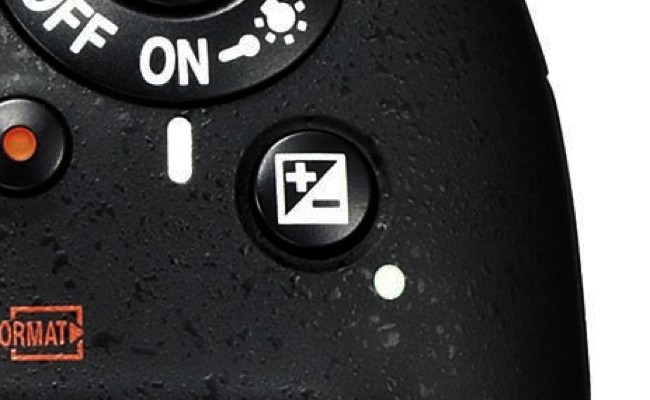
The exposure compensation dial on your DSLR or mirrorless camera can be used in any mode except “green box” program. It is usually found on top of the camera and shows +/-. Simply hold it down and move the thumb wheel left or right to add (+) or subtract (-) light. On your iPhone, touch the screen on the subject’s face and slide the sun icon up a bit to add light to make the shot a less grey. BTW, this tip also works at the beach.
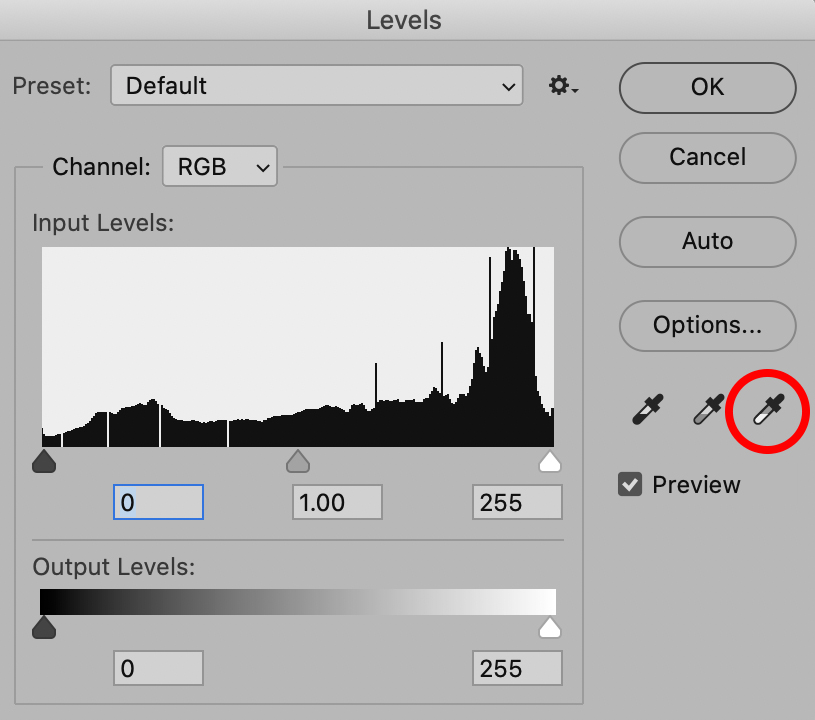
In photoshop, I may brighten the image by about 10-20%. Another trick to ensure white is white in photoshop is to use image>adjustment>levels. Then select the eye-dropper on the right (white) and click on something in your image that should be 100% white. This is a great way to correct images where the color isn’t just right and I find it really helps with skin tones.
Another way to get brighter winter portraits is to use flash. I will cover this next week. Enjoy the snow days of February and March!


