Critique Your Photos In Order To Keep Improving Your Photography Skills

Before I rip this photo apart, I do have to say that I am so glad to have it and it will be framed and scrapbooked regardless of the faults I find in it. However, after loading this up

_DSC7692_RT

onto my computer, I sighed and wished I done some things differently. But this is one of the best ways to improve your picture-taking abilities–critique your images harshly to figure out how to make a better shot. If I could take this photo again, I’d do the following things to improve it:
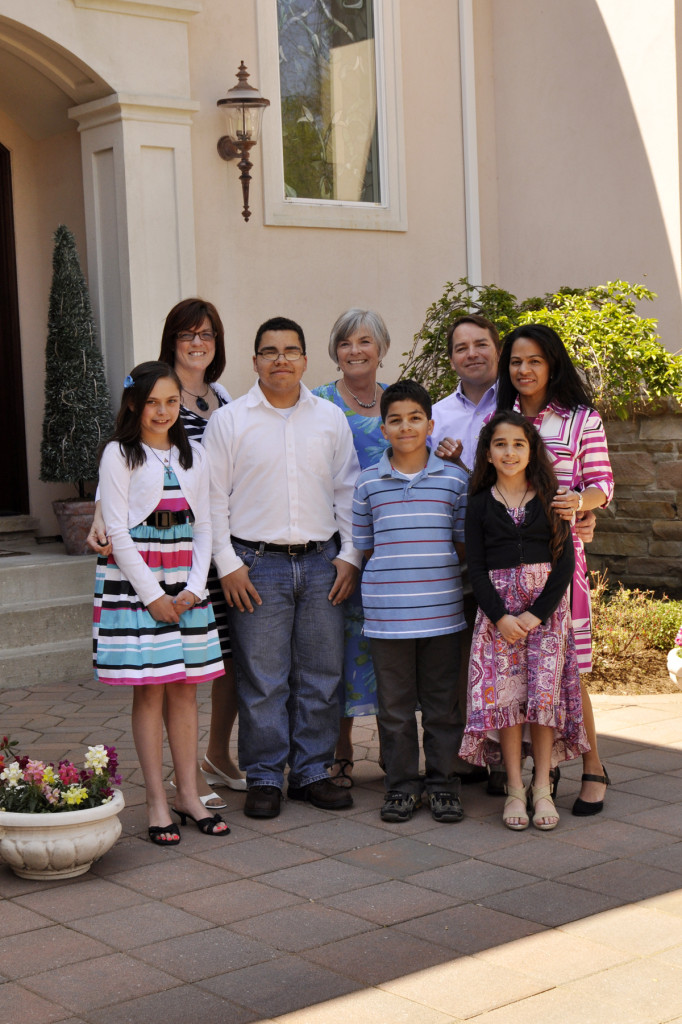
  • I would get just a little bit higher instead of shooting at eye-level
  • I would have one more level of subjects instead of two predominately same-height rows, allowing me to make the group more narrow to accommodate my desire for a full-length vertical shot
  • I would move the boy in the white shirt to either kneel in front, or to a position behind grandma in blue
  • I would make more organized rows of turned shoulders, instead of all facing forward
  • I love the open shade, but I would changed our position slightly to eliminate the harsh lines of shadow in the foreground and background top right
  • While I purposefully picked F/8 as my aperture to be sure I had enough depth of field for both rows to be in sharp focus, I think stopping down to F/6.3 or 5.6 would have blurred my background more

I do love the lighting, though. Open shade is so flattering (see previous post for more) and in most instances, can be easily found when you take a look around your location. As you see, they are all standing just inside the shade, not in the harsh sun. If they were further back into the doorway, I might not have gotten the sparkle in each of their eyes from the open shade situation. The sun bounces around and lights my subjects evenly as if you held a big sift reflector in front of them, thereby eliminating harsh shadows under chins and brows and giving you highlights in the eyes.

So while I will look for a similar location next time I shoot a group like this, I will a) get higher, b) watch how the subjects are arranged more closely, and c) look more closely at what’s in the edges of the frame and zoom in, change position or change composition to eliminate anything distracting from the frame.

Making Your Photos Into Works of Art

_DSC5858_canvas2I recently had the opportunity to make my first  gallery-wrapped canvas print of one of my images using EasyCanvasPrints.com. And easy it was! Canvas is a material studio portrait photographers have used for years. And many works of art are printed on canvas, which makes a beautiful print and a real statement when hanging on the wall of your home or office. The canvas texture and printing of the image I selected gave the shot a painterly quality that I just love.

canvas_4Ordering the canvas was quick and easy. I love the Easy Canvas Prints website. They have this neat simulation to help you decide what size canvas print you should order (see detail from screen shot). This was a big help. I ordered a smaller 11×14 canvas to go over my book shelf that holds my scrapbooks in our family room.

After selecting the height and width of the print, you can then choose how thick you want the print to be. I chose .75″, but they have a real nice 1.5″ thick for larger prints. Then you can preview and select your choice of how the canvas will wrap around the print. Having the ability to preview the end result is great because every picture is different. I chose the standard wrap since I felt it worked best for my shot of  the American flag blowing in the wind that I took during the Worldwide Photo Walk this year.

I received my print within a week and was very pleased. I would recommend, however, that you opt for the retouching by EasyCanvasPrints since printing on canvas is slightly different than printing on regular photo paper. I provided a slightly dark file and had I opted for them to retouch, they would have tweaked the image for printing on canvas. They also have an option for converting the shot to black & white and more.

Hanging the print was really easy too. Canvas gallery-wrapped prints are extremely lightweight and don’t require a frame. The print comes ready to hang. I hammered a tiny nail in the wall last nite at 10pm after everyone went to bed and it was up! And even better, on the back of the canvas was a little pack of $10 discount cards for you to share with your friends so that they can order a print. I think I will use one to order a print for my mom of the grandchildren for Christmas this year! (sponsored post)

canvas_3

Frame Your Subject Creatively In-Camera

Framing_2
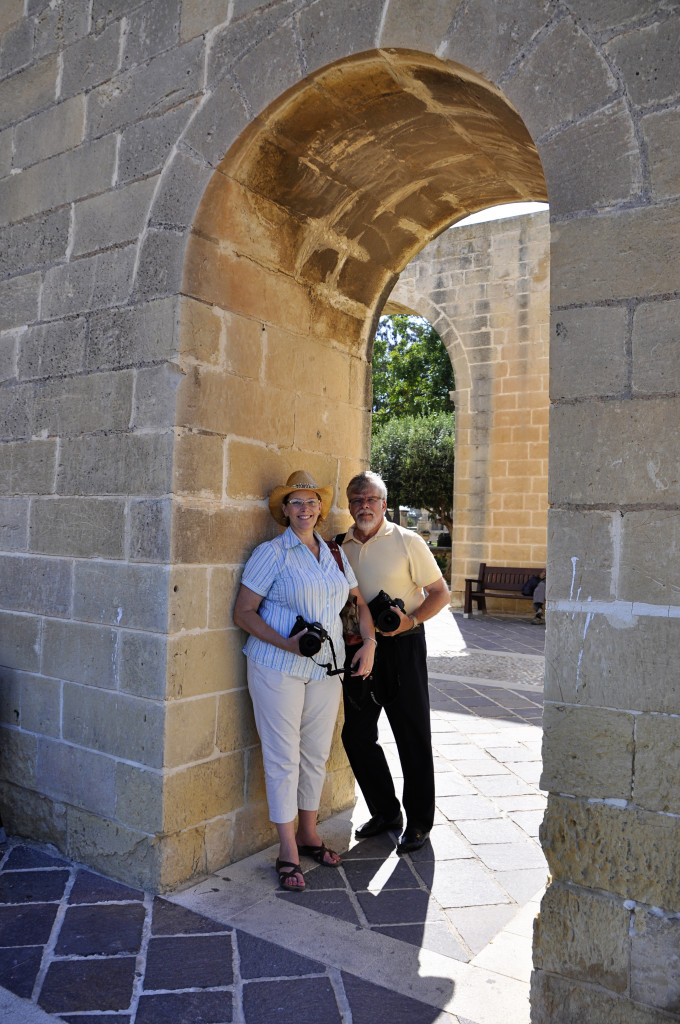
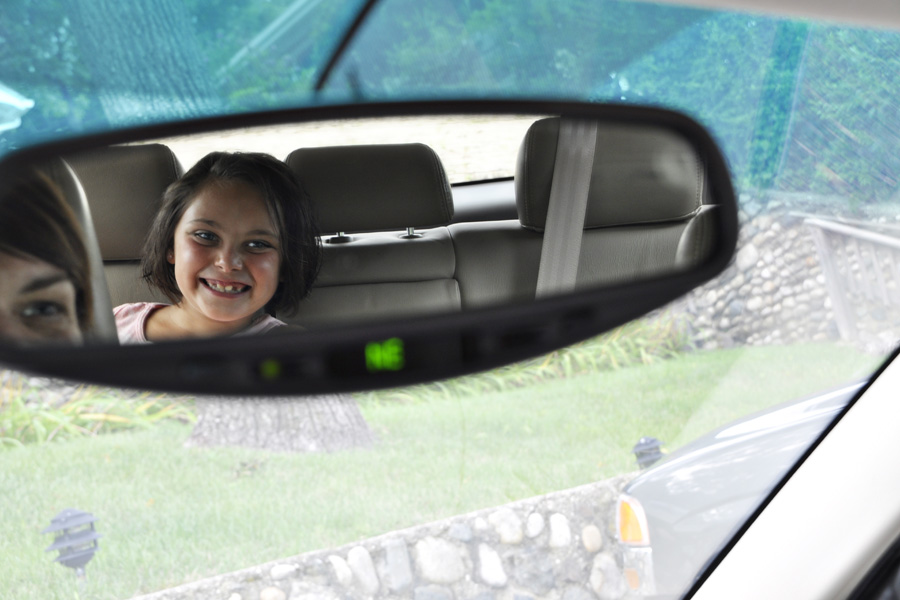
Okay, so this shot was not my idea. I saw it in a magazine scrapbook layout and knew I needed the same shot to capture the moment in time when conversations and quips from the back seat were hilarious, poignant and thought-provoking. There’s nothing wrong with taking a cue from someone else’s photo, as long as it is just for your personal use and you’re not selling it. But, back to the topic at hand. Framing your subject. This photo demonstrates creative framing very well. There are so many ways to frame your subject: literally, like I did to the right hereFraming_1; or by using your surroundings so that the frame actually enhances the story-telling aspect of your photograph. Like the car’s rear view mirror frame does in the main photo in this post. Look for lines, holes, shadows, trees, archways, doors, bridges, canyons, structures, an alley–all of these and more can be used to give a “frame” of reference for your shot–where is your subject? what is she doing? what’s the emotion? A frame can give a sense of scale. And it guides your eye right to your subject. A frame can take a so so shot and make it brilliant.

Frame Your Photos with Stone Arch

_DSC2465_valletta_5

Just edited my 500 photos down to a few (only 72) and picked this shot of my colleagues to demonstrate “framing.” There are natural and manmade frames everywhere you look. Framing your subject focuses the attention on your subject and gives nice balance to a photo. The frame gently guides your eye to what is important. I loved the arch in Valletta, Malta, and asked Bert and Ruth to stand under it. It was late in the day, so the light bounced off one side of the arch and filled their faces with light. Look for frames in the form of tree branches, porches, swing sets, tunnels, tubes and more. The whole set of Malta images are at http://tiny.cc/QWL0H (Tamron 18-270mm; 20mm, F/5.6, 1/800 sec., ISO 200)