Capture Silky Smooth Moving Water

Water is a compelling photographic subject. And how you capture it makes an impression on the viewer. Freezing the action for crystal clear water droplets from a crashing wave or pool splashes conveys power and energy. Slowing the motion down to create a milky white stream of water creates a more serene picture.
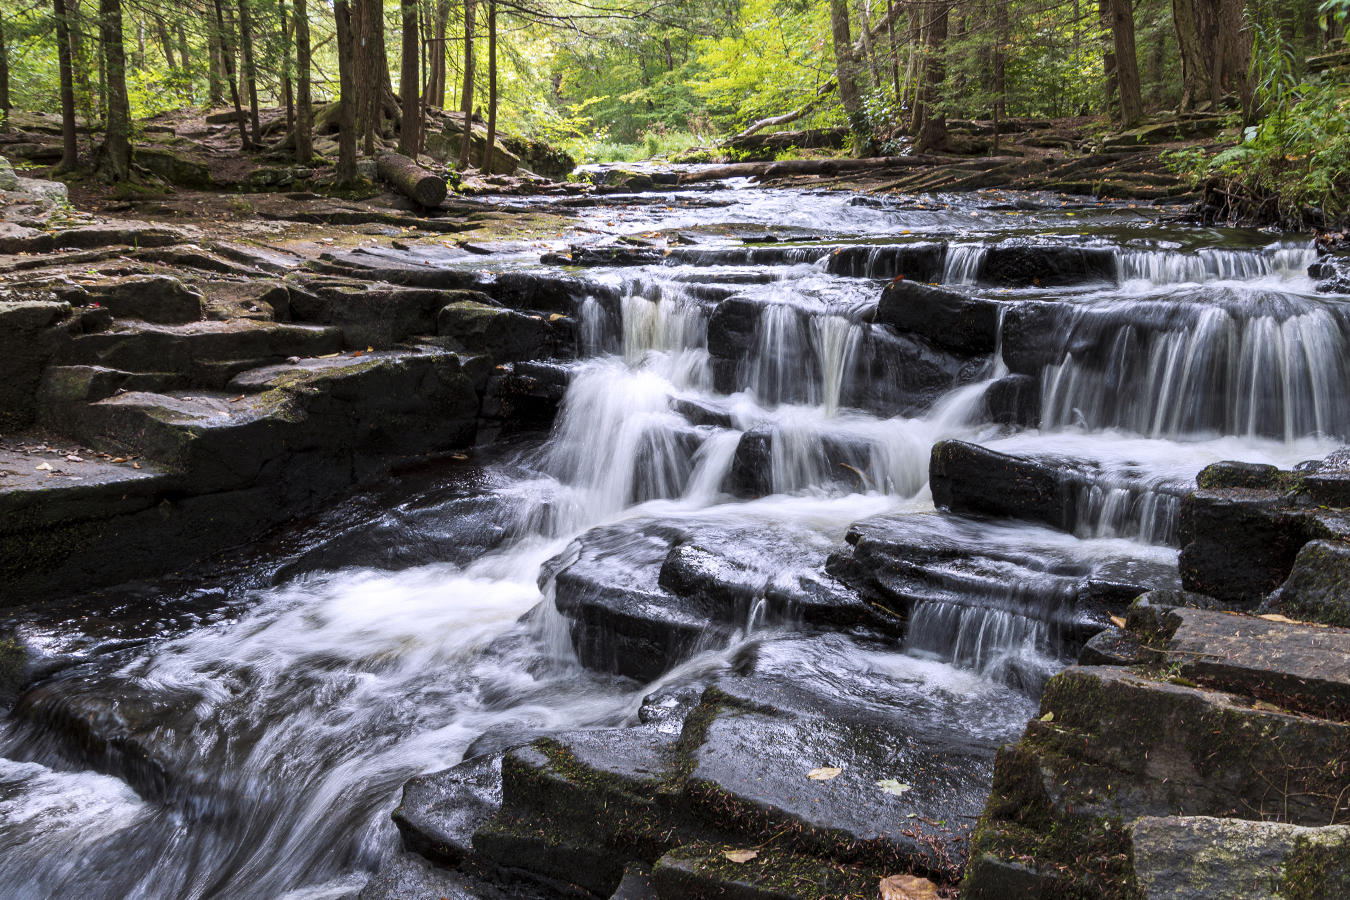
In this photo taken on the Little Falls Trail in Promised Land State Park, Poconos, PA, I hiked in mid-morning with my 18-400mm all-in-one lens as well as an electronics cable release designed for your camera and my travel tripod, two must-have accessories to create silky water fall action. Getting as close down and into the flowing water as possible creates a more dramatic perspective.

Settings are very important. First, set your camera to aperture priority and choose an aperture that will give you deep depth of field (between F11-F22 is ideal) so that your foreground to background will be in focus. I used F11 here. Next, select ISO 100. Now look thru the viewfinder and see if your shutter speed is below 1/15th second (I shot my image above at 1/6th second). You can change your aperture to make the shutter speed faster or slower. If you move the aperture from F11 to F16, the shutter speed be slower. If you open up your aperture to F8 to let light more light in, the shutter speed will be faster. Start shooting to see your effect and change your aperture until the image looks the way you want it to.

Since you will be shooting at slow shutter speeds below 1/60th second, you will not be able to handhold the camera. You must use a sturdy tripod and a cable release to ensure there is no camera shake.

The three settings involved in creating an image of a waterfall are referred to as the exposure triangle. The ISO, the aperture and the shutter speed all work in concert to create the effect. So your constant will be your ISO. The second that you will work with is your aperture. Opening or closing the aperture will change the shutter speed to be faster or slower. The shutter speed is ultimately the setting that will either freeze the water (faster shutter speed) or create the silky effect (slower shutter speed).

And the last tip for any landscape photo is to focus about a third of the way into the scene. This will give you the best results for foreground to background focus.

This tip is a good self-assignment for any season. So, find a park with waterfalls within driving distance and head out with your wide-angle lens, tripod and cable release.

Bounce Flash So Much More Flattering Than Direct Flash

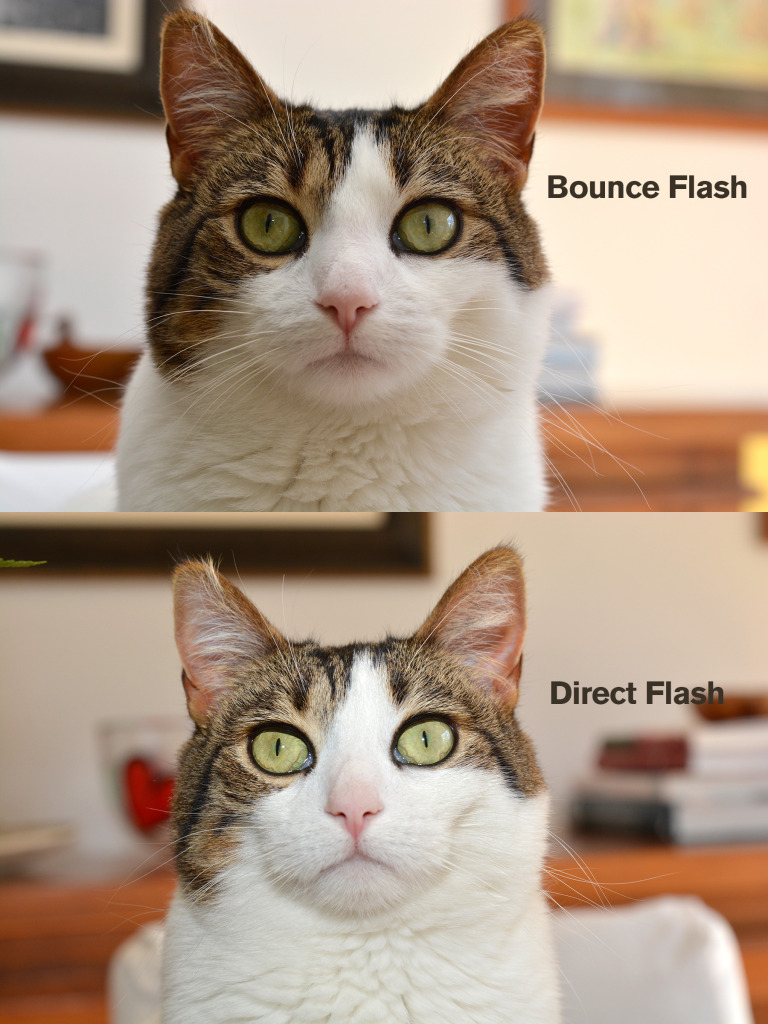
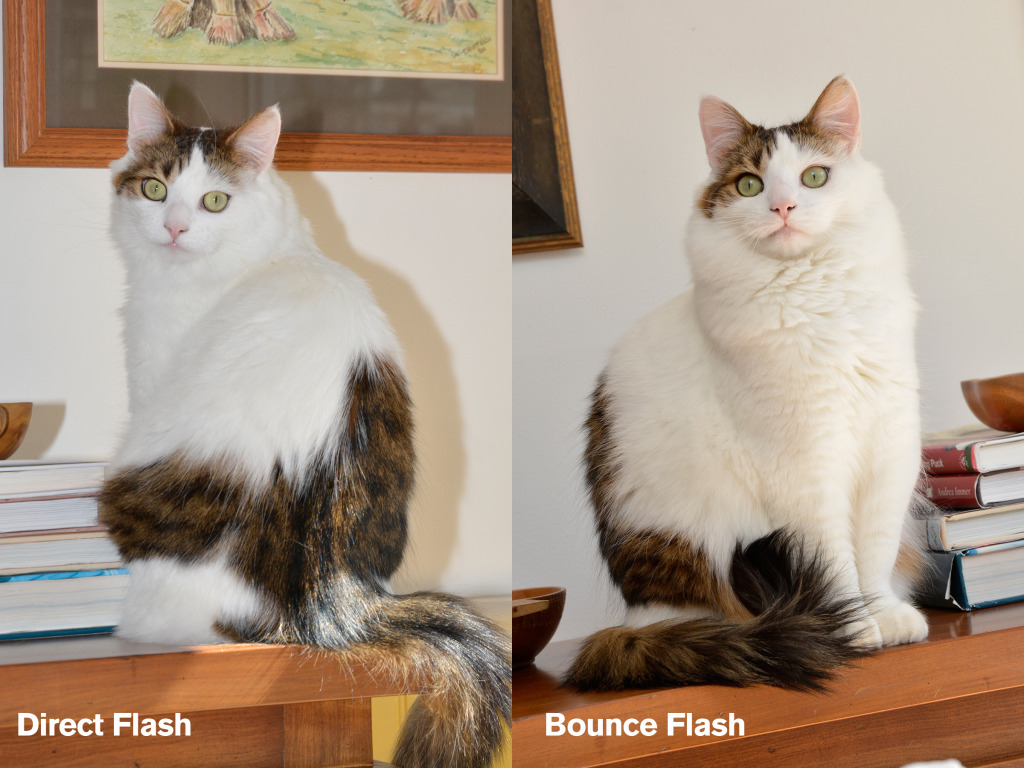
RT_SE27380Using an external flash on top of my camera instead of the pop-up one built into my camera gives me much more natural-looking photos. So I use it a lot; but because I feel I have not really mastered flash lighting, I keep everything in a program mode. My camera is set to “P” and my flash is in its program mode. The real trick, however, is the bouncing of the light off of the ceiling. With many external flashes, the head of the flash swivels so that you can make the light from the flash bounce off of a wall or ceiling. Below are two examples of direct flash, like your built-in pop-up flash, versus bounce flash. The images with bounce flash feel more natural – the shadow in the background disappears and the overall result is not harsh. An external flash does make your camera heavier, but the results are so flattering that to me it is worth the extra weight. Be sure when you bounce a flash, the wall of ceiling is white or very light. If you bounce off of a green wall, for example, the photo will have a green cast.

Flash Comparison 2 Fash Comparison

A Must Have Bag for the Two-Lens Photographer

LowePro S&F Lens Exchange Case 200 AW ($38.95)
I have an addiction. I’m a bag hound. I especially love totes and camera bags. I have camera bags for every occasion: just my camera and one lens; my camera/lens and flash; all my gear; and several variations of each. I even add padded camera inserts into my favorite tote bags to make fun camera bags (see this post here for details). I love my LowePro Backpack for my camera and laptop when I’m traveling through airports. I was recently given a new S&F Lens Exchange Case, also made by LowePro, and I have to say, this makes working with two lenses so easy. The case opens up quickly with one-hand and actually expands so that you can hold two lenses at once. No need to ask your friend, “can you hold this for a sec?” while you change lenses. The case is very comfortable to walk around with (you can use the padded shoulder strap or attach it to your belt). And while its two mesh side-pockets are meant for lens caps, I found my cell and some money fit perfectly in one pocket and I squeezed a bottle of water in the other! Using this Lens Exchange Case came in really handy as we walked thru the corn maze and around the pumpkin patch last month. If there are times when you don’t want to leave the house with one lens, and feel that your larger camera bag will hold you down, I highly recommend a lens bag and this one by LowePro is the best I’ve used in a long time! I wish it came in a color other than black, but I might just add some fabric patches from Michael’s to make it my own!  (sponsored post)

Making Your Photos Into Works of Art

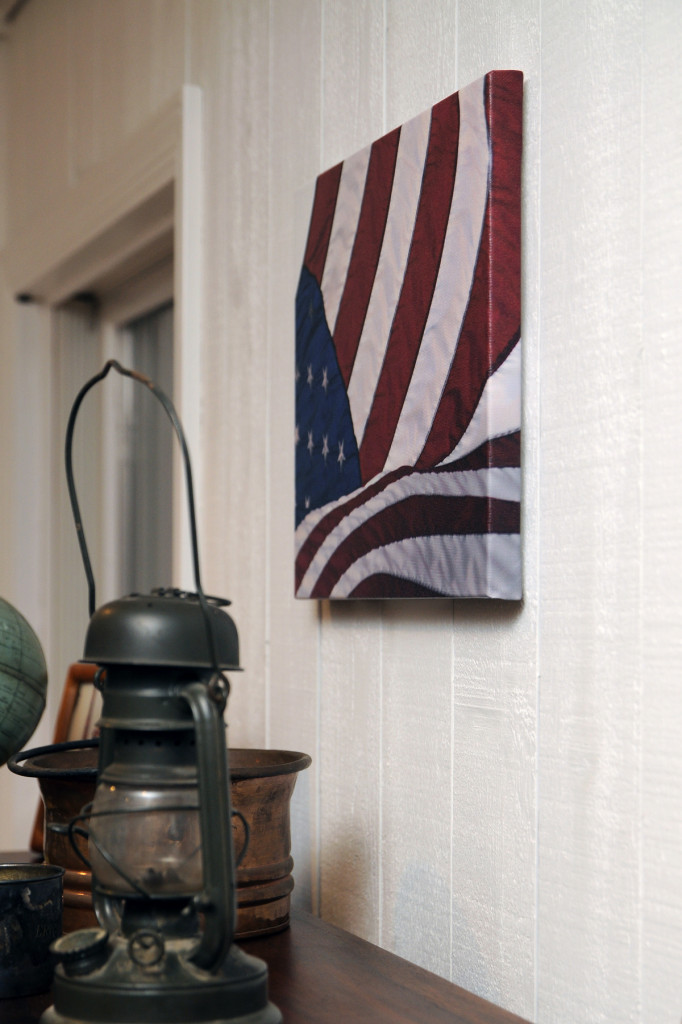
_DSC5858_canvas2I recently had the opportunity to make my first  gallery-wrapped canvas print of one of my images using EasyCanvasPrints.com. And easy it was! Canvas is a material studio portrait photographers have used for years. And many works of art are printed on canvas, which makes a beautiful print and a real statement when hanging on the wall of your home or office. The canvas texture and printing of the image I selected gave the shot a painterly quality that I just love.

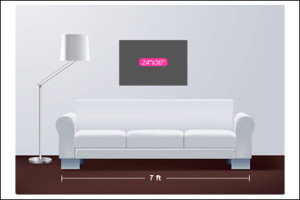
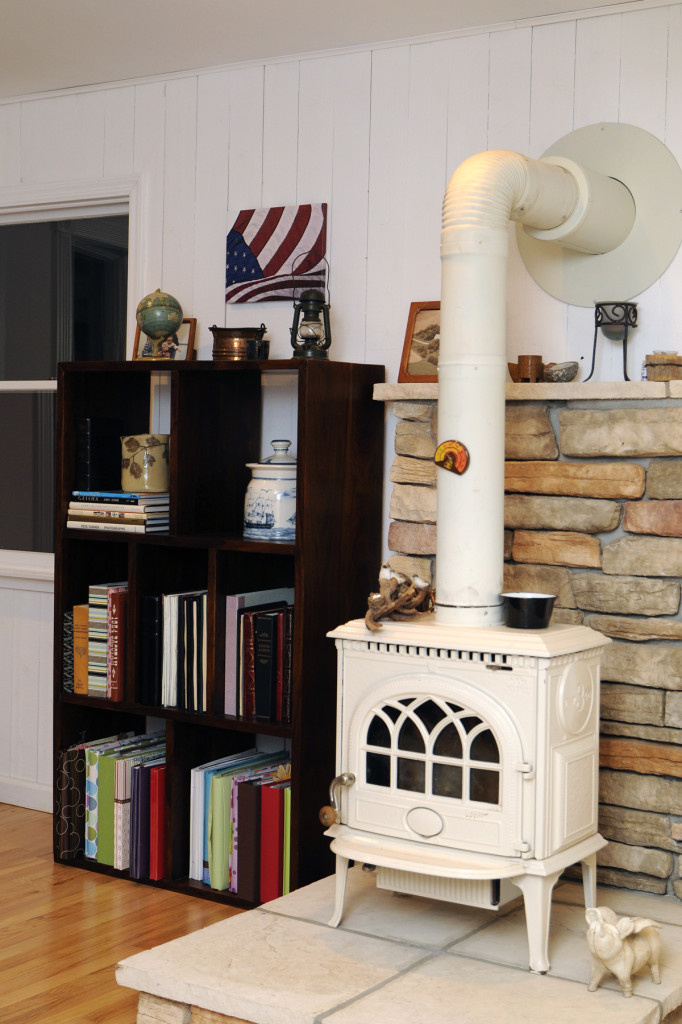
canvas_4Ordering the canvas was quick and easy. I love the Easy Canvas Prints website. They have this neat simulation to help you decide what size canvas print you should order (see detail from screen shot). This was a big help. I ordered a smaller 11×14 canvas to go over my book shelf that holds my scrapbooks in our family room.

After selecting the height and width of the print, you can then choose how thick you want the print to be. I chose .75″, but they have a real nice 1.5″ thick for larger prints. Then you can preview and select your choice of how the canvas will wrap around the print. Having the ability to preview the end result is great because every picture is different. I chose the standard wrap since I felt it worked best for my shot of  the American flag blowing in the wind that I took during the Worldwide Photo Walk this year.

I received my print within a week and was very pleased. I would recommend, however, that you opt for the retouching by EasyCanvasPrints since printing on canvas is slightly different than printing on regular photo paper. I provided a slightly dark file and had I opted for them to retouch, they would have tweaked the image for printing on canvas. They also have an option for converting the shot to black & white and more.

Hanging the print was really easy too. Canvas gallery-wrapped prints are extremely lightweight and don’t require a frame. The print comes ready to hang. I hammered a tiny nail in the wall last nite at 10pm after everyone went to bed and it was up! And even better, on the back of the canvas was a little pack of $10 discount cards for you to share with your friends so that they can order a print. I think I will use one to order a print for my mom of the grandchildren for Christmas this year! (sponsored post)

canvas_3

Great Idea for a Stylish Camera Bag

This was not my idea, so I can’t take credit, but I need to share it. Tired of carrying a super ugly black bag that screams, “Hey, I’m a tourist carrying really expensive camera gear here!” to every passerby? Have a fabulous tote bag that you got on sale at Marshalls or Overstock.com? Or an old bag that you want to repurpose in the spirit of Reduce, Re-Use, Recycle? Well, you can get an insert for your bag and carry your camera and lenses around in style, and still have plenty of room for your wallet, cell phone, keys, make-up, and more. Check out this padded insert from Tenba, available at B&H or any other local camera store that carries Tenba bags. This one fits beautifully in a messenger style bag, but I am sure my old orange bag that I love so much will work perfectly as well. The dividers move so that you can slide your camera with lens attached snugly into the bag. So get out an old favorite and make it your new favorite camera bag for your summer travels.

(Top photo: ©Tenba; bottom photo ©Overstock.com, Jessica Simpson line)