Windows Are Your Best Friends for Better Portraits

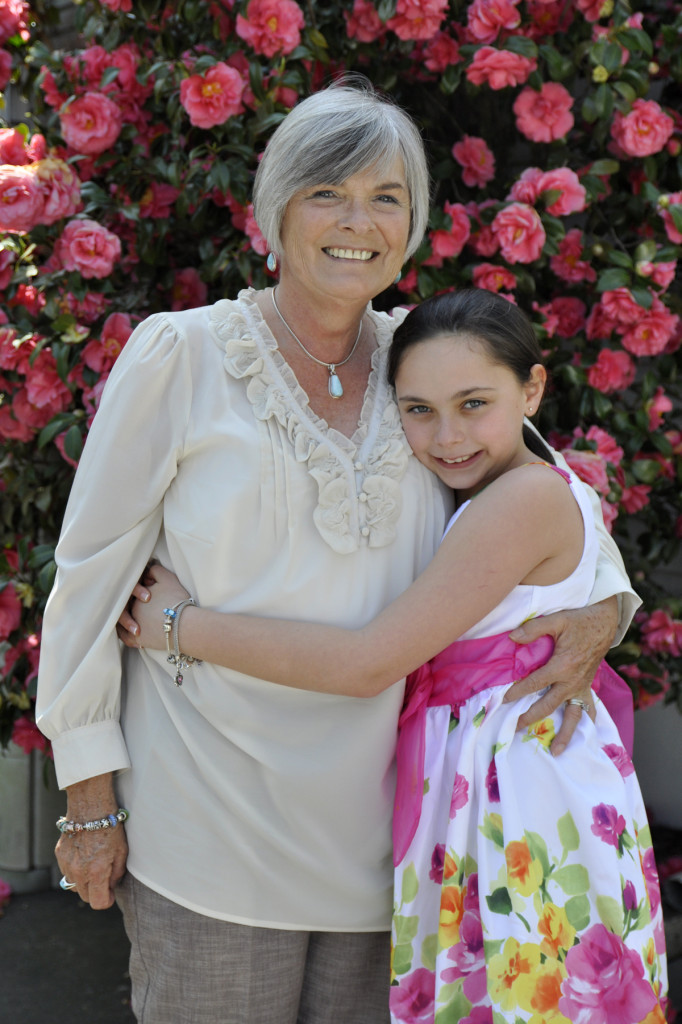
As we start to move towards reuniting with families, consider a more formal portrait of your long-awaited get togethers.

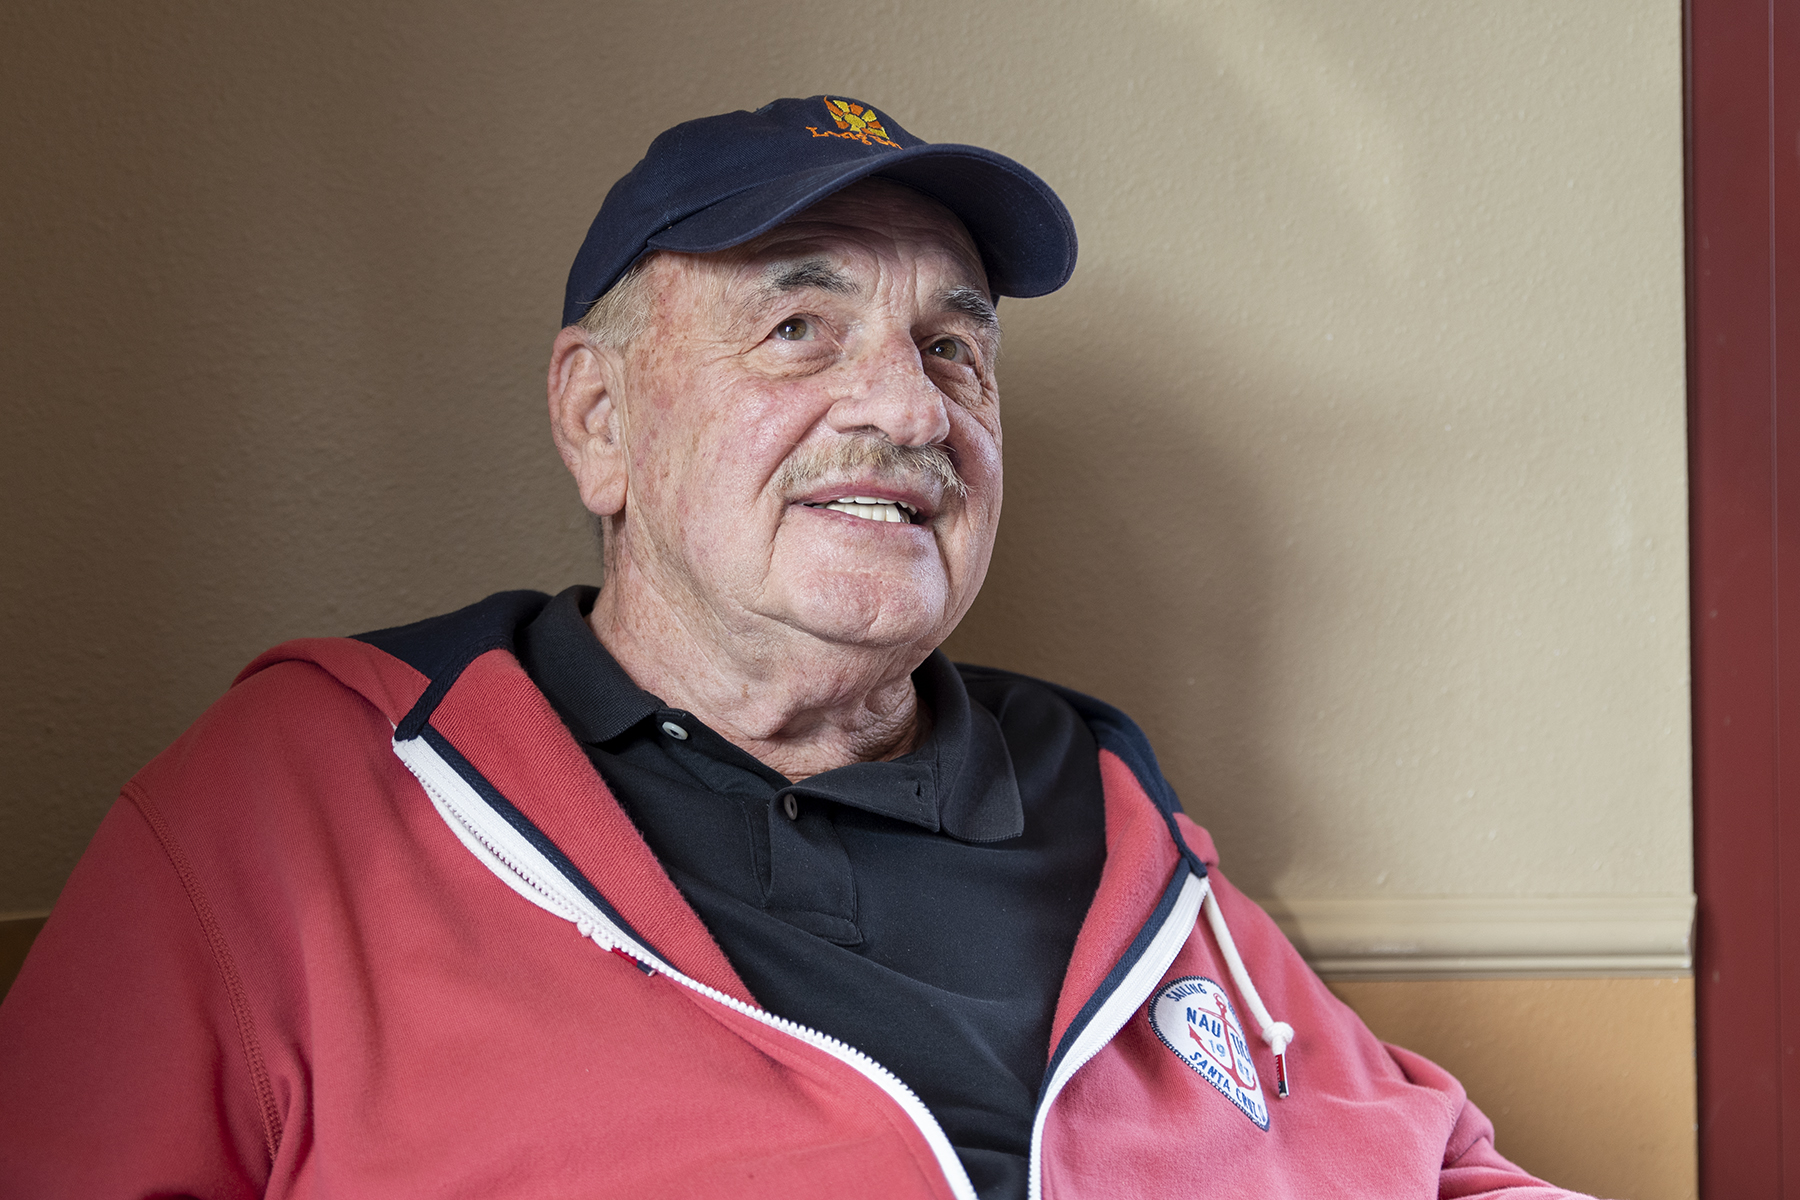
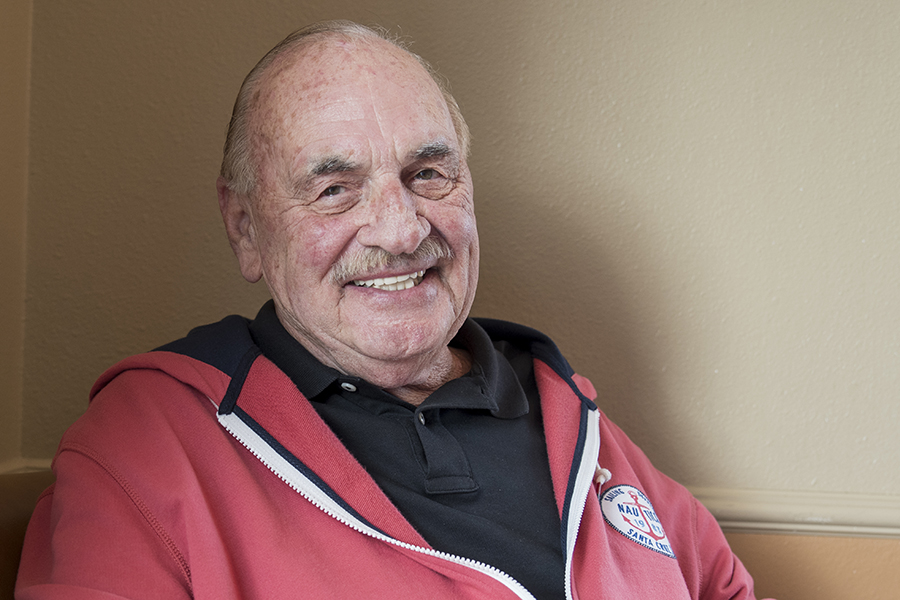
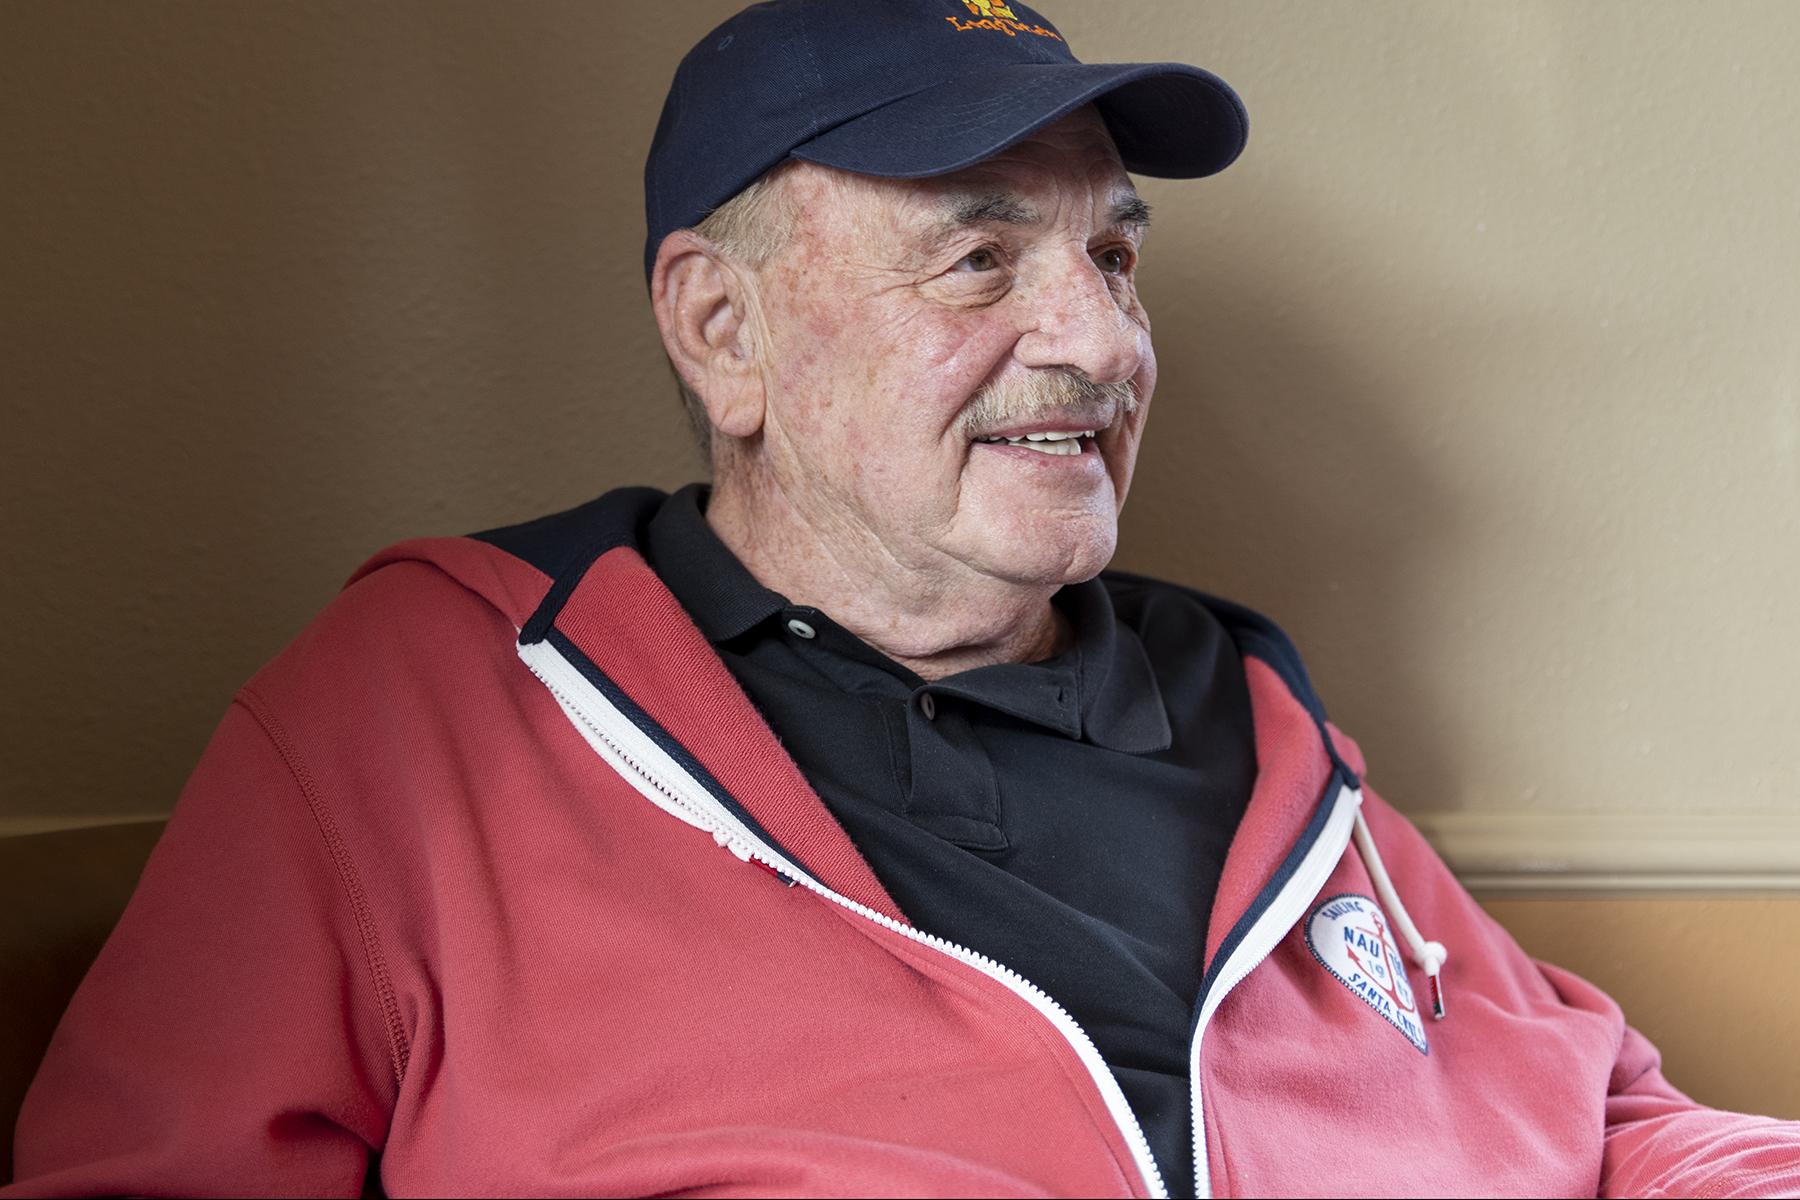
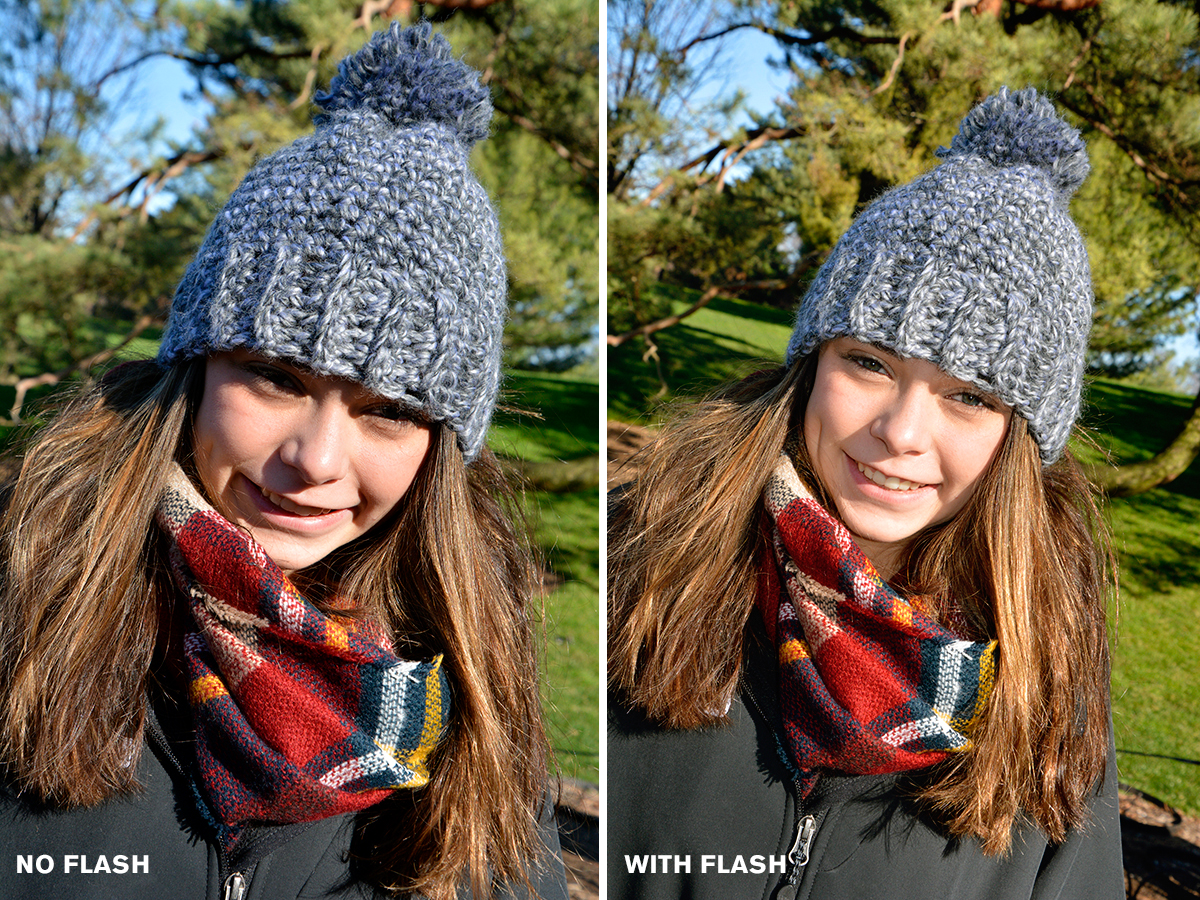
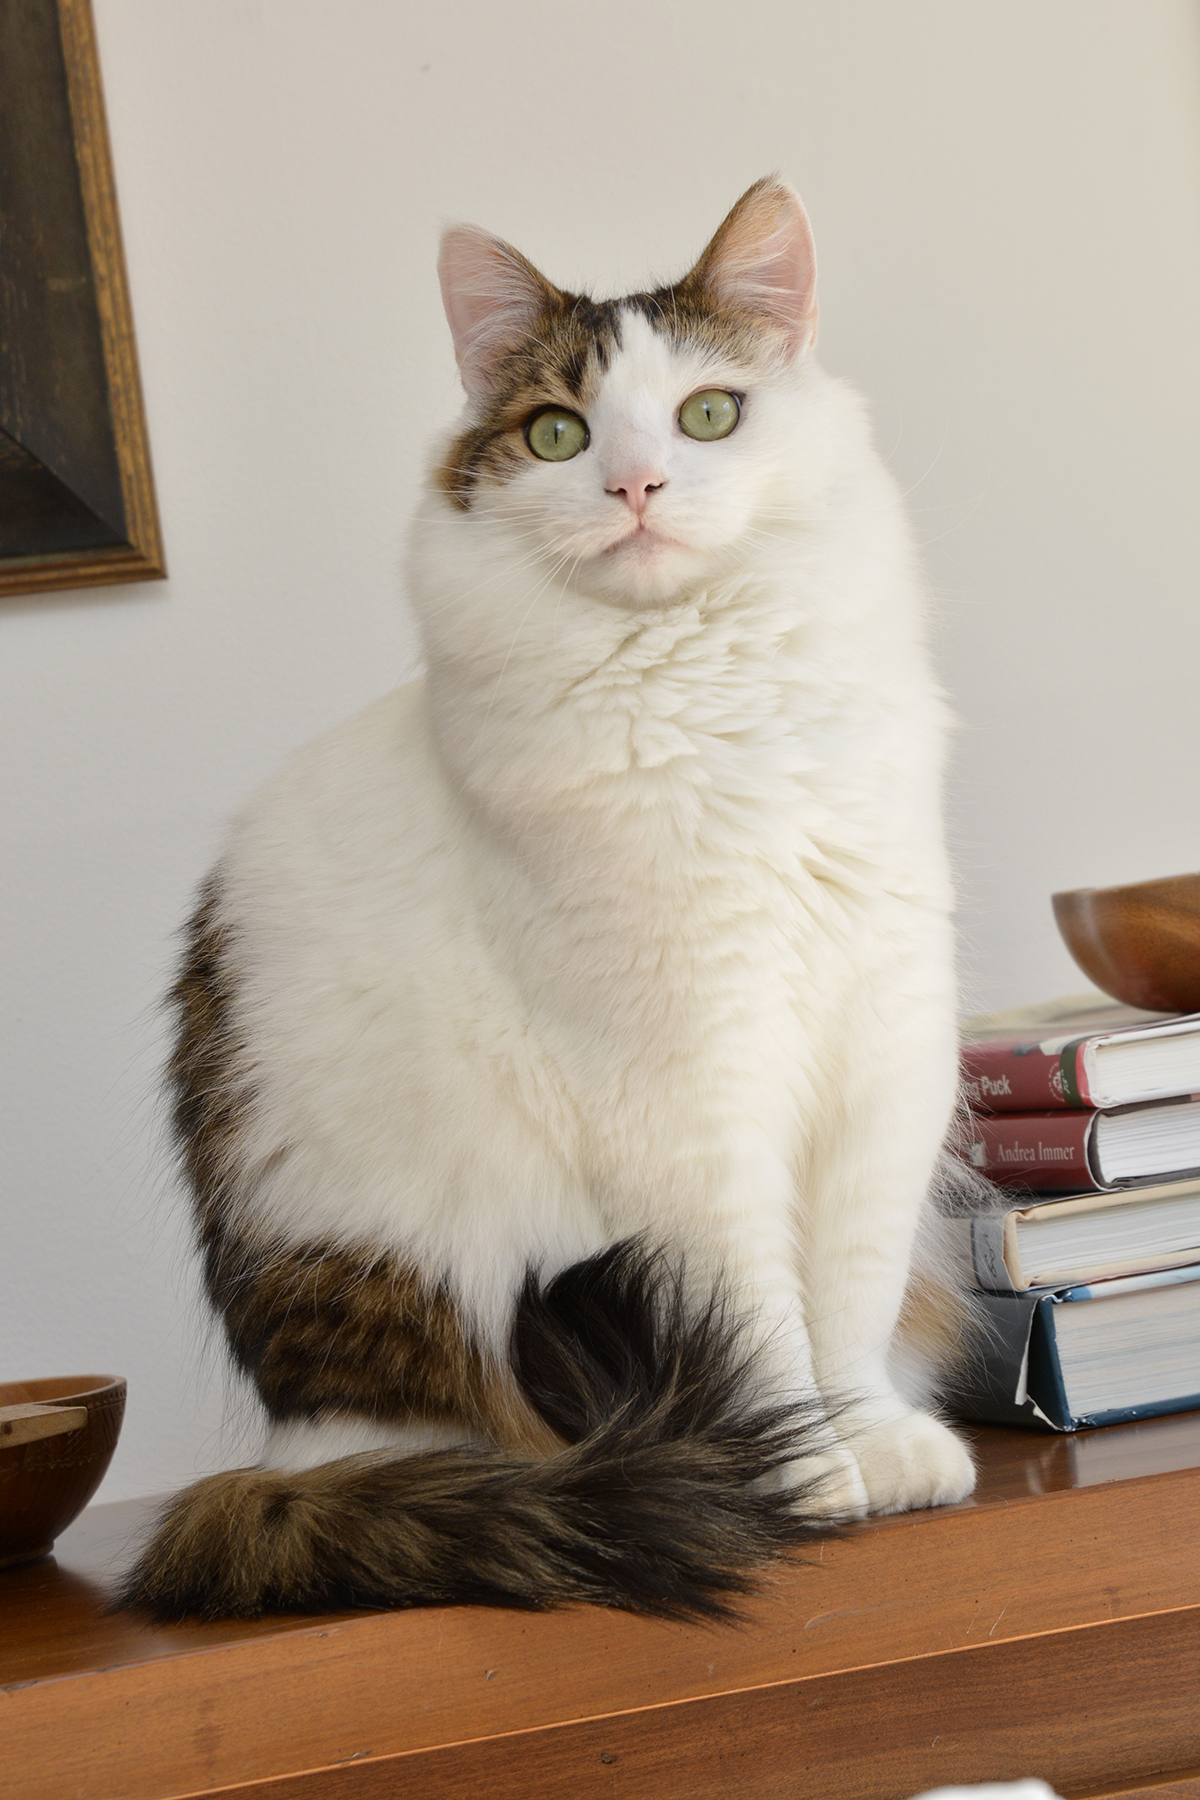
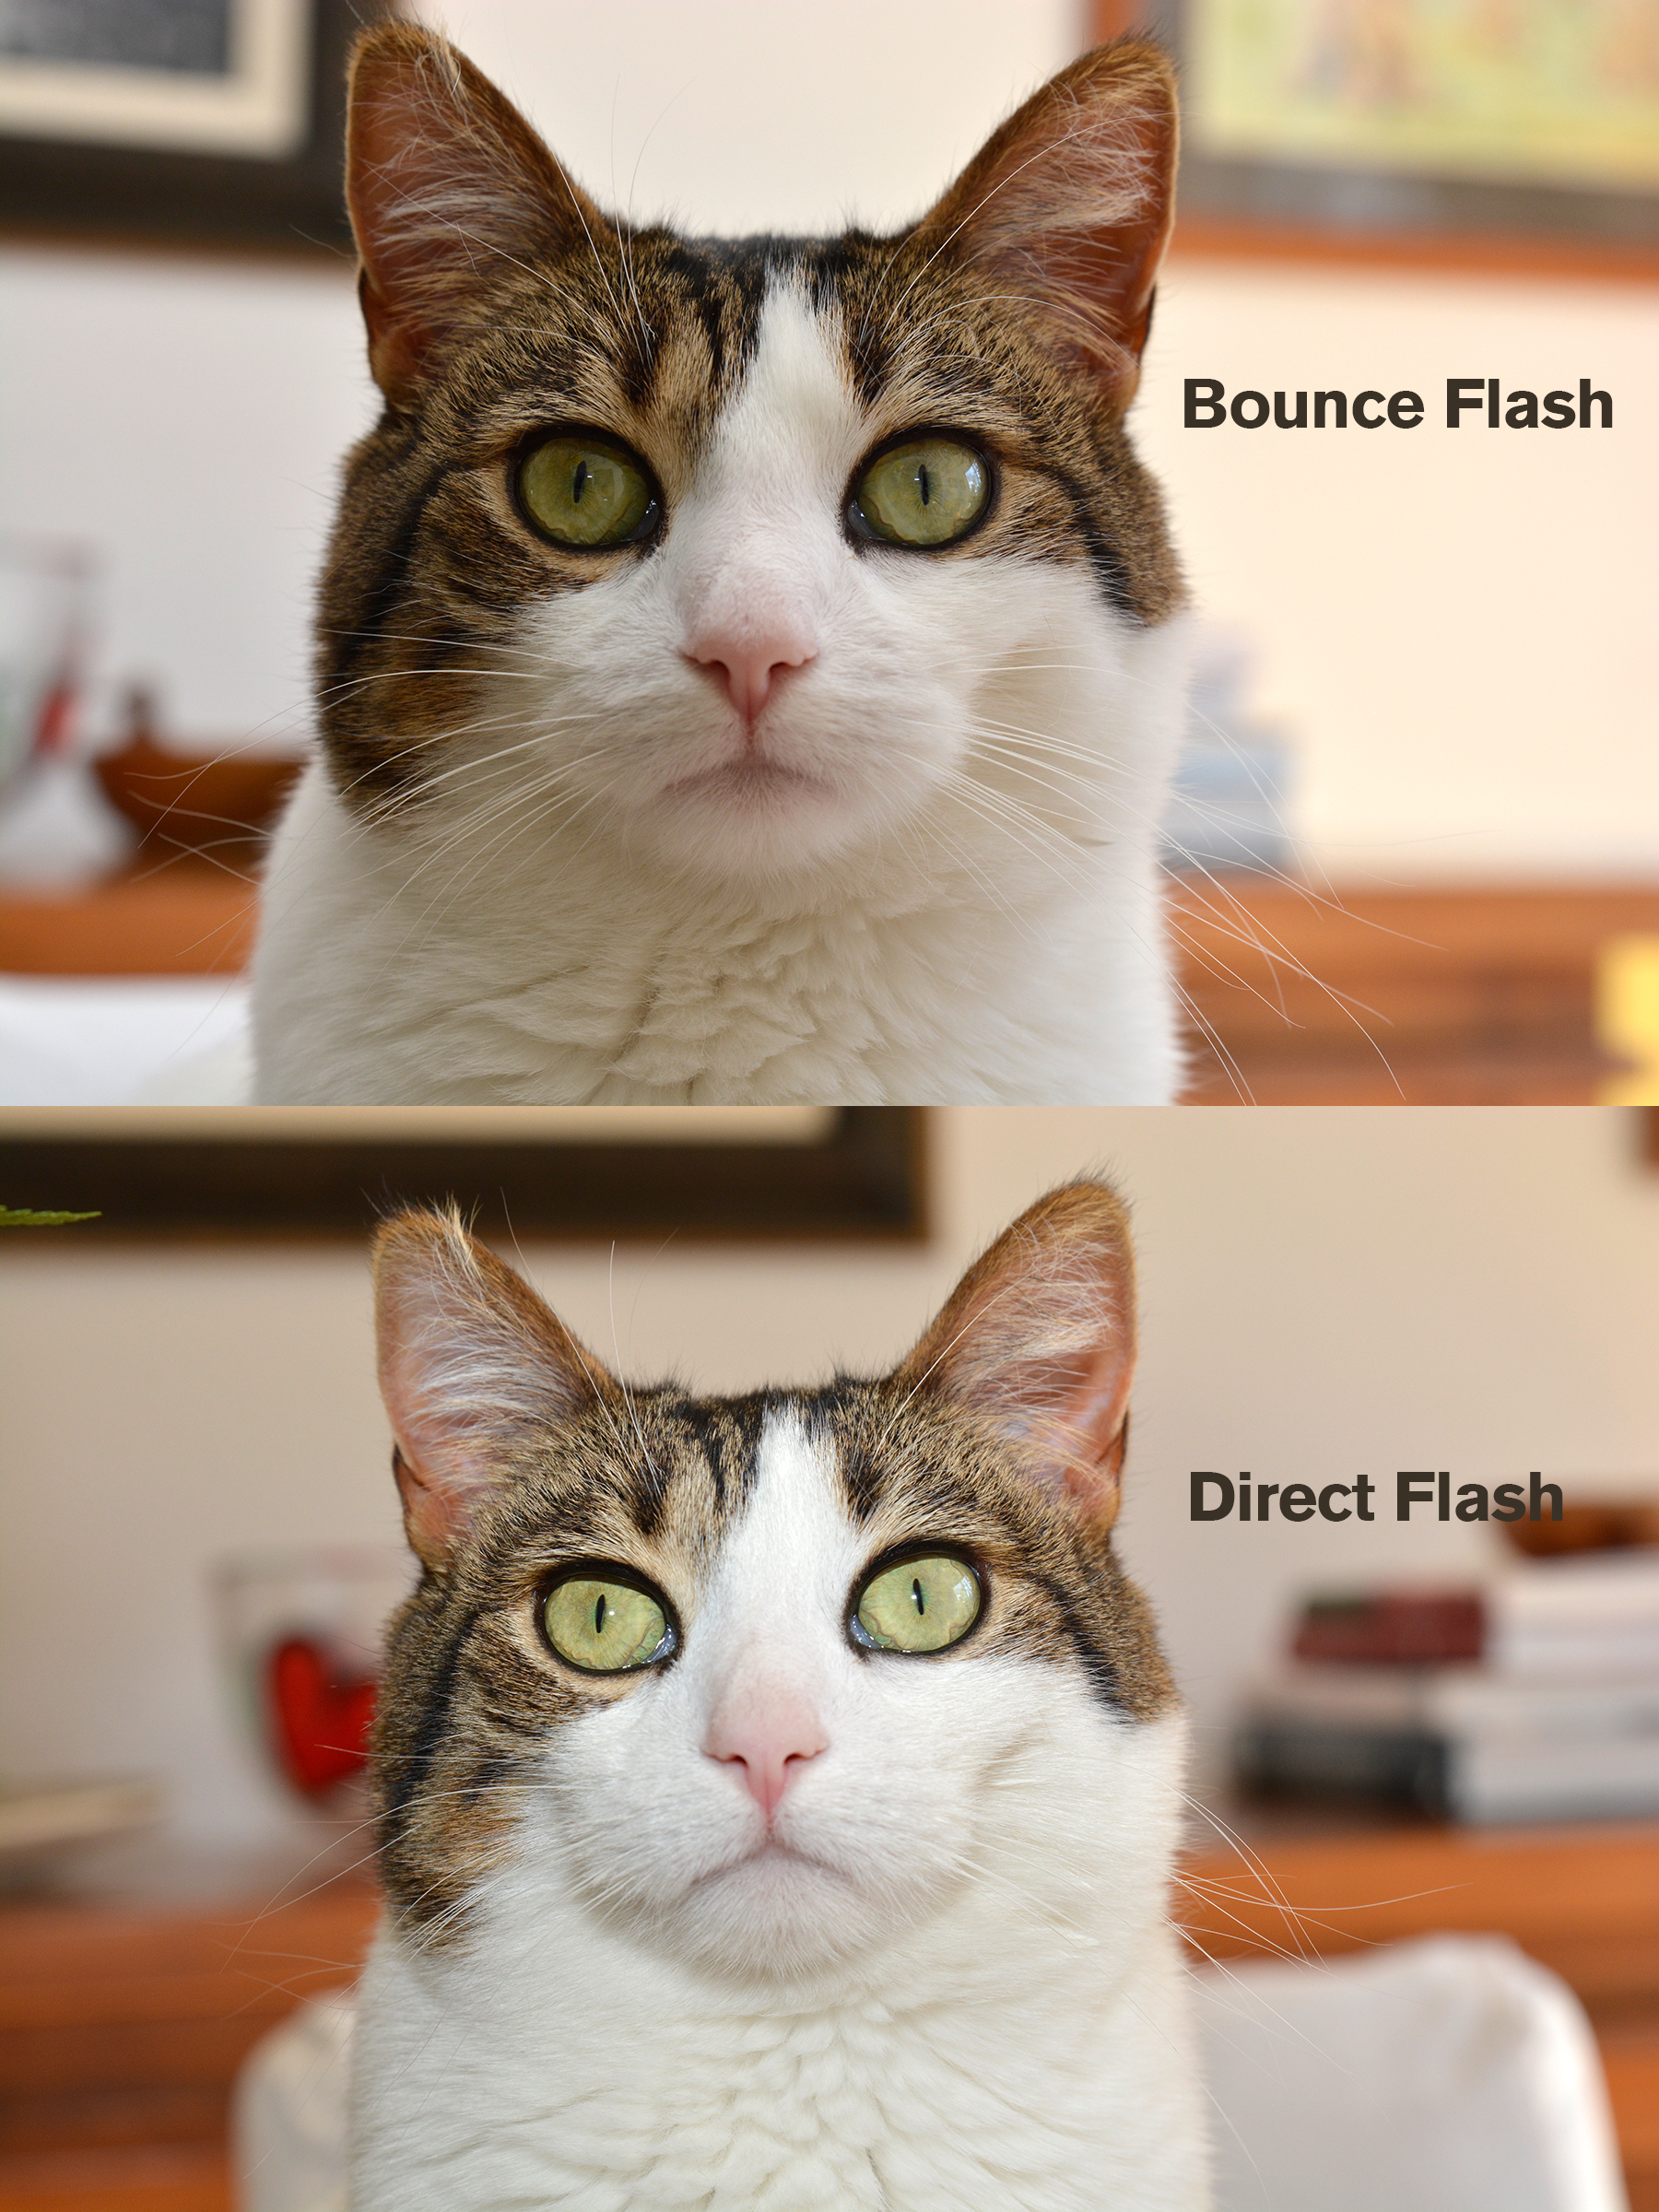
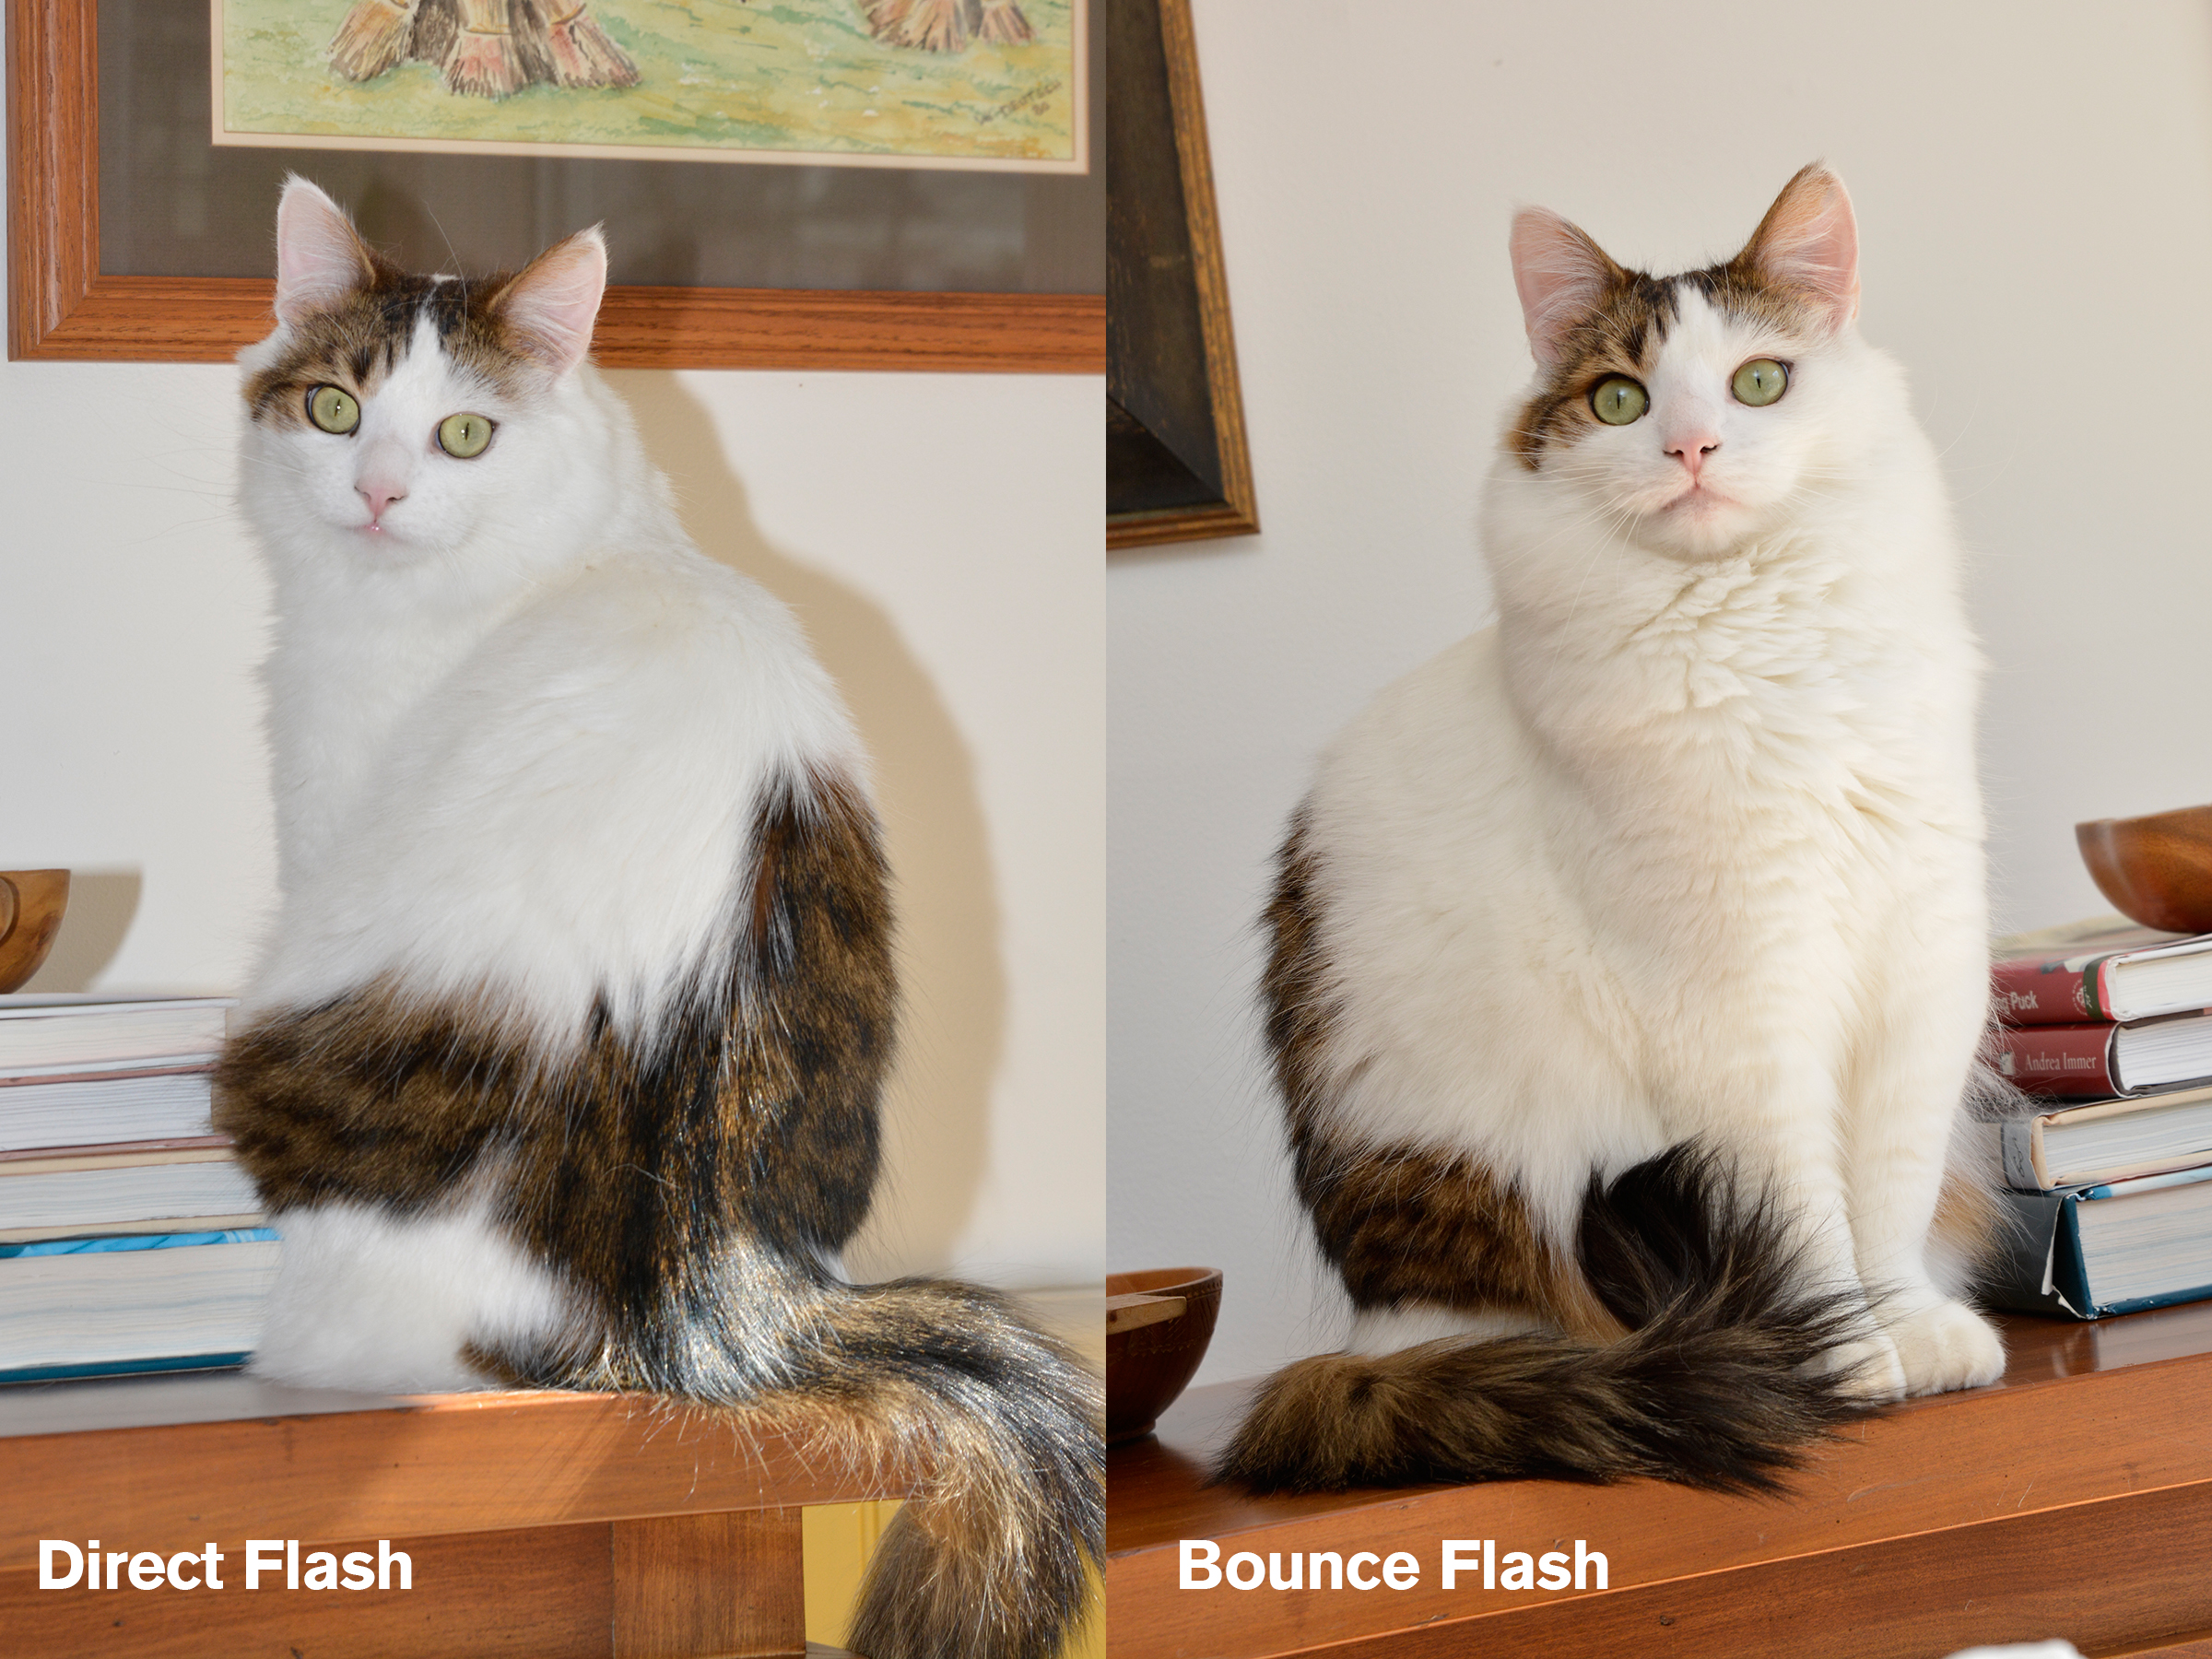
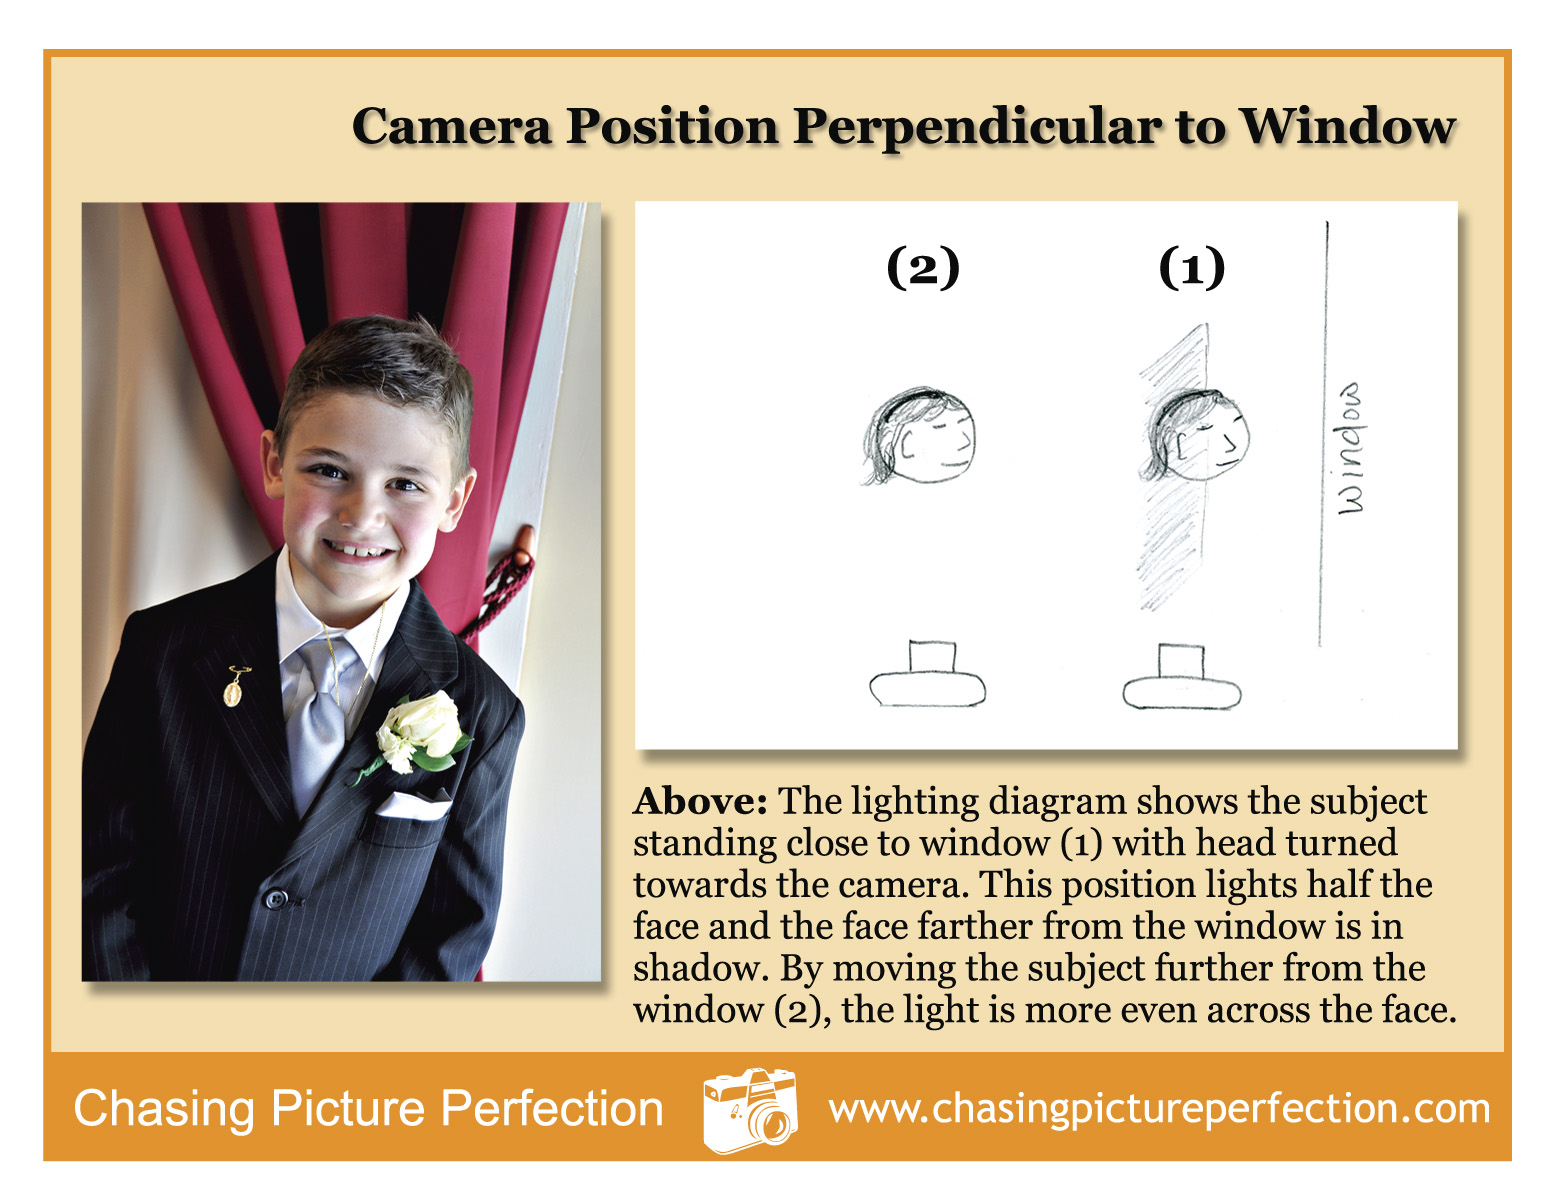
Many of my portraits, candid or posed, are taken by big bright windows as they provide a beautiful soft light on my subjects. And, because I really have a love/hate relationship with my flash and try to avoid using it when much better light is available.

In this photo, the grandchildren gathered around grandma facing the window straight on. Even the dog got in on the action at the moment I clicked the shutter release, but due to my slower shutter speed of 1/25th sec, she is blurry, but I like the story behind it, so I do not mind. I was fairly close them, standing between them and the window, so I used a wide focal length of 32mm. Because of the focal length setting, and stopping down slightly to f/4, I was able to keep the boys behind grandma in relative sharp focus. Stopping down yet again to f/5.6 or even f/8 would make them 100% sharp.

I love the bright eyes that the window light provides as they looked up slightly to my camera lens. It really makes their eyes and smiles pop!


Whenever There’s Good Light, Seize the Moment

You’ll find I use window light quite a lot to take posed and candid portraits of my friends and family. I find window light is easier to manage for me than flash. And it’s very easy to find. I am sure you have a favorite spot in your house that gets nice light during certain times of the day without being too harsh, or that is filtered by a white gauzy curtain.

I was with my father in a coffee shop when I noticed the window at my left shoulder and the window at his left should were both wrapping a very even, natural light around him and made his navy cap and reddish sweatshirt pop. So I took several shots (see two more below), but really liked the natural easy expression here as he watched my sister with my niece interacting. For me, the soft shadows make the setting feel very real and comfortable.

When using window light, you may find you need to increase your ISO to 400 or 800, depending on just how bright the light is. You can shoot in program (not green box mode which may make your ISO too high for a pleasing portrait), or in aperture priority mode like I selected here. I shot wide open at f/2.8, 400 ISO, and my shutter speed then defaulted to an easy to hand-hold 125th sec.

Here are a few posts that also discuss window light:

Take in the Scene with a Slower Shutter Speed

Window Light Portraits

Lighting Diagrams for Window Light Photos

Environmental Portraits

Recently, a friend asked me to take a portrait of her in her office for professional use. We started behind the desk, but I didn’t feel that location captured her and the inviting warmth of her office and professional style. So we moved to a chair where she normally talks with clients, which was conveniently located by a window that let me avoid using a flash to maintain the natural feel of the office environment. I used a very fast lens (Tamron’s SP 35mm F/1.8) with a wide open aperture of F/2.2. This allowed me to capture my subject in sharp focus while blurring the background of the desk, laptop and books that let the viewer know the subject is in her office.

For Better Outdoor Portraits, Add a Little Flash-Even in Winter

Blog Post_2-4-16

In the photo on the left, I did not use a flash. There are harsh shadows all over the girl’s face, to the point where you cannot even see her eyes. By popping up the flash, even outdoors in winter, you can eliminate the harsh shadows on a bright sunny day and capture a much more flattering portrait of your subject. This is called fill flash. I had my camera in regular program (not green box) mode and popped up my flash to get the photo on the right. Now there’s the eyes! And notice how the camera/flash system automatically balances the daylight with the flash to maintain the saturation in the blue sky, brown trees and green grass.

Bounce Flash So Much More Flattering Than Direct Flash

RT_SE27380Using an external flash on top of my camera instead of the pop-up one built into my camera gives me much more natural-looking photos. So I use it a lot; but because I feel I have not really mastered flash lighting, I keep everything in a program mode. My camera is set to “P” and my flash is in its program mode. The real trick, however, is the bouncing of the light off of the ceiling. With many external flashes, the head of the flash swivels so that you can make the light from the flash bounce off of a wall or ceiling. Below are two examples of direct flash, like your built-in pop-up flash, versus bounce flash. The images with bounce flash feel more natural – the shadow in the background disappears and the overall result is not harsh. An external flash does make your camera heavier, but the results are so flattering that to me it is worth the extra weight. Be sure when you bounce a flash, the wall of ceiling is white or very light. If you bounce off of a green wall, for example, the photo will have a green cast.

Flash Comparison 2 Fash Comparison

Natural Lighting for Mother’s Day Portraits

7719_Syd-Grandma

Before mom or grandma comes over for Mother’s Day (May 13th), think about a great spot in your yard to take a beautiful mother’s day portrait. Look for a spot that has open shade. Open shade will give you even lighting and really make the eyes sparkle. Great choices are in a doorway, under a covered porch, or under the perimeter of a shady tree. Position your subject just inside the lens of shade. Rule of thumb for positioning is if she can take just a step or two forward, and she is in sun the sun, then the step or two back is perfect! Too far back and you will lose some of the brightness and highlights in the eyes that the open shade provides. Try to get just a little higher than your subject so she looks up slightly towards your camera. Use a wide open aperture like F/2.8 or F/3.5 to blur the background. If you can use a tele zoom position, then your background will be even more blurred. So scout out your location and do a few test shots before your special guest arrives on Mother’s Day. Read more about open shade here and here).

Use Structures In Your Surroundings As a Reflector for Better Outdoor Portraits

_DSC5514_RT

On a beautiful fall day, I posed my subject next to a tree facing the back of the house, which acted as a reflector. The sun bounced off the house and lit the girl’s face and gave her a really nice highlight in each eye. Reflectors can be any white or near white surface, such as a painted brick wall, a sign on a door, or more. Position your subject in the path of the light as it bounces naturally off the “reflector.” If you are in a place where there is no structure that can act as a reflector, then break out a white piece of foam core or oat tag to bounce light back into your subject’s face and eyes. If you love this technique for posed portraits, then you might consider buying a reflector from your local camera store. So look around to see not only where the light is coming from, but what it is bouncing off.

_DSC5499_RT
The lit leaves in the background add some drama.

Don’t Let Bright Sun Ruin a Candid Portrait- Move into the Open Shade

Open_shade_sun_comparison
We are not nocturnal by nature, so our photo-taking time is usually during the day. And now that it is almost summer, there will be plenty of bright sunny days on which you want to take photos of vacationing kids and visiting guests. So what do we need to do to get a decent outdoor portrait? The simplest solution is to look for open shade. Open shade is the step you take back from the sunny to the shady. It can be just under a tree. Or a step inside a door frame or porch. Or a tent or any overhang. The open shade eliminates all of the contrasty shadows that appear on the face and clothing of a subject standing in the sun. Look at the side by side comparison, especially the eyes and the shirt of the girl on the left. (Pls ignore the color as I did not reset my white balance from sunny to shade and consequently have some funky color going on; pls be sure to set the WB to auto or shady). Below is a shot that shows you the line between a good and poor candid portrait. The girls were first on the sunny side of the line, and then took a step back into the shade. I love how the light catches in their eyes when you shoot in open shade. For more on open shade, see this post too.
shadow line

Lighting Diagrams for Window Light Photos

TIPS CARDS_WindowLight_Layered.psd
Window light is one of my favorite ways to take portraits and still life shots as you well know since my blog entries frequently feature this type of shot. I felt by sketching out how I position the camera and the subject might be helpful. I am going to ask you to not laugh at my funny sketches, but I am sure you will not be able to help yourself. I laughed too as I was making the card.

Take a Candid Holiday Portrait by Window Light, and Add a Prop!

easter_portrait_1The window is your best photo accessory for portraits. It’s so easy to use, always there, you don’t need an assistant to hold anything, and you don’t have to pull out your auxiliary flash. I just love the light that streams through my windows in several rooms. Positioning your subject very close to the window, like in the shot at left from early Easter mornning, can give you a nice dramatic light since the light falls off the opposite side of the face quickly and the eyes have a nice sparkle from the window catchlights. To get more of an even light, move your subject just a further away from the window (as in the first photo below- the subject was across the room from the window), or, face your subject perpendicular to the window instead of parallel. In this case, you can actually stand right in front of the window with your subject in turn in front of you and you will not block the light! See this post here for an example of this type of positioning. You can also “fill in” the other side of the face with a pop of the flash as you can see in the second photo below. If you find there is still a slight “artificial” feeling, you can adjust how much light the flash puts out by adjusting the flash +/- button usually found near the flash. Hold the button in and dial it towards the minus side. Perhaps -.7 or -1.0. Review the flash section in your camera manual to see exactly how to set this on your camera. And don’t foget to add a prop that gives your portrait a sense of time. In my case, the tulips scream spring and the eggs of course will remind me this was Easter time when we look back at these photos years from now. (Watch for a forthcoming download card with lighting diagrams for window light positioning).
easter_portrait_3