Photograph Your Thanksgiving Spread

_DSC1034_RT

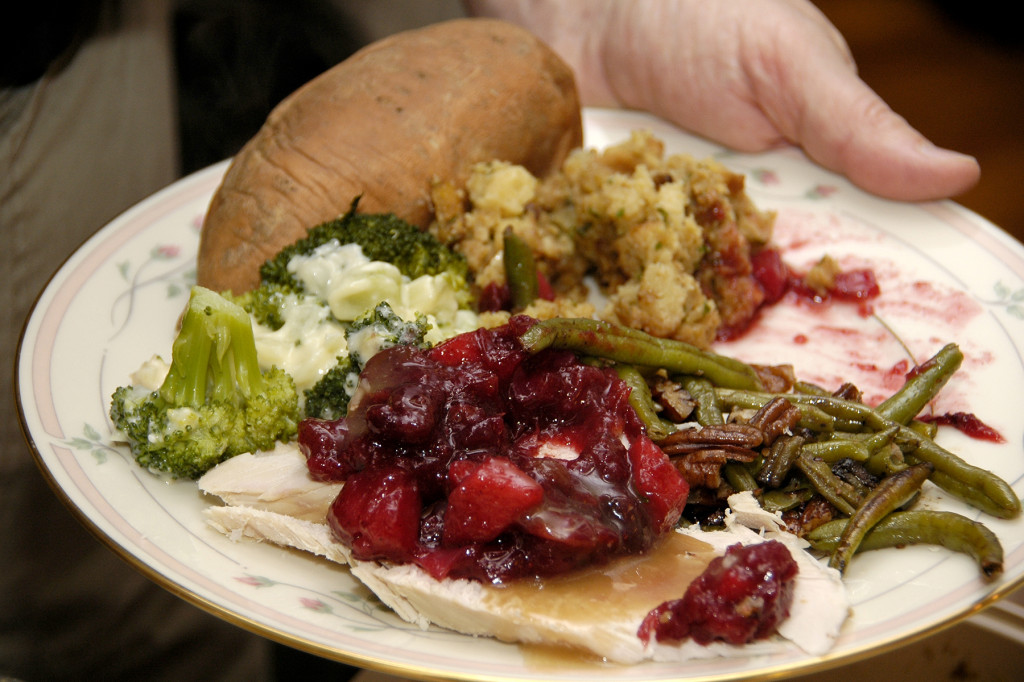
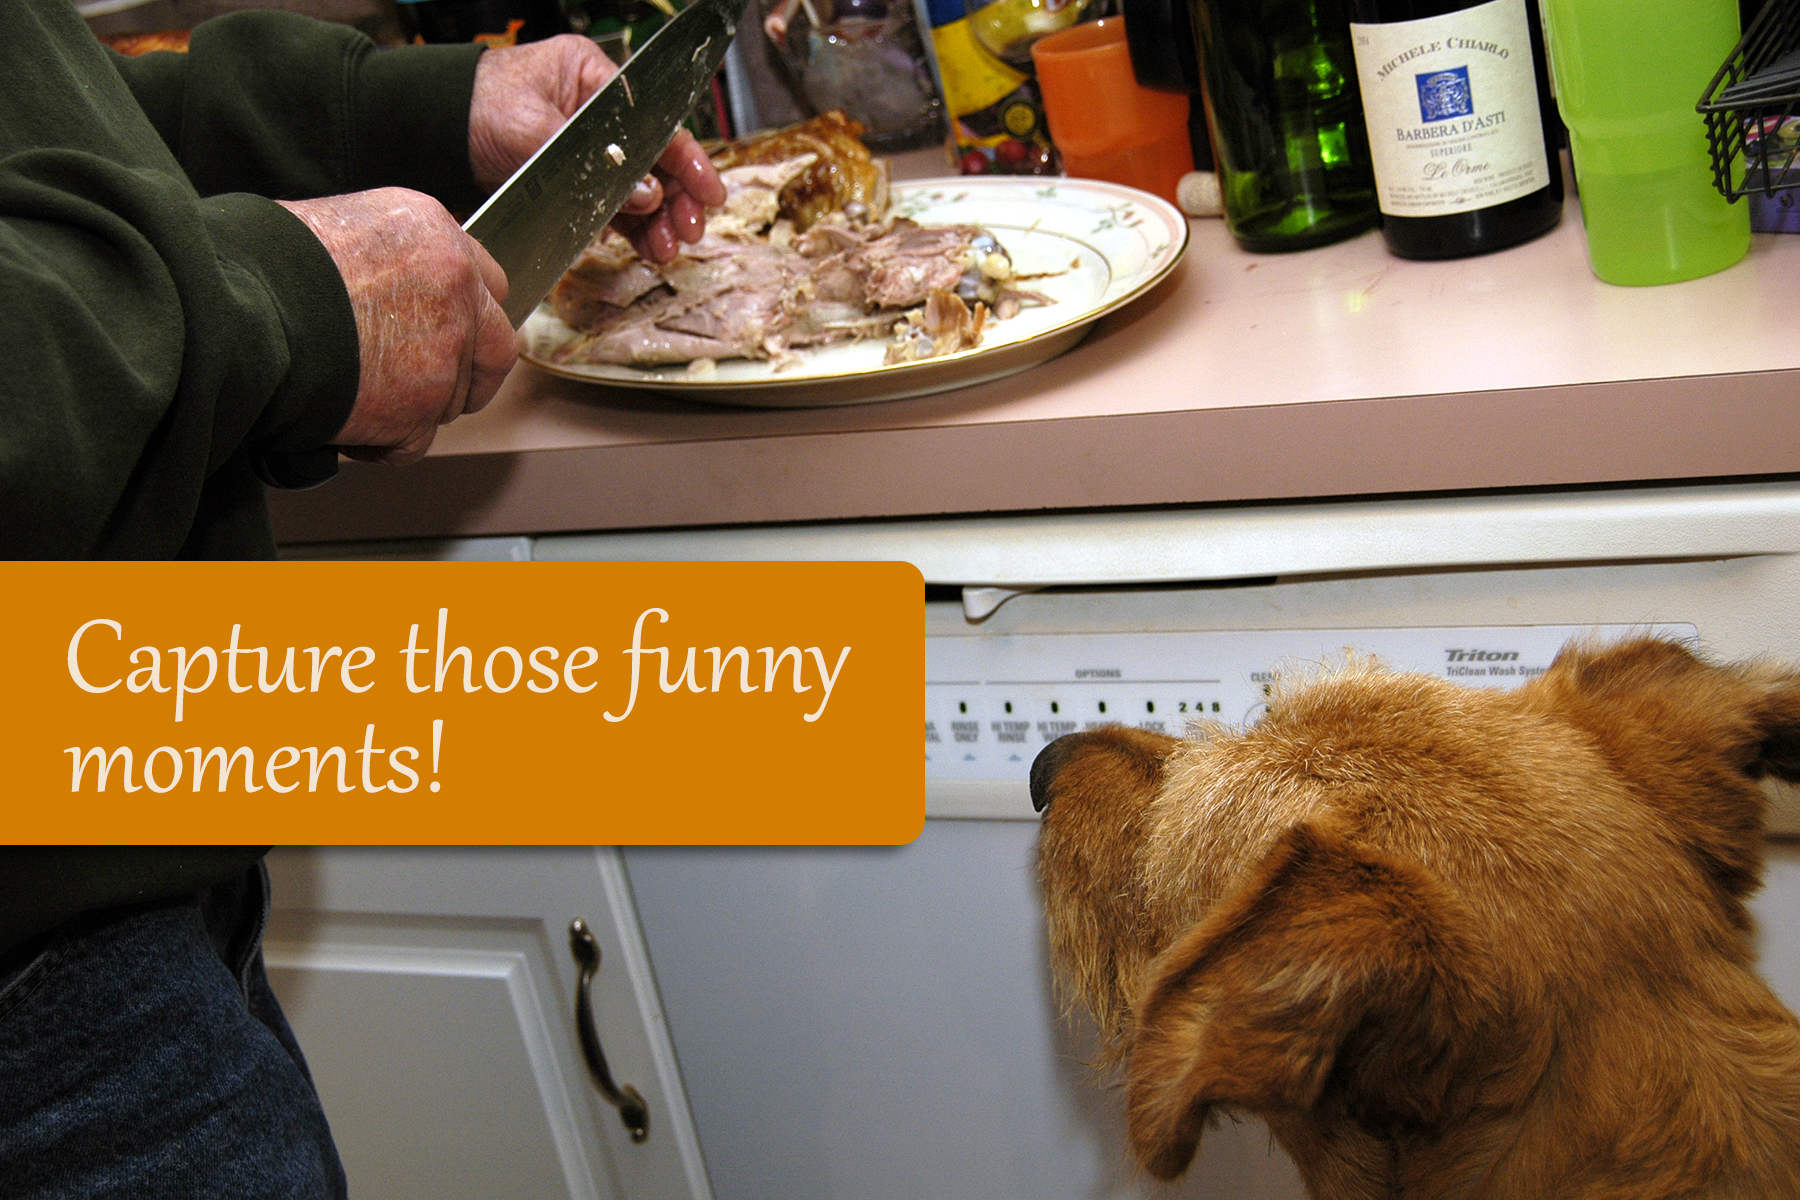
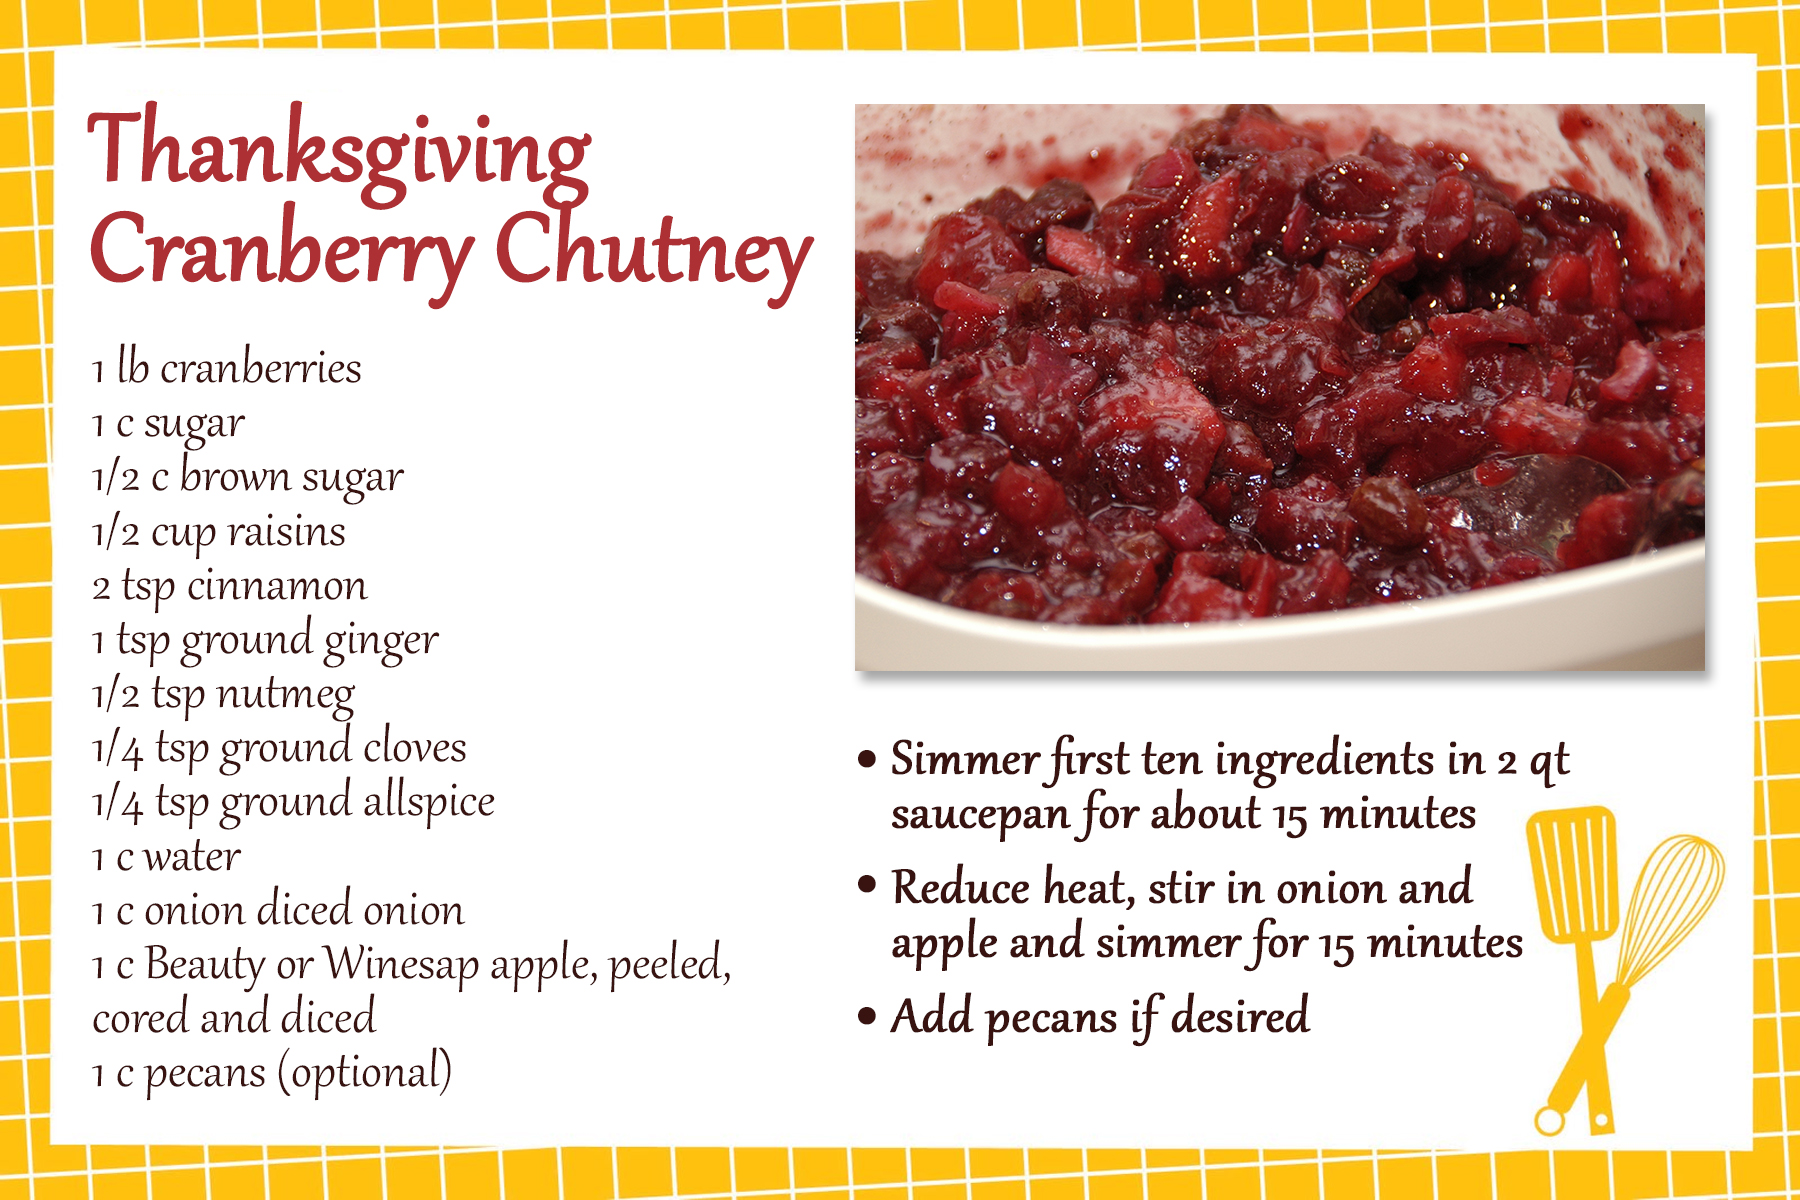
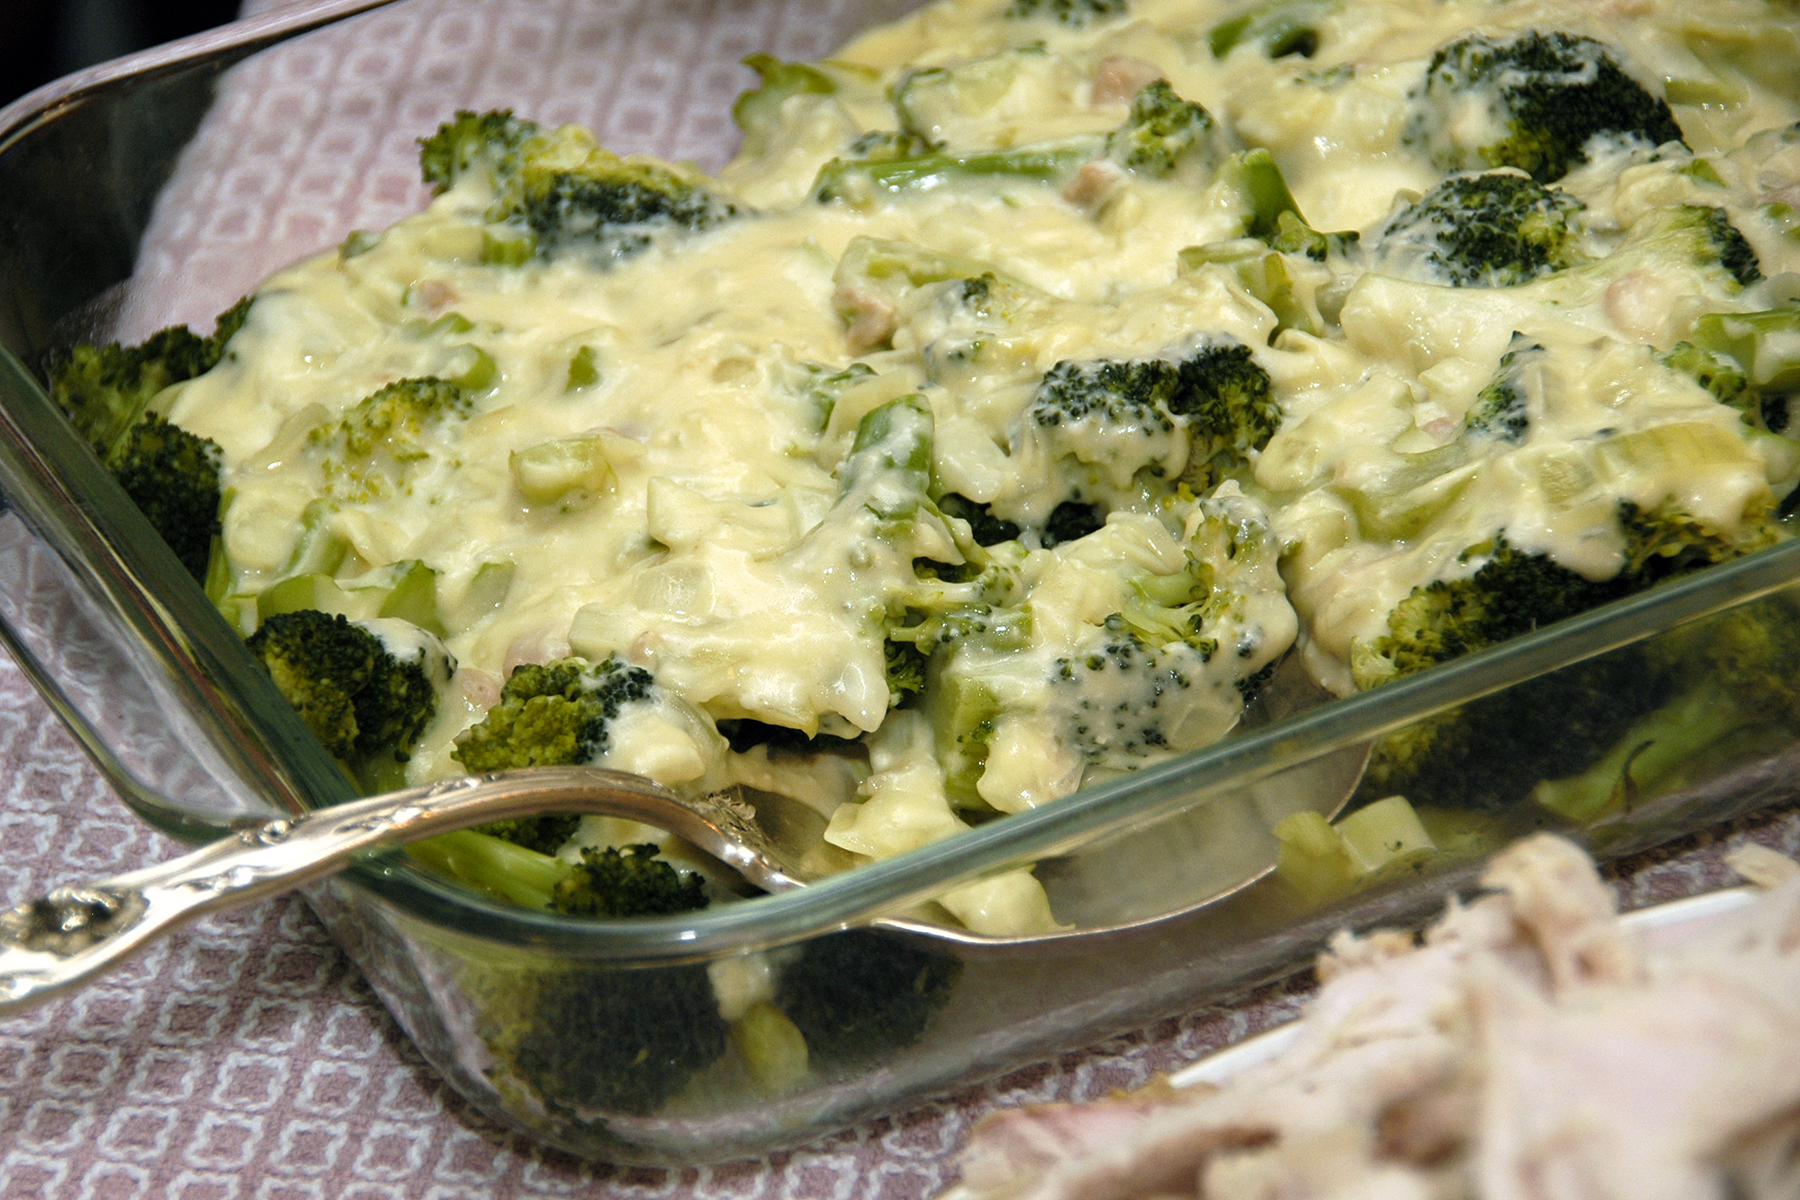
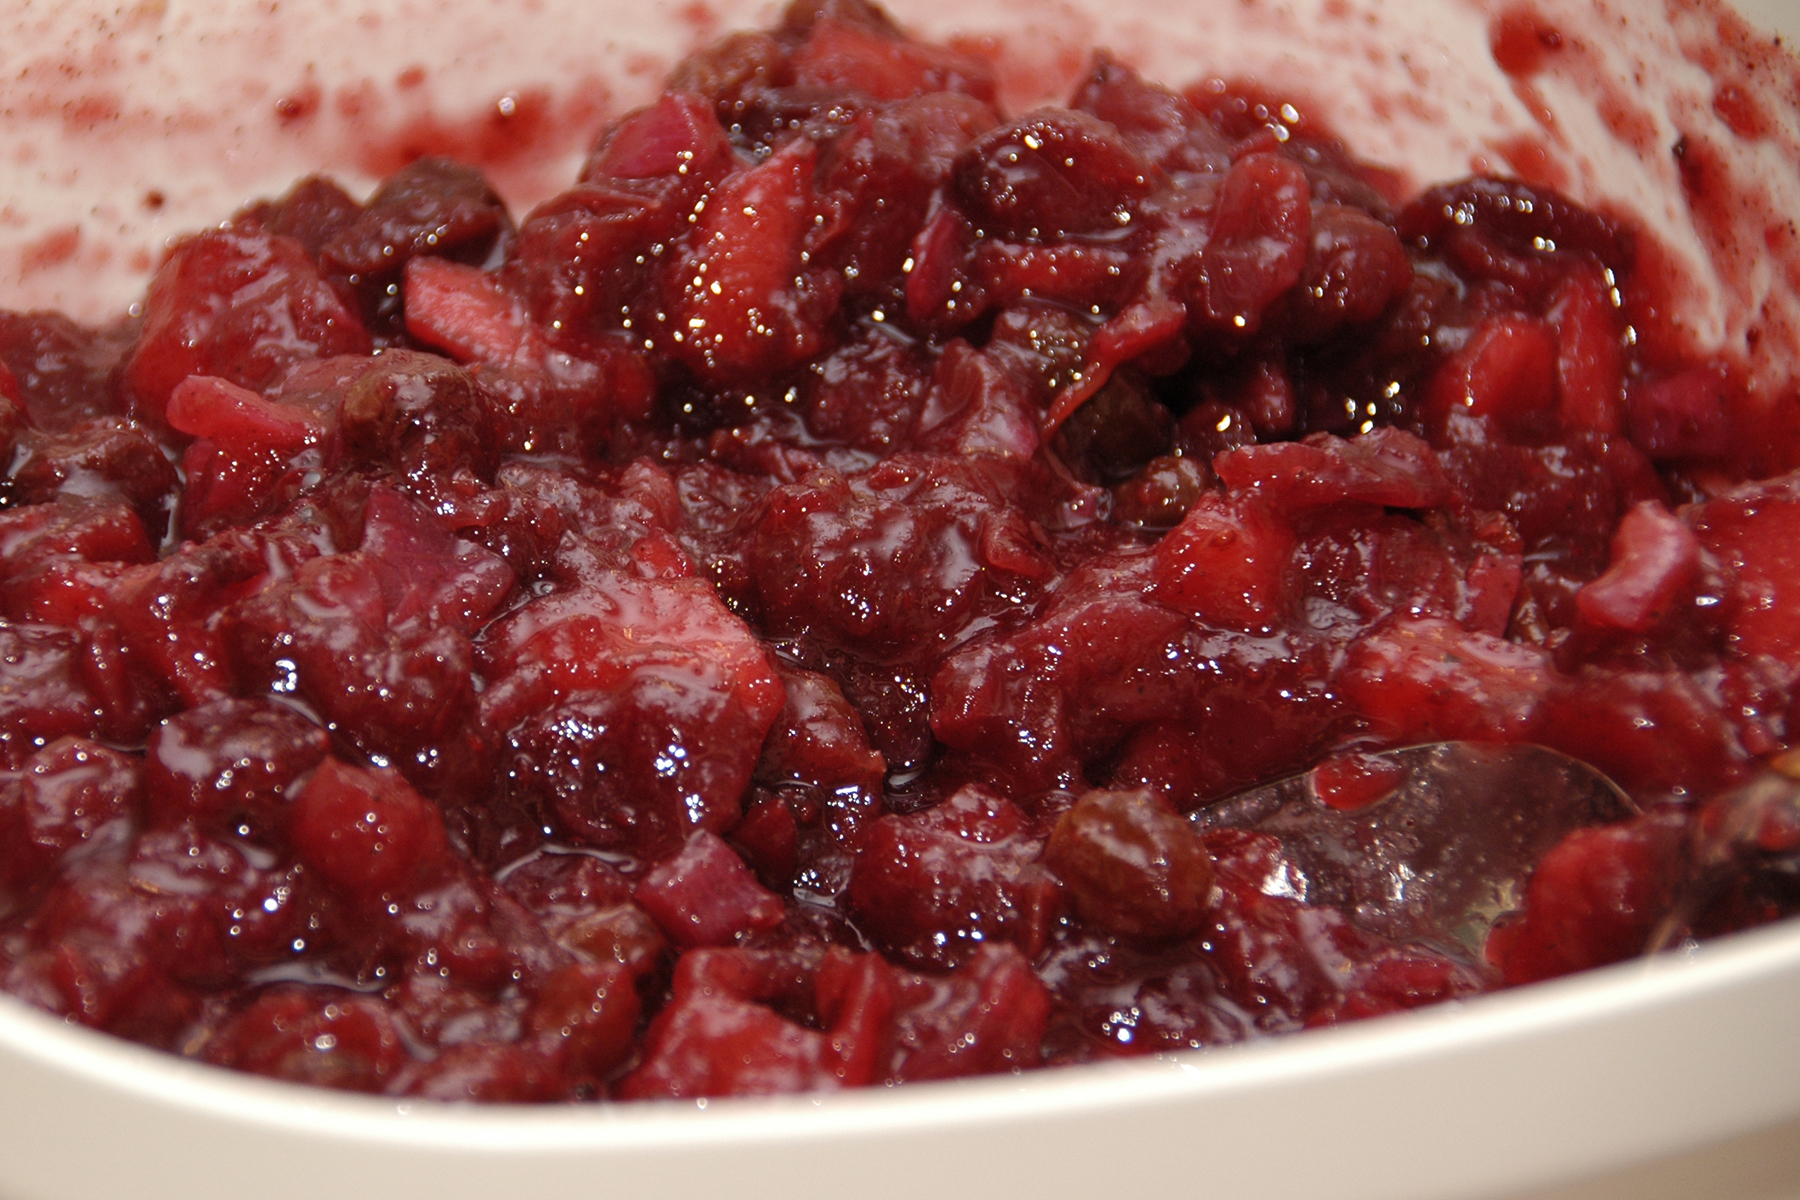
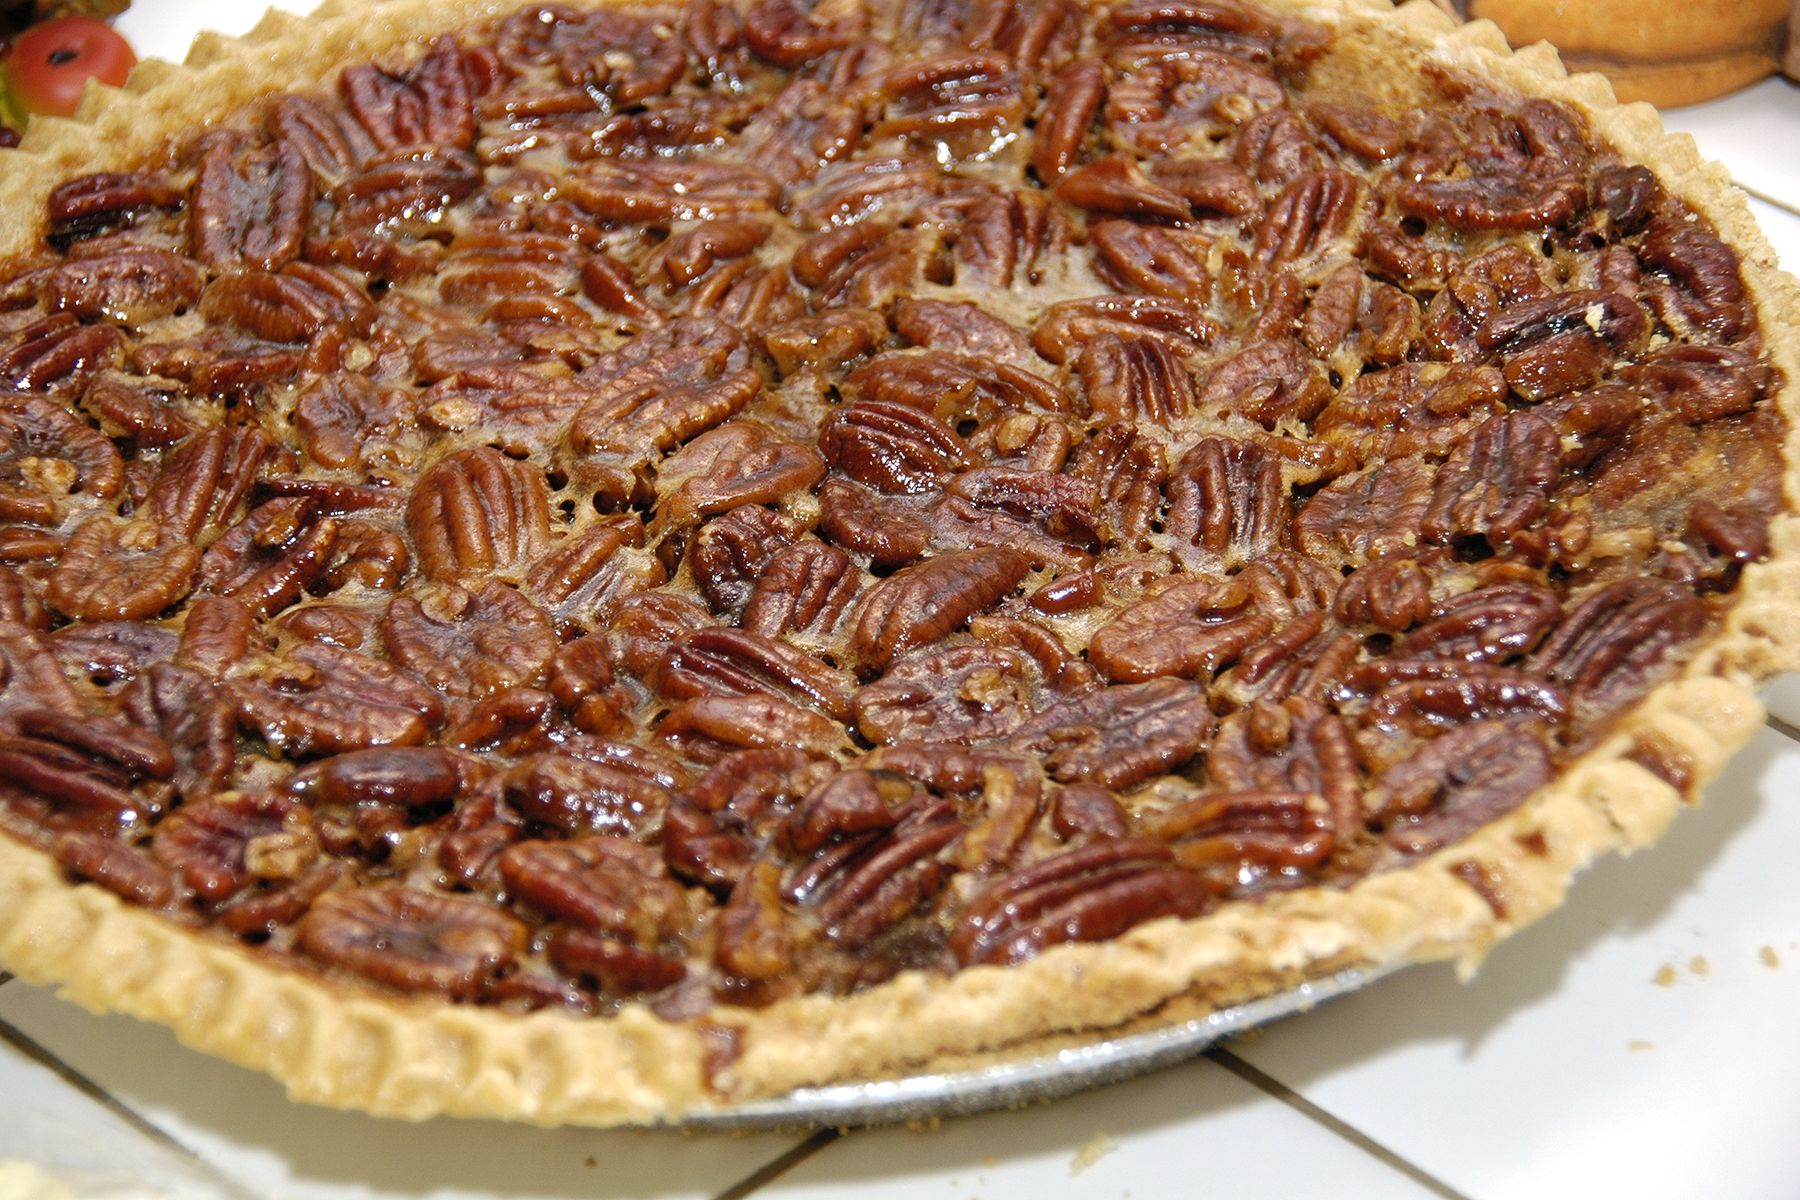
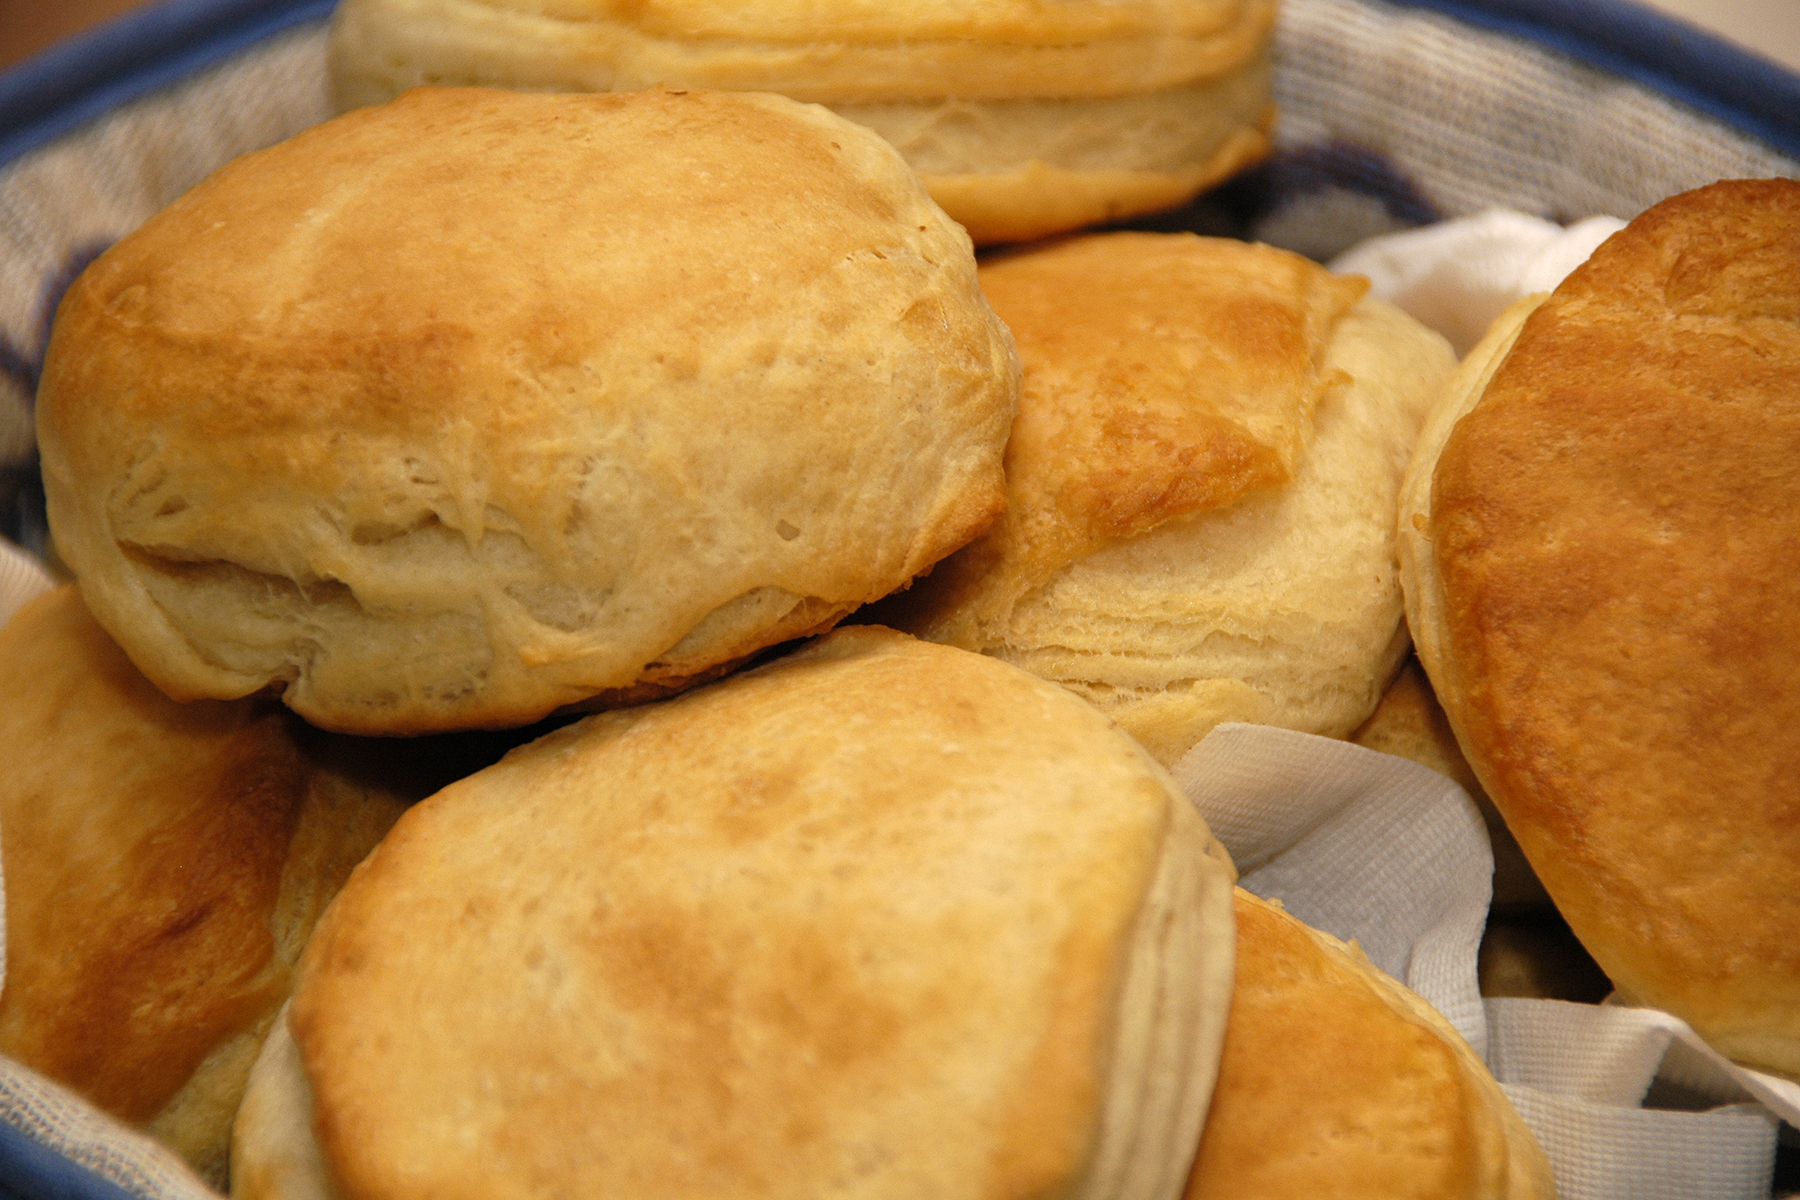
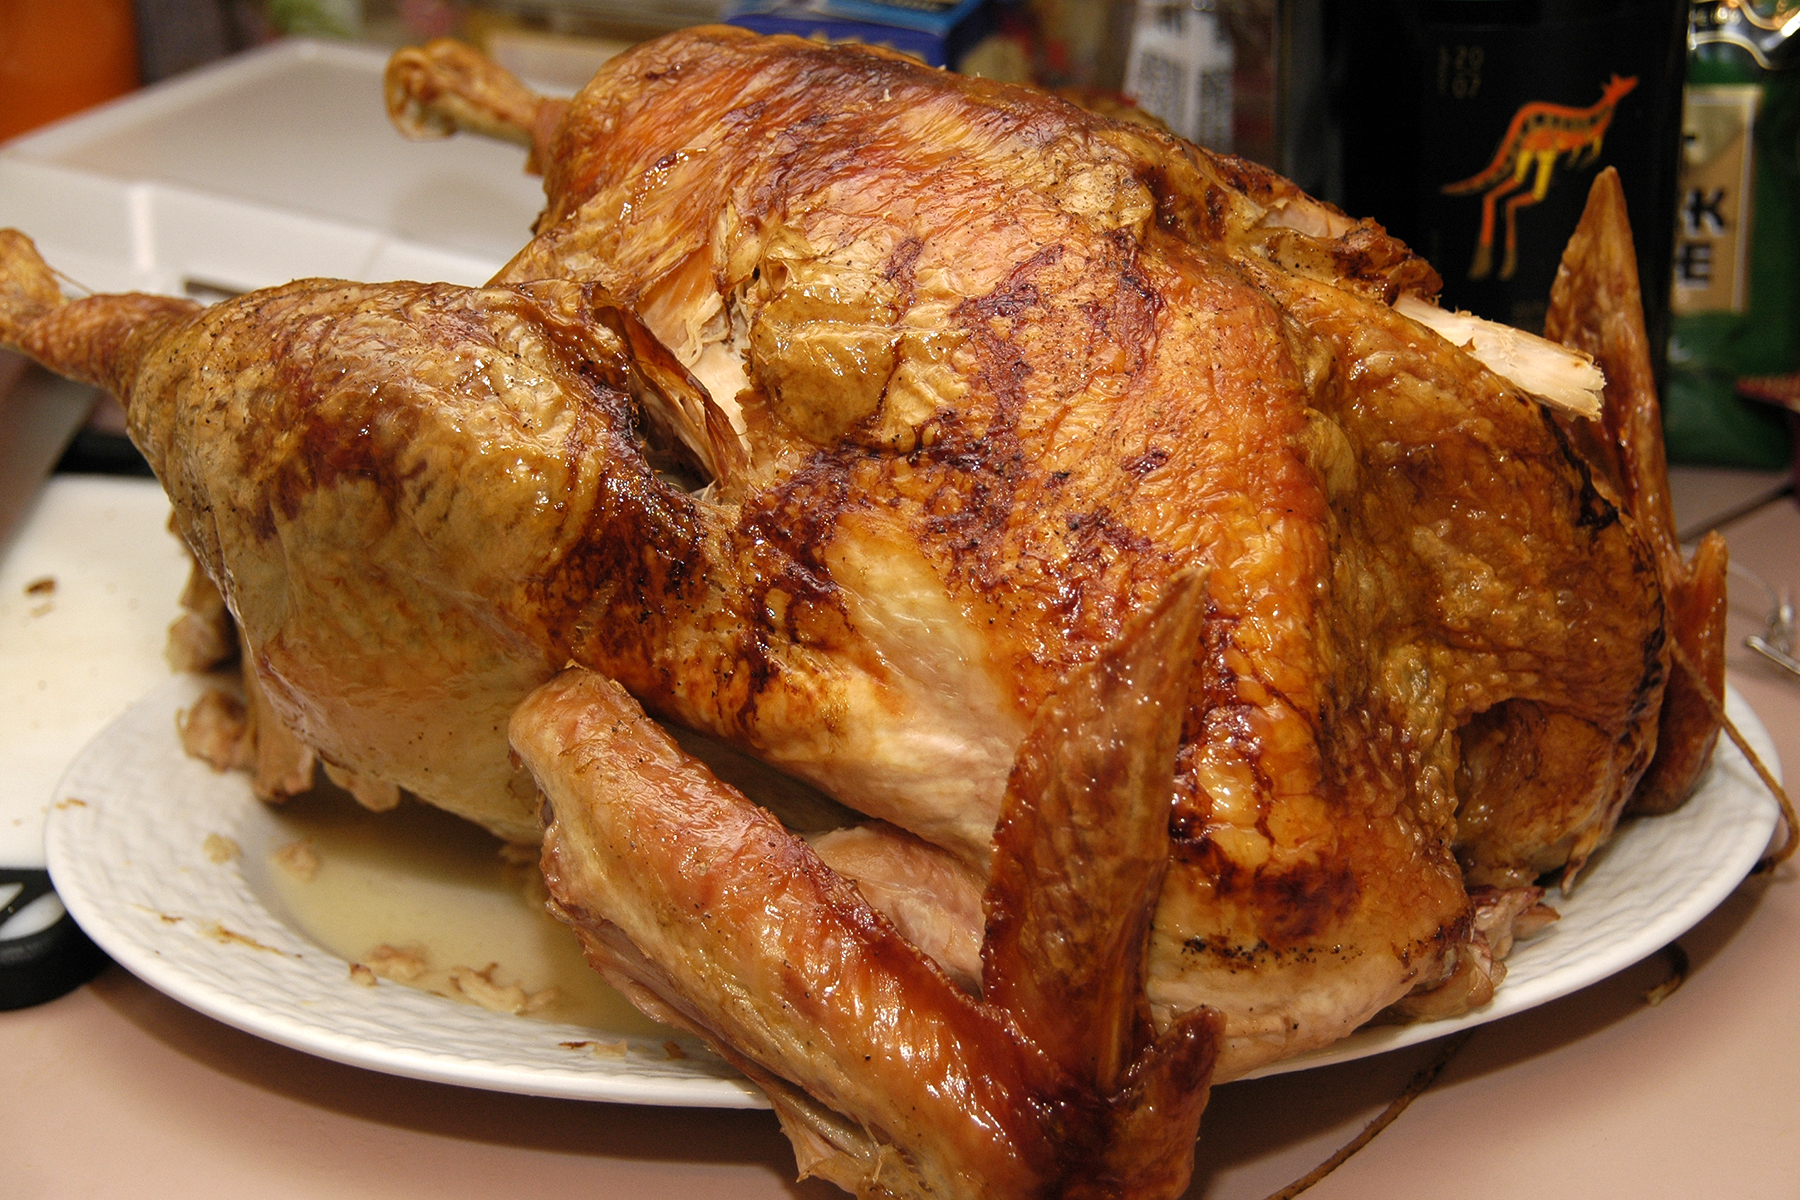
When the family is gathered for the holidays, it’s the perfect time to catch up with relatives and document happy faces around the table (tip: try bouncing your flash off the ceiling to avoid harsh shadows on the walls behind your subjects). But Thanksgiving is so much about the food, why not make it one of your “must-photograph” subjects of the day? Most of us are not food photographers, and when the feast is being served, no one wants to wait around for us to stylize the scene and chance the food getting cold. So my trick is to zoom in close to eliminate as much of the cluttered background as possible when photographing your favorite dishes on the Thanksgiving table. The photos are not only fun to look at (and drool over), but they will also make nice additions to any recipes you pass around to other family members! See the recipe card using one of my food photos that I made to share my sis-in-law’s amazing Cranberry Chutney recipe with friends and family. This midwest chutney has become a staple now on our east coast Thanksgiving table. And don’t forget to capture funny moments (see the turkey carver’s helpful assistant below) and the cooks of the greatest meal of the year! Happy Thanksgiving.

_DSC1006_RT_DSC1015_RT

Recipe_CranberryChutney

_DSC1020_RT _DSC1008_RT _DSC1040_RT _DSC1035_RT _DSC1018_RT _DSC1001_RT

Pump Up Your ISO & Turn on Your Flash for Great Sparkler Photos

Sparkler Fun

We have one two more nights of the long Independence Day weekend. When the sun finally sets, break out your camera and sparklers for fun holiday shots. Since it will be very dark out, you will need to boost your ISO to avoid both camera shake and blur from subject movement. Try ISO 1600. For the photo here, I also added a flash on slow sync. This flash mode sends out a burst of light to freeze the subject but keeps the shutter open just a bit longer to capture the sparkler motion as well as some ambient light for an image with more depth. If you are unsure how to set your flash to slow sync mode, you can also try the automatic “nighttime” mode on your camera, denoted by a person + star or moon on the mode dial.

Carve Your Pumpkins And Get Some Fun Photos Too!

jackolantern1
The annual holiday tradition of carving pumpkins to make jack-o-lanterns running the gamut from sweet to ghoulish is one that is filled with picture-taking opportunities. Get up above the action to capture all of the fun, and zoom in close to get great detail shots of the tools and mess involved in pumpkin-carving. See the shots below for examples. But after the mess is all cleaned up and the sun has gone down, set out your pumpkins and light them up for a great shot. Make sure your camera is stable. Using a tripod is highly recommended. Next, turn your ISO down low to 100 or 200. Your exposure will be long and you do not want to create unnecessary noise in your shot. Set you camera to manual exposure and open the aperture to about F/4. Fill your frame as desired and shoot, using a cable release or remote control to avoid any camera shake when you trip the shutter. If you do not have a release, you could set the camera to self-timer. Adjust your shutter speed to 30 seconds and take a shot. The photo will be either too light or too dark. Adjust the shutter speed to faster, like I did here to 15 seconds, if the photo was too bright. If it was too dark, add more time to the exposure. I had two other pumpkins on either side of this one, so the ambient candle light was picked up during the long exposure to make a nice fun jack-o-either portrait.

Last Minute Tips for Holiday Picture-Taking

Blog_DSC_6201_RT

Much of holiday picture-taking involves capturing people and holiday details. Taking a moment to think about the kind of photo you want and setting your camera properly or changing your position can take your pictures from typical snapshots to outstanding holiday photographs. Here are few tips from my LifetimeMoms.com post last month. Happy Holidays!

Blog_DSC1194_RTPhotograph traditions and candid moments: Capture the result of an activity, like cooking and baking, with flair. Position yourself at a higher level and shoot down. Position the subject in the top one-third of the frame and the activity in the bottom two-thirds for a pleasing composition. This elevated position also eliminates distracting backgrounds.
Capture family interaction by keeping your distance and zooming in a bit. When shooting into a wall, you chance getting harsh shadows behind your subject. Try using a flash that can bounce off of a white ceiling, which showers the area with light and eliminates the shadows.
A key to getting good expressions during gift-giving is to be on the subject’s level or slightly below. Kneel or sit on the floor with them and you’ll capture more of their face instead of the top of their head. Additionally, the shadows created by your on-camera flash can be reduced.

Capturing group portraits: For fast group pictures, line up your family members with tallest on the outer sides of the group. Avoid the “line-up” look turning their bodies slightly towards the center. Or try arranging chairs so that the tallest, or the patriarch/matriarch, can be seated in the center with children standing to their sides and adults leaning in from behind and the side. Ask men to kneel and women sit on the floor. Avoid having heads all on the same level, or “ear to ear.” Stagger heads for a more pleasing composition. Avoid photos on a couch as people tend to lean back and their position is not flattering. Take several shots to ensure all eyes are open and expressions are good. 

_DSC5884_RT

Blog_DSC1118_RTShoot the details: Capturing favorite holiday items is easy when you set your camera to macro mode or use a lens that can zoom in close. When you are so close to your subject, the background automatically becomes blurry making the subject to stand out. Focus carefully when shooting close up.


Better Holiday Snapshots Article Features Photos and Tips From Yours Truly!

_DSC5944_RTI was honored to be asked by Stephanie from LifetimeMoms.com to write up some tips on how to take better photos over the holiday season. Well, that season officially starts next week and there are a few tips in that article that will come in handy at your Thanksgiving gathering. Or as you think about snapping away over the extended weekend trying to get the perfect photo for your holiday card. Please take a look at the article by clicking here. And thanks Stephanie!

Photographing a Spooky Jack O’Lantern

jackolantern3Tonight is the perfect night to light up your carved pumpkin and snap a few spooky shots. I found that taking a shot a little bit after the sun sets, while there is still some light left in the sky, can make your pumpkin look more scary. The tree branches will be back-lit, which adds to the mood of the shot. Start by setting your camera to aperture priority and selecting the widest aperture your lens allows (F/2.3, F/3.5) and a low ISO (200 or 100). Next, put your camera on a tripod or other stable surface. Using a cable release or electronic remote control like I did will ensure that you do not get an blur when you press the shutter release button during your long exposure. If you have a lens with an anti-shake mechanism (like Tamron’s VC, Nikon’s VR or Canon’s IS systems), be sure to turn it off when using a tripod as it is counter-productive to use the stabilizer system in that situation. Then, shoot your pumpkin at a lower angle using a wide angle setting on your lens to get some of the trees in the background. You can add extra exposure if your background is too dark by using the exposure compensation dial and going to the plus side. This slows down your shutter speed even more. Your exposure will be somewhere around 15 seconds to get the soft glow of the jack o’lantern and the bluish sky in the background.

Happy Halloween!

Bring a Symbol of the Holiday Into Focus

_DSC6274_RT

I have made this same picture over and over and I still love it. Birthday cupcakes with lit candle, a number of fingers held up to signify a birthday year, a lottery ticket, a dyed Easter egg, and more. This time it’s the four leaf clover my subject plucked from a pot in the yard (look closely since at first glance it looks like three, but it is four). I was actually taking pictures of her cute Valentine’s outfit when she found the clover and held it out to me to inspect. The resulting image is really cute and the clover pops out not only because my aperture was set wide open at F/2.8 and I focused on the clover (thus blurring the background), but also because of the contrast of the green against the red and white of her clothing. So whether it’s your child’s favorite stuffed animal, a perfect test score, or a special holiday object, this effect is a great way to bring focus to the event or milestone while still keeping the subject’s face present in your photos.

Holiday Portraits Using the Night Portrait Scene Mode

nite_portrait_flash
I rarely use the scene modes on my camera, but the one I find myself using from time to time is the Night Portrait mode. This scene mode is the one with the icon featuring a person and star  or moon (see typical camera mode dial below). I use this mode when I want a person as my main subject, but the special lighting in the background, like Christmas lights, Times Square lighting, or a sunset, is equally important. In this photo, my subject posed in front of the town’s decorated gazebo and lit tree.
night portrait mode on dial
The Night Portrait mode sends out a burst of the flash to capture the subject and than makes the shutter stay open a little longer to capture the lighting in the background. The trick in this mode is to be sure both you and your subject hold still to avoid unwanted blur from camera shake or subject movement. In fact, my subject did move and her hands are slightly blurry due to the very slow 1/10 sec shutter speed required to achieve the effect. But the expression was just what I hoped for, so for me, it’s perfect. I boosted the ISO considerably—to 1000— and I opened my aperture to F/5, the widest setting for this situation, in order to make the lights softer in the background. Using the Night Portrait mode helped me take the guess work out of deciding how to set my flash and shutter speed and instead concentrate on snapping away until I got what I was looking for. So pose your kids in front of the tree or outdoor decorations, or position your family along the railing at sunset on your next cruise, set the camera to Night Portrait mode and see what you can get!

Fireworks Photos are a Blast!

_DSC2987_RT

Fireworks photos are easy to shoot if you have a great position and a stable tripod or surface for your camera (or a lens with image stabilization like my 18-270mm VC zoom). I set the camera to manual mode (off of the program or aperture priority shooting mode I usually use). I also set the camera to manual focus. Since the sky is dark, the camera cannot focus so you need to manually set the lens’ focus ring to infinity. Next, I boosted the ISO to 1000. And finally, I set the lens to my widest aperture (F/6.3) and a slow 1/15th of a second shutter speed. The slow shutter speed captures the streaks of the fireworks’ bursts nicely (but the slow shutter speed can lead to some blur if you are hand-holding or shooting without a tripod and cable release–did you know that even when your camera is on a tripod, the act of pressing the shutter release button can cause blur?). If you get too much blur, move your shutter speed to 1/30th of a second, but your streaks may not be as long. I did have a nice position on the patio of a beautiful bed and breakfast where a friend was staying (we were so pleased that she invited us all to watch with her!). There was a nice break in the trees that looked out over the LI Sound. While the fireworks we saw were not Macy’s quality, they were fun for the kids, we oohed and aahed, and I felt I got a few good shots to include in my scrapbook page for this year’s holiday. Perfect end to a Happy 4th of July Day! (270mm; ISO 1000; F/6.3; 1/15th sec.)

I Love a Parade, But They’re Hard to Shoot

PARADE_1

Shooting a parade is really not that easy. There is so much going on. And it goes by pretty quickly. And someone always moves into your frame before you get the shot. Well, at least that’s what always happens to me. So shooting the Memorial Day parade was a practice session for me with the hope that I have honed my rusty parade-shooting skills a little bit before our “big” July 4th parade (I say big, but it’s less than 1/2 mile and lasts all of 30 minutes). Anyway, since there was no one in the parade itself that I was trying to capture, and I was not shooting for any newspaper, I wanted to be sure the reasons for me even being at the parade, my model and her friends, were in my shots. So I crouched a little and captured them in the corner of the frame as they watched our terrific high school marching band pass by. I used a wideangle setting and shot it horizontally to capture as many band members as possible.

But of course, there were fire trucks and flags galore. To capture the reaction of a whistle-blowing fire truck that just went by (yeah, if I wasn’t shooting, I’d be holding my ears , too!), I turned the camera vertically, took a few steps back and zoomed in to frame the image nicely without any wideangle distortion. PARADE_2Here, a vertical orientation works to capture the kids in the lower foreground with the parade blurred out in the background. The background drops out since I had the aperture set wide (F/3.5) which gives a shallow depth of field. But I was also using a medium tele setting (100mm). When you use a tele setting and are close to your subject, you get shallow depth of field (blurry backgrounds) like this. I really like the result. There’s no doubt where we are and I feel like I am there just looking at the photo. I hear it too!

So as you get ready to shoot your next parade, try to a) get there early to stake out an up-front spot; b) stand on the side of the street with light so your camera has an easier time getting a proper exposure; c) use the rule of thirds to place your own little parade watchers in the frame (position them in the bottom, left or right third of the frame rather than the middle); d) use different zoom settings; and e) take lots of shots!