Capture Silky Smooth Moving Water

Water is a compelling photographic subject. And how you capture it makes an impression on the viewer. Freezing the action for crystal clear water droplets from a crashing wave or pool splashes conveys power and energy. Slowing the motion down to create a milky white stream of water creates a more serene picture.
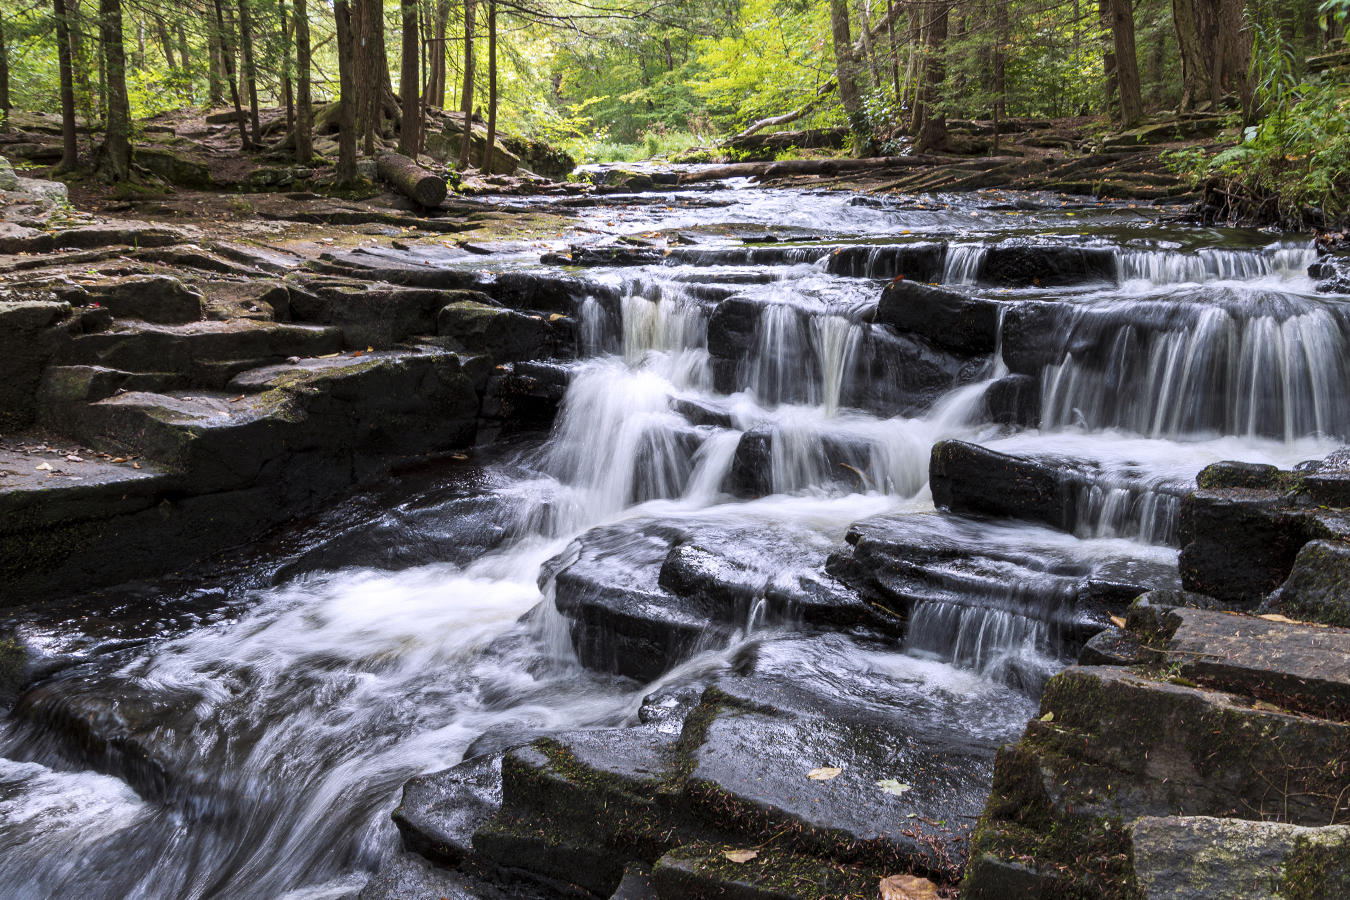
In this photo taken on the Little Falls Trail in Promised Land State Park, Poconos, PA, I hiked in mid-morning with my 18-400mm all-in-one lens as well as an electronics cable release designed for your camera and my travel tripod, two must-have accessories to create silky water fall action. Getting as close down and into the flowing water as possible creates a more dramatic perspective.

Settings are very important. First, set your camera to aperture priority and choose an aperture that will give you deep depth of field (between F11-F22 is ideal) so that your foreground to background will be in focus. I used F11 here. Next, select ISO 100. Now look thru the viewfinder and see if your shutter speed is below 1/15th second (I shot my image above at 1/6th second). You can change your aperture to make the shutter speed faster or slower. If you move the aperture from F11 to F16, the shutter speed be slower. If you open up your aperture to F8 to let light more light in, the shutter speed will be faster. Start shooting to see your effect and change your aperture until the image looks the way you want it to.

Since you will be shooting at slow shutter speeds below 1/60th second, you will not be able to handhold the camera. You must use a sturdy tripod and a cable release to ensure there is no camera shake.

The three settings involved in creating an image of a waterfall are referred to as the exposure triangle. The ISO, the aperture and the shutter speed all work in concert to create the effect. So your constant will be your ISO. The second that you will work with is your aperture. Opening or closing the aperture will change the shutter speed to be faster or slower. The shutter speed is ultimately the setting that will either freeze the water (faster shutter speed) or create the silky effect (slower shutter speed).

And the last tip for any landscape photo is to focus about a third of the way into the scene. This will give you the best results for foreground to background focus.

This tip is a good self-assignment for any season. So, find a park with waterfalls within driving distance and head out with your wide-angle lens, tripod and cable release.

Pump Up Your ISO & Turn on Your Flash for Great Sparkler Photos

Sparkler Fun

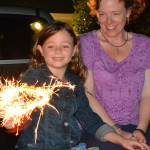
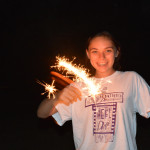
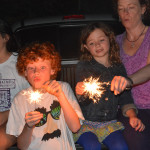
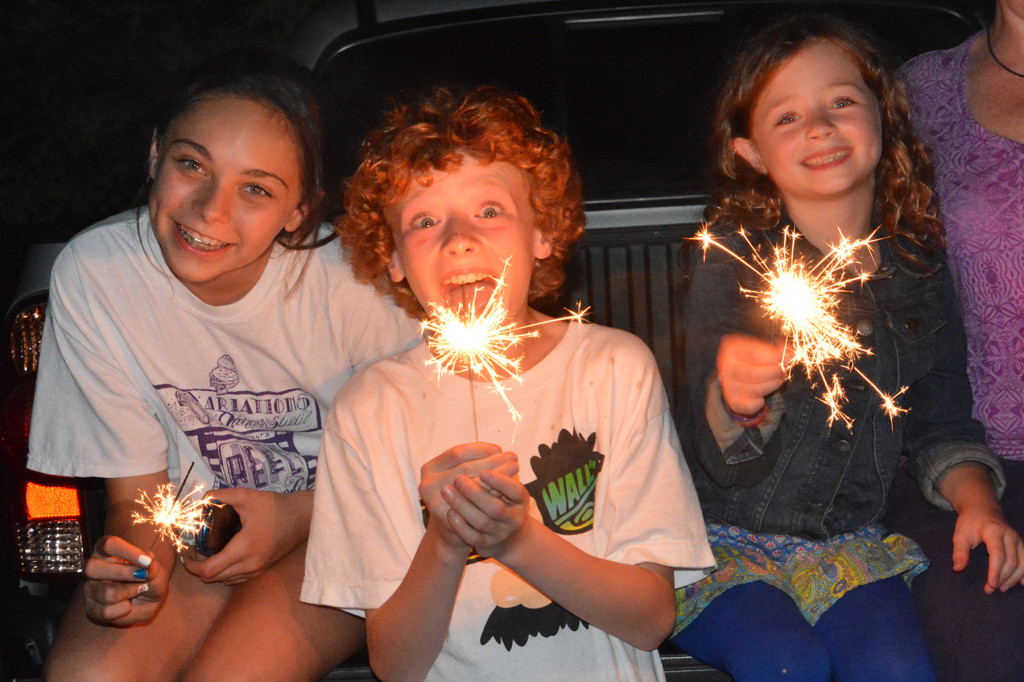
We have one two more nights of the long Independence Day weekend. When the sun finally sets, break out your camera and sparklers for fun holiday shots. Since it will be very dark out, you will need to boost your ISO to avoid both camera shake and blur from subject movement. Try ISO 1600. For the photo here, I also added a flash on slow sync. This flash mode sends out a burst of light to freeze the subject but keeps the shutter open just a bit longer to capture the sparkler motion as well as some ambient light for an image with more depth. If you are unsure how to set your flash to slow sync mode, you can also try the automatic “nighttime” mode on your camera, denoted by a person + star or moon on the mode dial.

Carve Your Pumpkins And Get Some Fun Photos Too!

jackolantern1
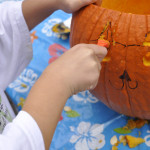
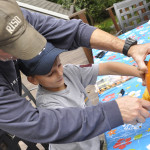
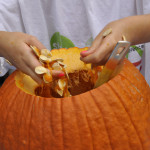
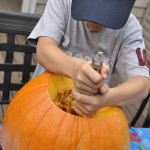
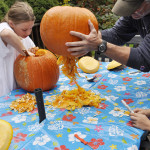
The annual holiday tradition of carving pumpkins to make jack-o-lanterns running the gamut from sweet to ghoulish is one that is filled with picture-taking opportunities. Get up above the action to capture all of the fun, and zoom in close to get great detail shots of the tools and mess involved in pumpkin-carving. See the shots below for examples. But after the mess is all cleaned up and the sun has gone down, set out your pumpkins and light them up for a great shot. Make sure your camera is stable. Using a tripod is highly recommended. Next, turn your ISO down low to 100 or 200. Your exposure will be long and you do not want to create unnecessary noise in your shot. Set you camera to manual exposure and open the aperture to about F/4. Fill your frame as desired and shoot, using a cable release or remote control to avoid any camera shake when you trip the shutter. If you do not have a release, you could set the camera to self-timer. Adjust your shutter speed to 30 seconds and take a shot. The photo will be either too light or too dark. Adjust the shutter speed to faster, like I did here to 15 seconds, if the photo was too bright. If it was too dark, add more time to the exposure. I had two other pumpkins on either side of this one, so the ambient candle light was picked up during the long exposure to make a nice fun jack-o-either portrait.

Slow Down Your Shutter Speed for Fun Snowy Photos

_DSC5633_RT

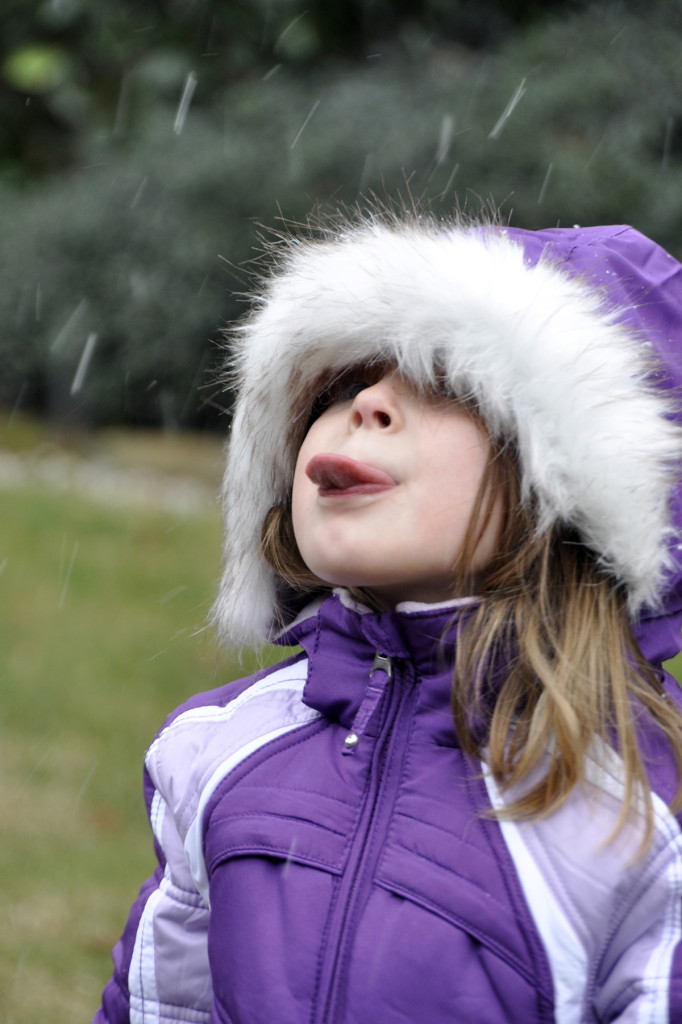
Now that winter is here, you’ll find yourself outside with the kids on the next snowy day. A good time to practice slowing down your shutter speed to create fun effects! By putting your camera on aperture priority mode (A on the mode dial)and moving your aperture (or f-stop) to a larger number like F/8, you will get a slower shutter speed. Since it is usually overcast when it is snowing, this aperture setting should be about right, but feel free to make the aperture even larger, or open up a little bit (move to a smaller number like F/6.3 or F/5.6). In this photo, the exposure was 1/40th sec. at F/6.3— just enough to make the very light snow turn into short streaks, but still fast enough to keep my subject in focus if she moved slightly. I used the stabilization feature on my lens, so camera shake was not a worry, but you will want to be sure that the shutter speed does not drop to slower than 1/30th sec. or else you do risk camera shake without a stabilization feature. If your subjects are jumping around considerably, this technique may not work. I asked my subject to catch snowflakes with her tongue, which made her stand still and concentrate on the activity. Slower shutter speeds (typically those under 1/125th sec.) can help convey motion, and this same technique should be used to make water streaks under a sprinkler or from a hose or for waterfalls. Read more about freezing and blurring motion here and here.

Take in the Scene with a Slower Shutter Speed

_DSC1573_RT

It’s very hard to catch him smiling naturally. So, as I did in this restaurant during lunch, I often snap a few photos in a row hoping for that “in-between” moment when he’s more relaxed. I think I got it here! This photo has a nice natural background since I used only the light from the window my subject was facing for lighting, rather than using my flash. And since my ISO was set to 400, my shutter speed was a slower 1/50th of a second (I turned on the anti-shake on the lens to eliminate any blur that might have occurred from hand-shake). That slower shutter speed allows the shutter to remain open long enough to capture the ambient light in the background, also lit by the large bright windows. The result is a nice shot that shows the whole scene. So when indoors, ask for a seat near a window and capture the ambiance of the whole scene.

Photographing a Spooky Jack O’Lantern

jackolantern3Tonight is the perfect night to light up your carved pumpkin and snap a few spooky shots. I found that taking a shot a little bit after the sun sets, while there is still some light left in the sky, can make your pumpkin look more scary. The tree branches will be back-lit, which adds to the mood of the shot. Start by setting your camera to aperture priority and selecting the widest aperture your lens allows (F/2.3, F/3.5) and a low ISO (200 or 100). Next, put your camera on a tripod or other stable surface. Using a cable release or electronic remote control like I did will ensure that you do not get an blur when you press the shutter release button during your long exposure. If you have a lens with an anti-shake mechanism (like Tamron’s VC, Nikon’s VR or Canon’s IS systems), be sure to turn it off when using a tripod as it is counter-productive to use the stabilizer system in that situation. Then, shoot your pumpkin at a lower angle using a wide angle setting on your lens to get some of the trees in the background. You can add extra exposure if your background is too dark by using the exposure compensation dial and going to the plus side. This slows down your shutter speed even more. Your exposure will be somewhere around 15 seconds to get the soft glow of the jack o’lantern and the bluish sky in the background.

Happy Halloween!

"My Photos Are Blurry" — Solutions for Common Photo Problems: Part 1

DSC_2702_6x9So while talking with friends who are all new DSLR owners this past weekend, we discussed the solutions for the most common problems people have with their photos. So of course, it sparked an idea for a blog post. Here is part 1: “My Photos Are Blurry.”

The reason for a blurry photo is that the shutter speed is too slow to stop either fast moving action or camera shake in low light situations. The faster action moves, the faster the shutter speed required to stop the action; the longer your lens setting (telephoto), the faster the shutter speed required to stop camera shake since the shake is magnified (think about looking through powerful binoculars and how hard it is to hold them without the seeing shake); and finally, in lower the lighting conditions, the shutter speed slows down to let in more light, making it harder to hand hold.

So what to do? First, you need to understand what the ideal shutter speed is for hand-holding to avoid camera shake. The quick answer to to shoot at a shutter sped that is no slower than the reciprocal of the focal length setting of your lens. So if you are zoomed out to 300mm to catch sports, nature, wildlife or candid portraits, the ideal shutter sped will be 1/300th of a second or faster to stop hand shake blur. However, with today’s stabilized lenses, you can shoot a 2-3 or even 4 stops slower with no resulting hand-shake. Second, understand that it is almost impossible for anyone to hand hold the camera at any focal length setting if the shutter speed goes below 1/30th of a second. Thirdly, if action is moving fast, like soccer or basketball, you will need a shutter speed of approx. 1/500th of a second. If the action moves even faster than that, such as car racing or horse racing, you will need to shoot even faster (1/1000th, 1/2500th, etc.(.

Solution 1: Open your aperture to let in more light and the camera will pick a faster shutter speed.
If you set your camera to aperture priority, move the aperture towards a wider opening (e.g., F/6.3, F/5.6, F/3.5) and watch your shutter speed get faster. Hopefully, you will be able to get a shutter speed / aperture combination that allows you to have a fast shutter speed for the action or zoom setting. Be mindful that with an open aperture, you have less depth of field, so precisely focusing on the critical part of your image is very important.

Solution 2: If opening the aperture does not give you a shutter speed high enough to action blur or stop hand shake from slow shutter speeds as a result of low light or long telephoto settings, then the next solution is to boost your ISO higher. A higher ISO, will automatically provide you with higher shutter speeds. While your photo might have a little more noise or not as vibrant of color, you will be able to shoot the image. (Some DSLRs have really great high ISO capabilities, so don’t be afraid to try higher ISO settings).

Solution 3 (and my least favorite): If neither solution above works, then you can try to increase the lighting in the scene. One way is by adding flash. Flash will certainly freeze action and eliminate hand shake blur (as long as you are not in night time portrait mode). While flash can lead to an artificial feeling in your shot, hence my reason for it not being my favorite, it can do the job effectively and send you home with images of the moment. Remember, however, that flash can only cover a certain distance, and is sometimes not allowed at certain venues, so solutions 1 or 2 or a combination of both may be your only choices to correct the problem.

The image above would have been completely different had I used flash. So I boosted my ISO to 1600 so that the little bit of light coming into the room could be captured naturally. My lens was zoomed to 60mm, making the magic shutter speed 1/60th of a second. However, with my stabilized lens, I was fortunate to be able to catch the image at 1/8th of a second, the fastest shutter speed I could achieve with the given lighting, ISO setting and open aperture (F/4). The VC stabilization allowed me to shoot 3 stops slower than what would be normally required.

And of course, a solution that works the best for low light situations is a tripod. As long as there is no movement in your shot, a tripod will stabilize your camera and let you shoot at rather slow shutter speeds. Tripods are the most essential tool for landscape and nature photographers since a smaller aperture like F/11, F/16 or F/22 are required to achieve deep depth of field, but shutter speeds are naturally slower.

Next time you are shooting in low light, shooting at a longer telephoto zoom setting, or shooting action, consider the solutions above and you should find your images will be sharp as a result.

Set a Slower Shutter Speed for Fun Photos

tire_swing_1

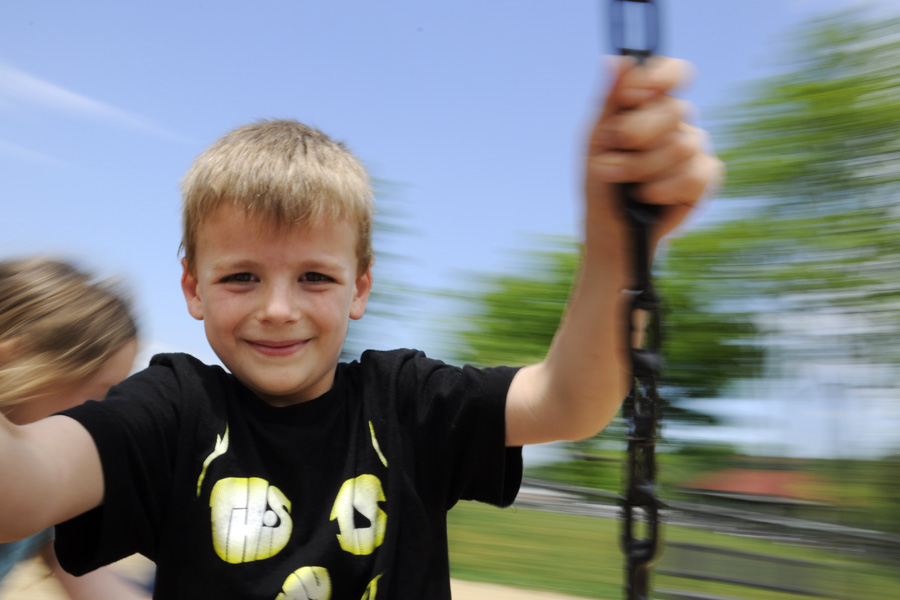
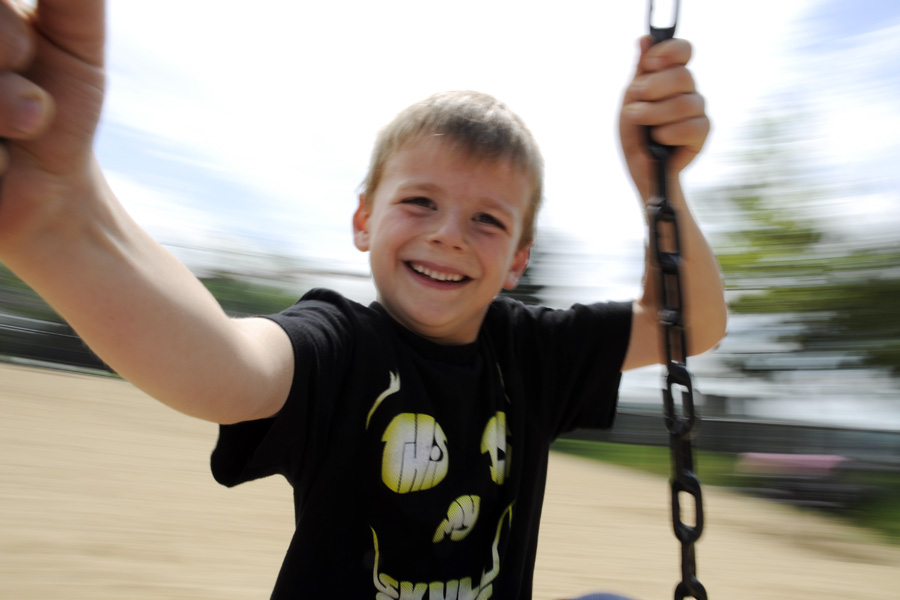
My friend and professional photographer Andre Costantini has this great shot in his presentation that really shows the effect of a slow shutter speed. So while at the park last week, I bravely got on a tire swing with my subject and we were promptly spun until I wanted to throw up. In fact, I closed my eyes and just kept shooting and screaming. But it was worth it to show you how a slow shutter speed setting can make a really fun shot. I had my camera set at ISO 200 as it was a really nice bright day and I put the camera on high continuous shooting. I then set the camera to F22 while in the aperture priority mode, which in turn gave me a shutter speed of 1/30th of a second. This slow shutter speed cannot stop the fast action of the tire spinning around, so the sky and trees in the background are wonderful streaky blurs. Yet the subject is in focus (well, relatively speaking and I will explain that in a minute). The reason the subject stays in focus even though the shutter speed is so slow, is that in relation to each other, our position stays the same. It’s as if we were just standing still looking at each other. Now, he is admittedly slightly out of focus since he was a little too close to the camera and had I just kept my eyes open while shooting, I would have spotted this and leaned back a touch. So if you can get yourself on a fast carnival or theme park ride, or a tire swing or one of those merry-go-round things on the playground, position yourself so that you and your subject face each other and relative to each other do not move (i.e., in the same seat), and shoot on a slow shutter speed to really show off the motion of the ride. Tell your subject not to move too much, especially closer or further away from the camera. And have fun. Maybe take some Dramamine® before you head out to take this shot.

tire_swing_3 tire_swing_2

Fireworks Photos are a Blast!

_DSC2987_RT

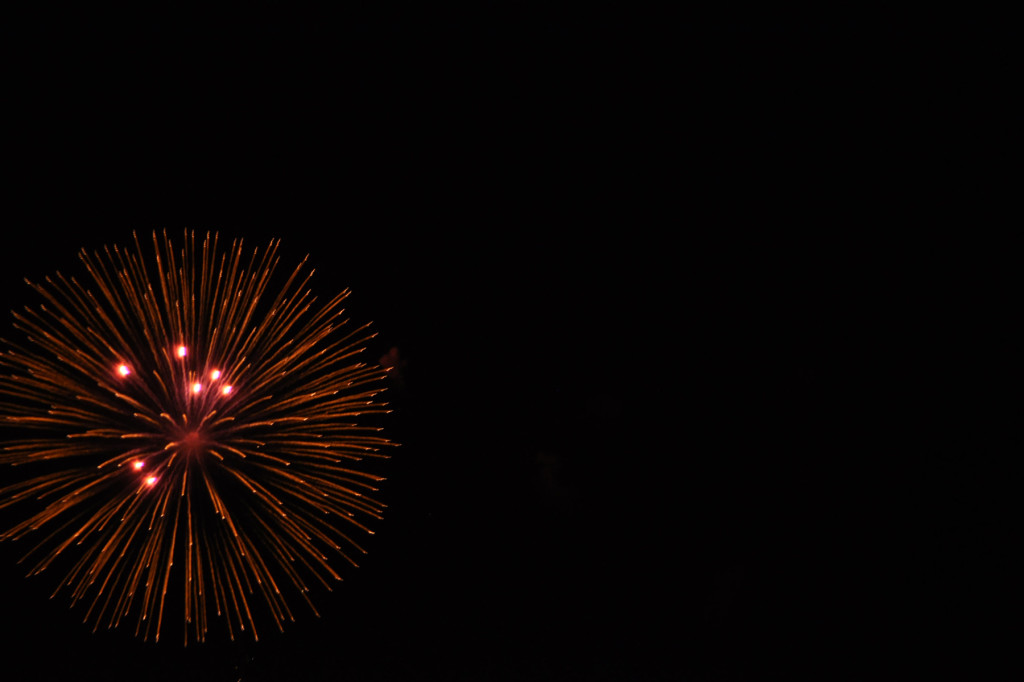
Fireworks photos are easy to shoot if you have a great position and a stable tripod or surface for your camera (or a lens with image stabilization like my 18-270mm VC zoom). I set the camera to manual mode (off of the program or aperture priority shooting mode I usually use). I also set the camera to manual focus. Since the sky is dark, the camera cannot focus so you need to manually set the lens’ focus ring to infinity. Next, I boosted the ISO to 1000. And finally, I set the lens to my widest aperture (F/6.3) and a slow 1/15th of a second shutter speed. The slow shutter speed captures the streaks of the fireworks’ bursts nicely (but the slow shutter speed can lead to some blur if you are hand-holding or shooting without a tripod and cable release–did you know that even when your camera is on a tripod, the act of pressing the shutter release button can cause blur?). If you get too much blur, move your shutter speed to 1/30th of a second, but your streaks may not be as long. I did have a nice position on the patio of a beautiful bed and breakfast where a friend was staying (we were so pleased that she invited us all to watch with her!). There was a nice break in the trees that looked out over the LI Sound. While the fireworks we saw were not Macy’s quality, they were fun for the kids, we oohed and aahed, and I felt I got a few good shots to include in my scrapbook page for this year’s holiday. Perfect end to a Happy 4th of July Day! (270mm; ISO 1000; F/6.3; 1/15th sec.)

Lawn Angels: Blurring and Freezing Motion in Photos

LawnAngel_Blur

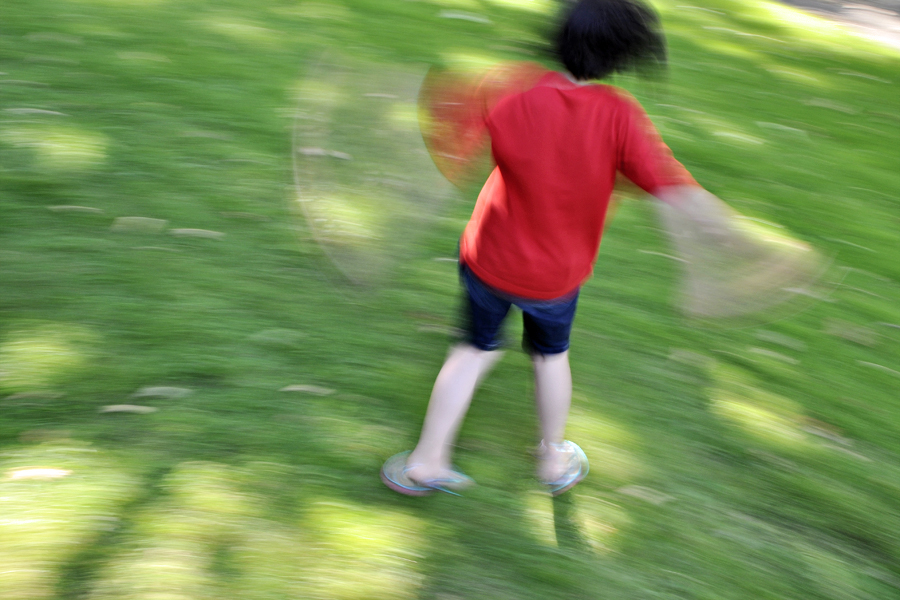
I set out to take two contrasting photos in order to visually demonstrate the effect different shutterspeed settings will have on your photos. Check it out! I got a shot that reminds me of snow angels! The shot above was taken at very slow shutterspeed (1/6 second), so the action is blurred. Most of the time when we take a shot that’s blurry, we delete it. Right? But take a second look. Sometimes there’s a story or an emotion that’s told because of the blur! My lawn angel spun until she was dizzy while I snapped away on the deck that gave me more of a “bird’s eye” view. The elevated position also allowed me to keep the lush green grass as a backdrop and eliminate from the shot the distracting cars and more in front of the house. I set my camera to aperture priority and selected a small aperture (f/18) and lowered the ISO to 200. These settings ensured that I would get a slow shutterspeed and blur the action.
LawnAngel_Freeze

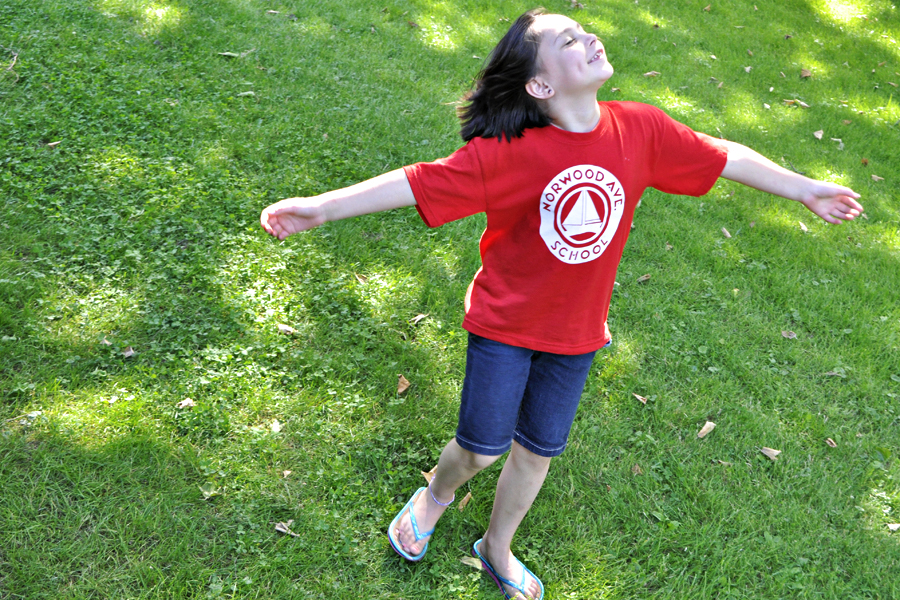
The contrasting shot above turns my angel into a statue, yet there is still a joy about the image since you can clearly see her face. But I may have to tell you that she was spinning or you might think she’s just breaking out into song or feeling the breeze. But whatever story you put to the image, it’s still joyous. To freeze the action, I moved the settings to the opposite end: the aperture was changed to the widest opening I could select (F/6.3) and I raised the ISO to 800. This ensured that I would get a faster shutterspeed of 1/200 sec.
So slow down a bit, literally, by capturing the movement in your active kids! Summer is the perfect time to try-jumping into and out of the pool, racing in the yard, playing jump rope, simply jumping, sliding into home plate, and so much more. And don’t delete the shots off your camera. Download them and take a closer look. You might be surprised at what you get. (PS-I am working on freebie cards for basic photo tips, so keep a look out for those).