Capture Silky Smooth Moving Water

Water is a compelling photographic subject. And how you capture it makes an impression on the viewer. Freezing the action for crystal clear water droplets from a crashing wave or pool splashes conveys power and energy. Slowing the motion down to create a milky white stream of water creates a more serene picture.
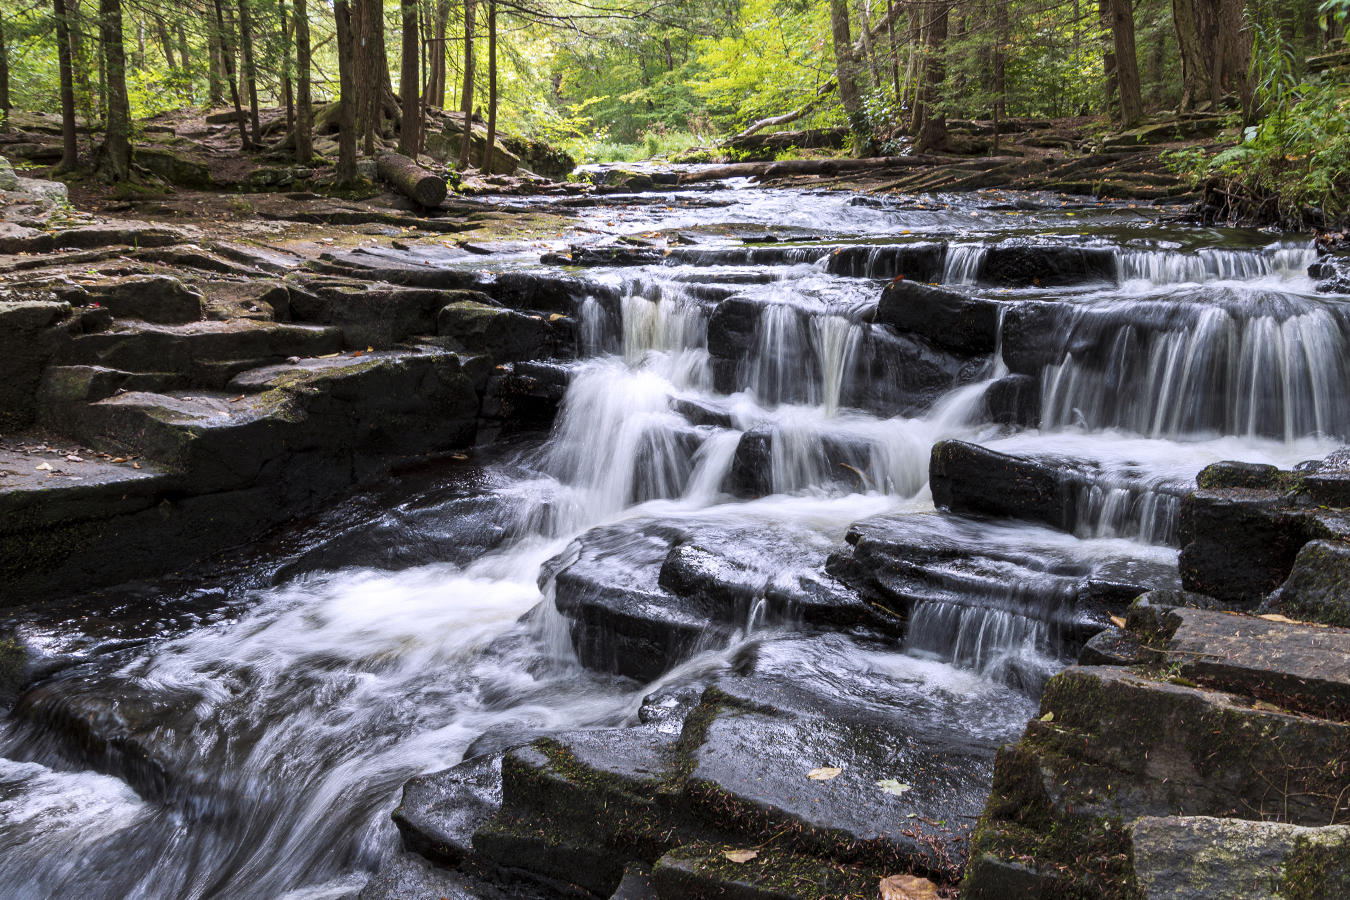
In this photo taken on the Little Falls Trail in Promised Land State Park, Poconos, PA, I hiked in mid-morning with my 18-400mm all-in-one lens as well as an electronics cable release designed for your camera and my travel tripod, two must-have accessories to create silky water fall action. Getting as close down and into the flowing water as possible creates a more dramatic perspective.

Settings are very important. First, set your camera to aperture priority and choose an aperture that will give you deep depth of field (between F11-F22 is ideal) so that your foreground to background will be in focus. I used F11 here. Next, select ISO 100. Now look thru the viewfinder and see if your shutter speed is below 1/15th second (I shot my image above at 1/6th second). You can change your aperture to make the shutter speed faster or slower. If you move the aperture from F11 to F16, the shutter speed be slower. If you open up your aperture to F8 to let light more light in, the shutter speed will be faster. Start shooting to see your effect and change your aperture until the image looks the way you want it to.

Since you will be shooting at slow shutter speeds below 1/60th second, you will not be able to handhold the camera. You must use a sturdy tripod and a cable release to ensure there is no camera shake.

The three settings involved in creating an image of a waterfall are referred to as the exposure triangle. The ISO, the aperture and the shutter speed all work in concert to create the effect. So your constant will be your ISO. The second that you will work with is your aperture. Opening or closing the aperture will change the shutter speed to be faster or slower. The shutter speed is ultimately the setting that will either freeze the water (faster shutter speed) or create the silky effect (slower shutter speed).

And the last tip for any landscape photo is to focus about a third of the way into the scene. This will give you the best results for foreground to background focus.

This tip is a good self-assignment for any season. So, find a park with waterfalls within driving distance and head out with your wide-angle lens, tripod and cable release.

Changing the Look of Your Photo with Aperture Priority Mode

You can dramatically change the look of your photo by changing the aperture of the lens on your camera, which controls the depth of field. Depth of field is how much of your photo in front of and behind your subject is in focus. If foreground to background is all in focus, your depth of field is deep. If the foreground and background are out of focus, then you have shallow depth of field. Learning to control this function on your camera will help you to yield more professional-looking photos that let your subject pop off the image because it will be separated from the background. In the two example photos below, the one on the left shows shallow depth of field. The aperture was set to F/4.5 (a wide open aperture). The photo on the right shows deep depth of field and the aperture was set to F/16 (a small aperture).

RT_Blog4_F4_SAE_1607

RT_Blog5_F16_SAE_1607The aperture is easy to set on your camera by setting your camera mode dial to A (on Nikon cameras) and Av (on Canon cameras). Then use the thumb wheel to move the aperture number to a smaller or a larger number. The smaller the number, the more blurry the background will be like the above left photo. The larger the number, the more in focus both subject and background will be, like the above right photo.

This technique is particularly useful when shooting portraits. You want your subject to stand out from the background, especially if there are distracting items behind the subject. You can choose how blurry or sharp the background will be by experimenting with different aperture settings. To practice, shoot the same subject twice at the two extremes like I did above. Do this several times with different subjects each time you have your camera out until you feel comfortable that you can easily pick the aperture to get the look you want. See more examples below and don’t forget to download the photo tips card for your gadget bag to help you in the field.

Free Photo Tips Card Download 1: Aperture

TIPS CARDS_final.psd

I’m using my time in the airport in Palm Springs (I’m painfully early for my flight and it’s 112 degrees outside so I can’t even enjoy the outside cafeteria) to finish and upload the first of what I hope will be many free download cards. These will be a series of cards that you can print out and keep with you to refer to when you’re out shooting. The first is about aperture priority mode. I’ve covered this topic a lot since I feel it is the most important technique to master to make better photos. Understanding what is does allows you to be more creative since you can force the outcome of your image to better tell your story. And we all know practice is the best way to master any technique. So print out this first set of cards on one letter-size sheet of photo paper (luster is best since it won’t scratch as much). Then cut the paper along the grey lines to give you a set of four cards. If you like, punch a whole in the corners and put them on a D-ring key chain and attach them to your camera bag. You could even have them laminated at your local office supply store. This is the first set of Chasing Picture Perfection Tips Cards. Download the file at this link http://www.4shared.com/file/119167214/5e95ce94/TIPS_CARDS_final.html

Unclutter Your Photo’s Background

earring_F6_150

Understanding the function of F-stops, or the aperture of your lens, is undeniably the most confusing of your DSLR’s features. However, once you master it, you will make a huge leap forward in the quality of your photos.

As a photo student in high school and college, I stuck a slip of paper onto the back of my camera (yes, in film days SLRs had a bookplate slot on the back of the camera where you slipped in a flap from your film box so that you could remember what film you had loaded. Can you imagine?!). On this slip I wrote, “open aperture=blurry” and “small aperture=sharp.”

An open aperture lets in a lot of light. On your lens it is a setting like F/2.8, 3.5, 5.6, or 6.3. Think of the aperture as your eye’s pupil. If there is not much light, your pupil gets bigger, or “opens” to let in more light. But a big result of using an open aperture is the effect of a blurry background that really makes your subject pop off the page (or screen). You can easily control the aperture setting on your camera by putting the camera on “A” and dialing in one of the aforementioned numbers. Your camera will automatically pick a shutter speed to make a proper exposure.

If you have a distracting background, dialing in a wider (or open aperture) will make the background blurry and eliminate the distractions. However, maybe you want the background really clear. Like if you’re standing in front of a sign that you want to be able to read in the photo. Then you would dial in a small aperture.

In this first photo, her eye is in focus, but her earring is not, and neither is the tip of her nose. I was just a few feet away and had the camera set to “A” (Aperture Priority) and dialed in F/6.3. Now conversely, if you choose a small aperture, like F/22 or F/32, your background will appear more sharp. Again, imagine a bright sunny day and how your pupils react: they get smaller and let in less light. But also, think about when you squint and how things get clearer. This is sort of how a smaller aperture works. In the second photo, I dialed in F/32 and her earring is now in more focus.

{F/6}

{F/6}

{F/32}

{F/32}


{F/6.3}

{F/6.3}

{F/22}

{F/22}

Lawn Angels: Blurring and Freezing Motion in Photos

LawnAngel_Blur

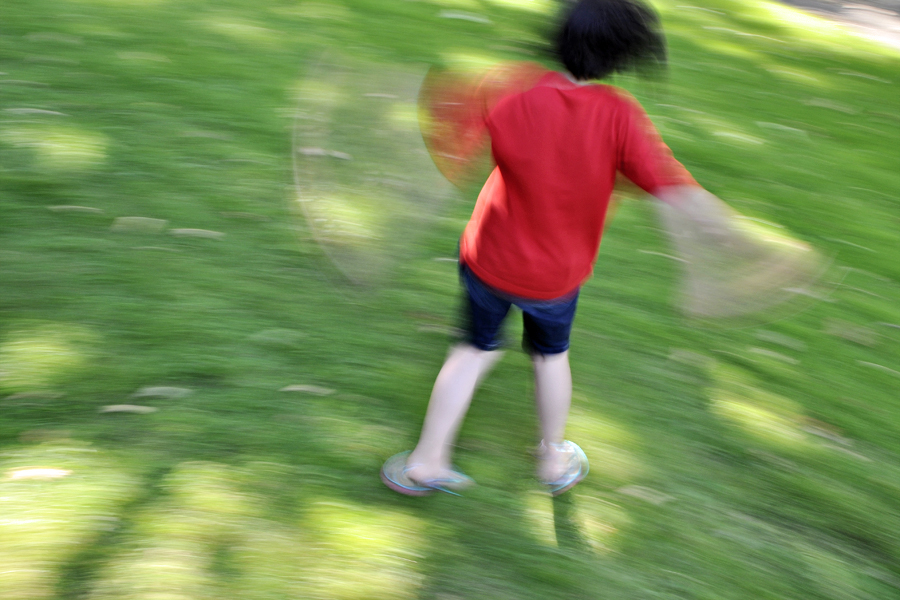
I set out to take two contrasting photos in order to visually demonstrate the effect different shutterspeed settings will have on your photos. Check it out! I got a shot that reminds me of snow angels! The shot above was taken at very slow shutterspeed (1/6 second), so the action is blurred. Most of the time when we take a shot that’s blurry, we delete it. Right? But take a second look. Sometimes there’s a story or an emotion that’s told because of the blur! My lawn angel spun until she was dizzy while I snapped away on the deck that gave me more of a “bird’s eye” view. The elevated position also allowed me to keep the lush green grass as a backdrop and eliminate from the shot the distracting cars and more in front of the house. I set my camera to aperture priority and selected a small aperture (f/18) and lowered the ISO to 200. These settings ensured that I would get a slow shutterspeed and blur the action.
LawnAngel_Freeze

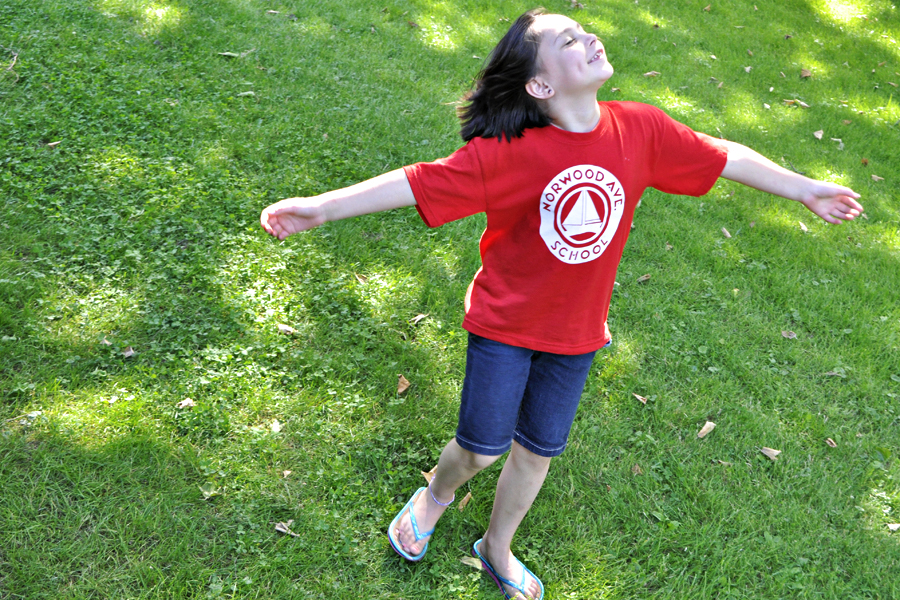
The contrasting shot above turns my angel into a statue, yet there is still a joy about the image since you can clearly see her face. But I may have to tell you that she was spinning or you might think she’s just breaking out into song or feeling the breeze. But whatever story you put to the image, it’s still joyous. To freeze the action, I moved the settings to the opposite end: the aperture was changed to the widest opening I could select (F/6.3) and I raised the ISO to 800. This ensured that I would get a faster shutterspeed of 1/200 sec.
So slow down a bit, literally, by capturing the movement in your active kids! Summer is the perfect time to try-jumping into and out of the pool, racing in the yard, playing jump rope, simply jumping, sliding into home plate, and so much more. And don’t delete the shots off your camera. Download them and take a closer look. You might be surprised at what you get. (PS-I am working on freebie cards for basic photo tips, so keep a look out for those).

Sideline Shooting

SOCCER_2
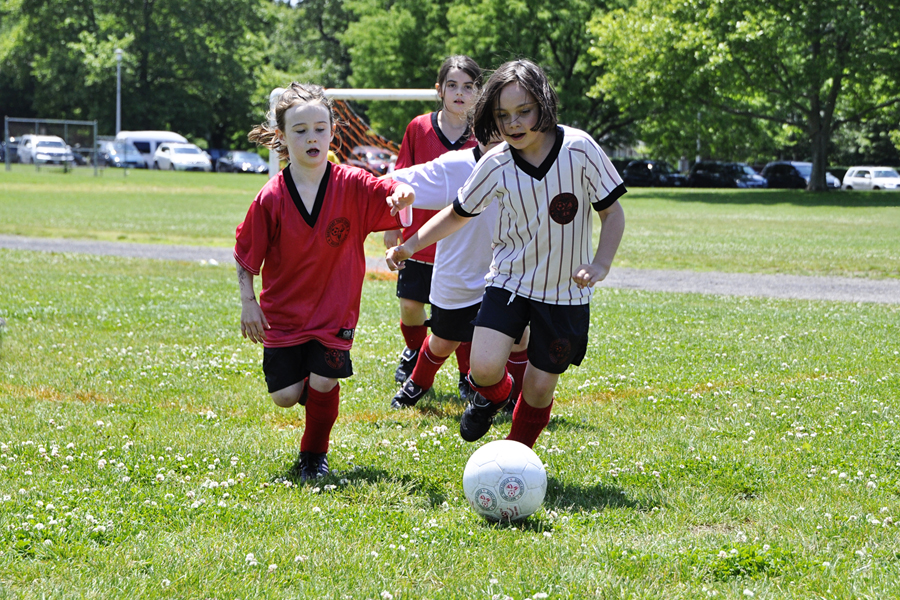
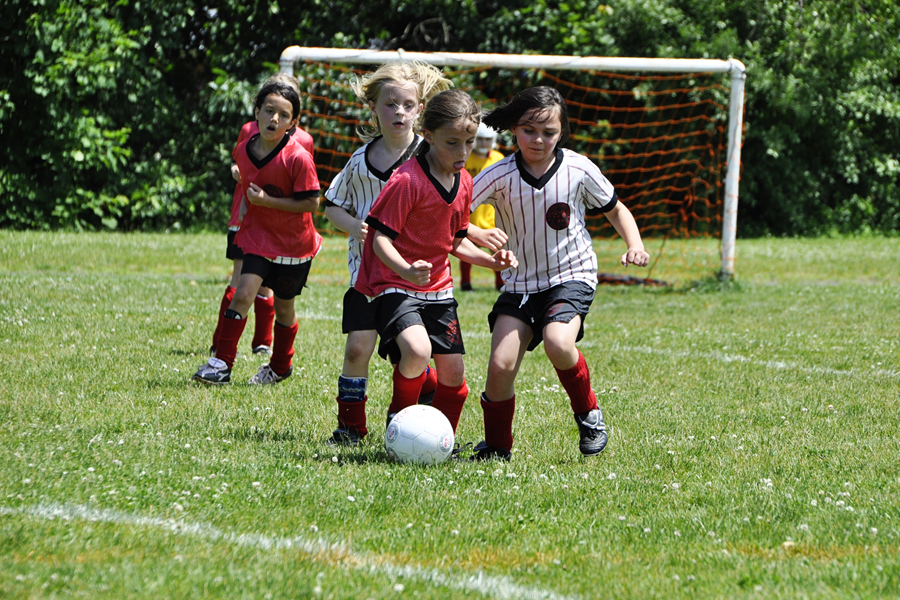
Today was her last game of the season (they tied 1-1). And today was the first time I shot a game this season. Shooting any sport from the sidelines can be challenging. But I’ve found a few of the following tips to be useful. First, make sure your camera is set to aperture priority and select the widest aperture you can with your lens. This way, your camera will always choose the fastest shutter speed for you. Plus, you’ll bring the focus on your subject since the background will then blur out a little.

SOCCER_1

Set your ISO a little higher (400 or 800 if sunny; 1000 if overcast) to ensure faster shutter speeds to stop the action. (If you have a point and shoot camera, try setting the camera on the sports mode). Next, put your camera on both the continuous auto focus and continuous shooting mode. If you have to lift your finger after each shot to take the next, you’re guaranteed to miss something. If you’ve ever had the opportunity to watch a pro shoot, you’ll remember that their finger stays on the shutter release until the ball is out of play! You almost feel as if you’re watching a video when you review their thousands of shots. For sure, knowing the game is a big help since you can anticipate where the action will be. But, if you’re sports-challenged like me, then following the ball through your viewfinder will naturally keep you where the action is and then start pressing the shutter as soon as your child enters the frame. You may also choose to follow your child, but then you sort of miss the game. Another good tip is to not stay in one place. If your child plays on the same side as where you are seated (left wing, e.g.), you may wind up shooting a lot of his or her back. If you venture to the opposing side, on your team’s goal end, you may have a better chance at getting a shot of them facing you rather than the back of their jersey. And of course, your positioning may need to change throughout the game, so be prepared to walk/run the field on a day you plan to take lots of photos. Crouch down once in a while to get a different perspective, and zoom in on details like cleats and balls to make a full story for your album, photo book, scrapbook or digital frame. And last but truly not least, make sure you have a lens that can zoom over a wide range so you can get in close when the action is far down the field (a lens that goes up to around 300mm on a digital SLR is ideal) and you can capture it all as the action gets close to the sidelines by zooming out to a wide angle setting. Additionally, while you still may want to crop in a little closer later on, the closer you are to start, the better quality your cropped photo will be in the end. (ISO 400; 232mm; 1/1250 sec; F/6.3)

Too Much Tilt In This Photo? Yeah, You’re Right.

Yes, too much leaning to the right. Or is that the left? But I love the expression. It is so hard to get natural expressions from her these days. I am sure this is true of all kids her age.

TOO MUCH TILT

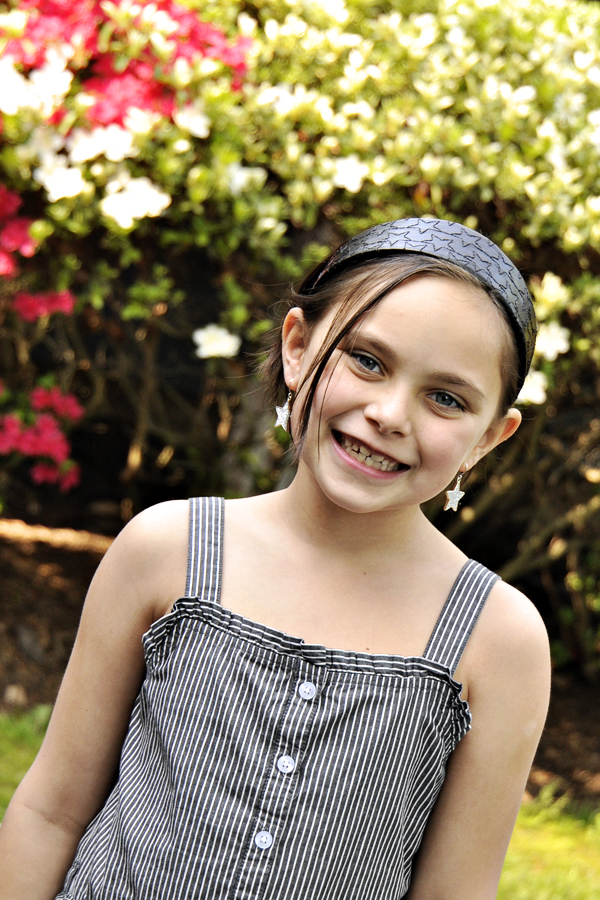
They become more self-conscious. More goofy. They think they’re Miley Cyrus posing for CD cover (check out the tween star earrings I let her wear on weekends now). So this was a shot in-between the aforementioned less than desirable looks/poses. I just love her face. And the color! Posed in the shade of the garage in front of the sunny and colorful azalea bushes, she pops off the background. To get this effect, I set the camera to aperture priority and opened up to F/5.6 (my widest opening on this lens, at this focal lenth, in this light, at this ISO). Setting your camera to the portrait scene mode would give you a similar result. The wide open aperture makes the background blurry and soft. But I’ve got to admit it, my attraction to tilting (seeMarch 13 post) did not work out in this photo so much. I’ll try tilting it back a little in photoshop. But love the smile and that’s what really counts. (F/5.6; 1/125 sec; 400 ISO; 60mm with VC on).

Father Daughter Portraits

DANCE PORTRAIT

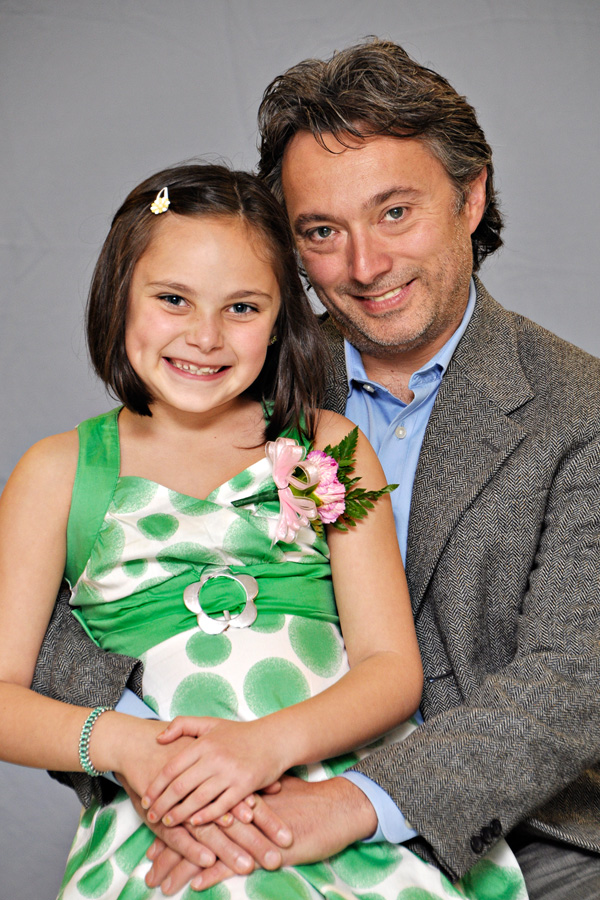
I volunteered to take portraits for the Brownies Father Daughter Dance. Turned out to be 53 girls and their dads! Whew. So Angela volunteered as a second camera. We set-up a make-shift studio in the school hallway by tacking up a sheet and using just one on-camera flash. Not like a pro studio, for sure, but hey, this is the equipment most of us own. So with the father sitting in a chair, and his daughter sitting on one of his legs with her legs in the middle, we asked the dad to put his hands in his daughter’s lap and the girl to put her hands on dad’s. We asked them to put their heads together so there was no space in between. Lastly, we tried to make sure that his cheek was somewhere near her temple. This way, their heads were staggered, a key to good group portraits. You never want to have everyone lined up evenly as it makes for a boring picture. There were several cases where dad came with two daughters, so when adding in the third, fourth or fifth person, ask some stand behind or on the side of dad, as this will ensure all of their eyes are on different level s. And be sure to have all of them close the gaps and move in closer to dad to keep the subject area in the middle. Another trick: since we opened up the aperture all of the way to be sure to blur the background, make sure that no one leans too far forward or too far back as then one of them will not be in sharp focus. Then we stood far enough back (approx 8 feet) to make sure we did not get the floor in the photo and we zoomed in to fill the frame. The flash was bounced off the ceiling. I positioned the flash almost straight up and this eliminated shadows on the backdrop. However, the loss of light from traveling up to the ceiling back down to the subject made the photo appear under exposed, so we just moved the exposure compensation to +2 and the image looked great. Last tip? Iron the sheet! Overall, the portraits came out very nice and everyone seemed pleased. (Tamron 18-270mm VC with VC on, Nikon SB800 bounced flash, ISO 400, F5.6, 1/60th sec, +2 exposure compensation, Auto White Balance).

Communion Portrait

COMMUNION PORTRAIT

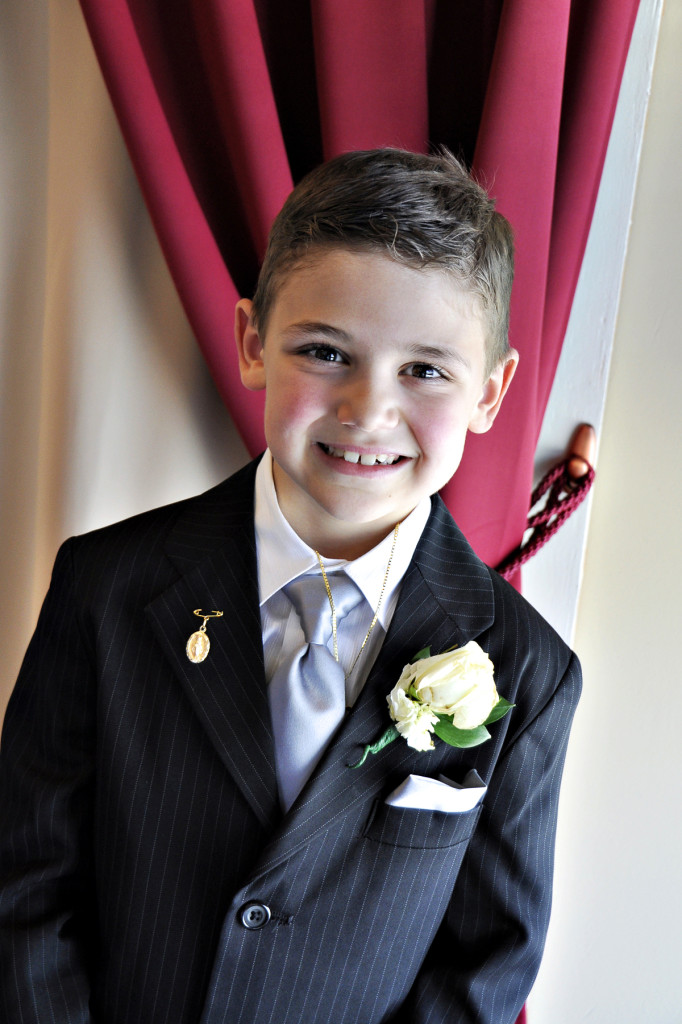
I love window light. In the Italian restaurant where we celebrated this boy’s first holy communion, a bank of windows with translucent shades was near the kids table. I asked him to take a minute and stand near the windows, using the wall treatments as a colorful and classic background that leads your eyes right to the subject’s face. I set the camera to aperture priority and dialed in the widest aperture opening I could (F/4.2). The ISO was set at 400. And since the light was low, I turned on the anti-stabilizer on the lens and was able to get a sharp image at 1/30th of a second (gotta love that VC!). The natural light really lets you see the details in his dapper suit and his beautiful rose corsage. And his dark eyes sparkle from the window light. It took more than a few shots to get a natural smile, and I did it by asking him to close his eyes real tight and then open them. He giggled after making a goofy face and I was able to catch a pretty natural smile.