Capture Silky Smooth Moving Water

Water is a compelling photographic subject. And how you capture it makes an impression on the viewer. Freezing the action for crystal clear water droplets from a crashing wave or pool splashes conveys power and energy. Slowing the motion down to create a milky white stream of water creates a more serene picture.
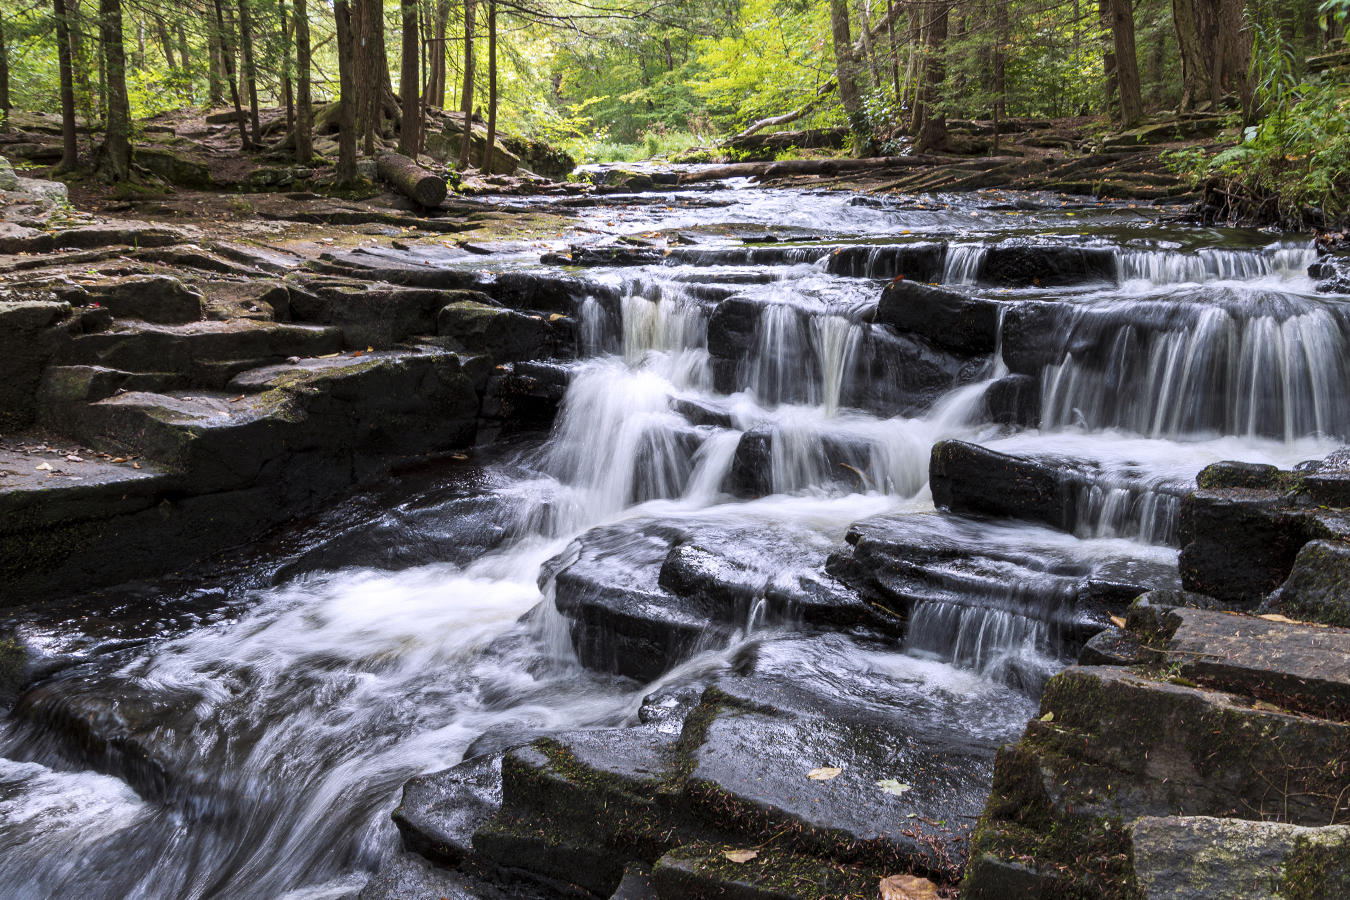
In this photo taken on the Little Falls Trail in Promised Land State Park, Poconos, PA, I hiked in mid-morning with my 18-400mm all-in-one lens as well as an electronics cable release designed for your camera and my travel tripod, two must-have accessories to create silky water fall action. Getting as close down and into the flowing water as possible creates a more dramatic perspective.

Settings are very important. First, set your camera to aperture priority and choose an aperture that will give you deep depth of field (between F11-F22 is ideal) so that your foreground to background will be in focus. I used F11 here. Next, select ISO 100. Now look thru the viewfinder and see if your shutter speed is below 1/15th second (I shot my image above at 1/6th second). You can change your aperture to make the shutter speed faster or slower. If you move the aperture from F11 to F16, the shutter speed be slower. If you open up your aperture to F8 to let light more light in, the shutter speed will be faster. Start shooting to see your effect and change your aperture until the image looks the way you want it to.

Since you will be shooting at slow shutter speeds below 1/60th second, you will not be able to handhold the camera. You must use a sturdy tripod and a cable release to ensure there is no camera shake.

The three settings involved in creating an image of a waterfall are referred to as the exposure triangle. The ISO, the aperture and the shutter speed all work in concert to create the effect. So your constant will be your ISO. The second that you will work with is your aperture. Opening or closing the aperture will change the shutter speed to be faster or slower. The shutter speed is ultimately the setting that will either freeze the water (faster shutter speed) or create the silky effect (slower shutter speed).

And the last tip for any landscape photo is to focus about a third of the way into the scene. This will give you the best results for foreground to background focus.

This tip is a good self-assignment for any season. So, find a park with waterfalls within driving distance and head out with your wide-angle lens, tripod and cable release.


Fall Foliage Background Perfect for Photo Portraits

When sunlight hits colorful fall foliage, it makes a stunning backdrop for your impromptu family portraits. The trick to getting the painterly background look that makes the subject pop off the background is to use a wide open aperture. The portrait here was taken at 70mm with an aperture setting of F/2.8. Focusing on the eyes, the background drops out due to the shallow depth of field into a painterly sparkle of fall colors. If your lens does not open to a fast aperture like F/2.8, use your telephoto lens at its maximum zoom, set the camera to aperture priority and choose the widest aperture opening (most likely F/5.6 or F/6.3) and step in a little bit closer. That combination will drop out the background for a similar look that makes a beautiful portrait suitable for framing and display on your mantle. 

Changing the Look of Your Photo with Aperture Priority Mode

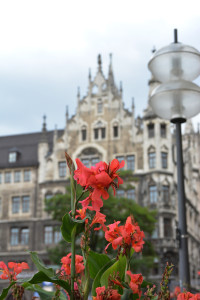
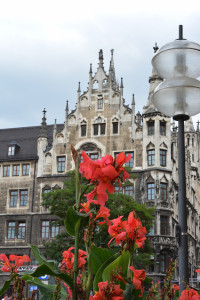
You can dramatically change the look of your photo by changing the aperture of the lens on your camera, which controls the depth of field. Depth of field is how much of your photo in front of and behind your subject is in focus. If foreground to background is all in focus, your depth of field is deep. If the foreground and background are out of focus, then you have shallow depth of field. Learning to control this function on your camera will help you to yield more professional-looking photos that let your subject pop off the image because it will be separated from the background. In the two example photos below, the one on the left shows shallow depth of field. The aperture was set to F/4.5 (a wide open aperture). The photo on the right shows deep depth of field and the aperture was set to F/16 (a small aperture).

RT_Blog4_F4_SAE_1607

RT_Blog5_F16_SAE_1607The aperture is easy to set on your camera by setting your camera mode dial to A (on Nikon cameras) and Av (on Canon cameras). Then use the thumb wheel to move the aperture number to a smaller or a larger number. The smaller the number, the more blurry the background will be like the above left photo. The larger the number, the more in focus both subject and background will be, like the above right photo.

This technique is particularly useful when shooting portraits. You want your subject to stand out from the background, especially if there are distracting items behind the subject. You can choose how blurry or sharp the background will be by experimenting with different aperture settings. To practice, shoot the same subject twice at the two extremes like I did above. Do this several times with different subjects each time you have your camera out until you feel comfortable that you can easily pick the aperture to get the look you want. See more examples below and don’t forget to download the photo tips card for your gadget bag to help you in the field.

Video Tutorials Worth Watching


I usually don’t post work-related stuff, but I have to say that the new 1-minute videos featuring professional photographer Andre Costantini are worth checking out, so I thought I’d share the link to the latest video about aperture since it is great information. See Episode Three and other videos here.

Take a Portrait With Shallow Depth of Field

earring_F6_150

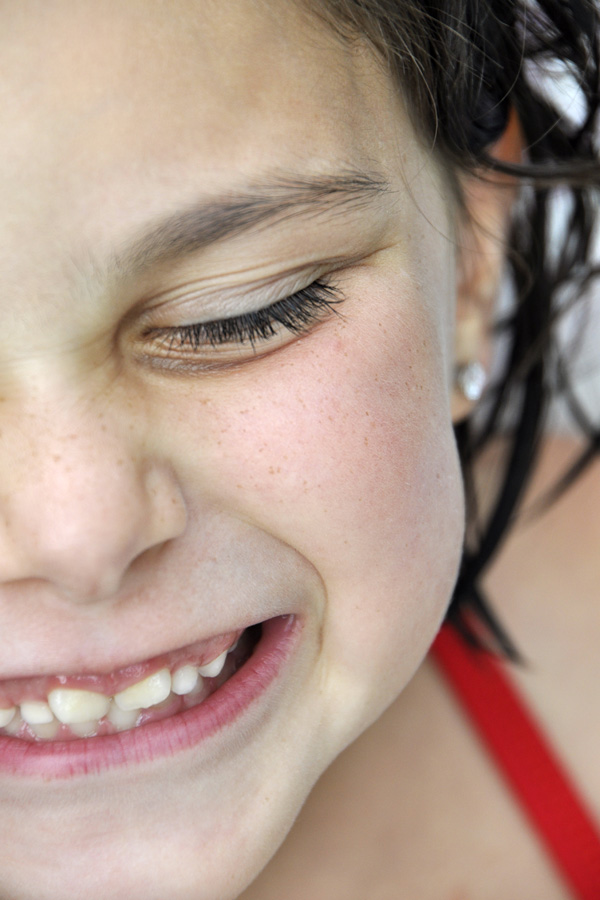
This is a repeat, but one that needs repeating since I think we all want to achieve great portrait shots— even when it’s just a quick candid shot we’re grabbing before the cake is served or before the kids are leaving for school. And using shallow depth of field is a key to great portraits (along with expression, lighting, angle). Shallow depth of field, when the parts of the image in front of and behind the subject are out of focus, makes your subject pop off the image. The example here (a repost from the summer), for instance, shows the eye and smile in sharp focus, yet the tip of the nose, ear and hair are out of focus. Another advantage of shallow depth of field is that you can eliminate distracting backgrounds like indoor clutter, foliage, cars on the street, etc., It makes the background less defined with soft colors.

To get shallow depth of field, the key is to set your camera to the “A” mode: Aperture-Priority. You can leave your ISO setting at 200 or 400 (or higher if the lighting conditions are low) and leave your camera in autofocus. You will then use your thumb-wheel to dial in the smallest number you can, like F/2.8, F/3.5, F/5.6. Focus on the eyes of your subject, or the eye that is closest to the camera. Depending on how close you are to your subject and what lens you are using (telephoto lenses and closer proximity make the effect even more apparent), you will notice that the background is just soft to almost unrecognizable. If you want the photo to have some context of where you are (like cooking in the kitchen), then maybe F/5.6 is a better choice. But if you want the crowd in the background to go really soft, “open the lens wider” to F/3.5 or F/2.8 if you can.Please review the aperture download card here.

Free Photo Tips Card Download 1: Aperture

TIPS CARDS_final.psd

I’m using my time in the airport in Palm Springs (I’m painfully early for my flight and it’s 112 degrees outside so I can’t even enjoy the outside cafeteria) to finish and upload the first of what I hope will be many free download cards. These will be a series of cards that you can print out and keep with you to refer to when you’re out shooting. The first is about aperture priority mode. I’ve covered this topic a lot since I feel it is the most important technique to master to make better photos. Understanding what is does allows you to be more creative since you can force the outcome of your image to better tell your story. And we all know practice is the best way to master any technique. So print out this first set of cards on one letter-size sheet of photo paper (luster is best since it won’t scratch as much). Then cut the paper along the grey lines to give you a set of four cards. If you like, punch a whole in the corners and put them on a D-ring key chain and attach them to your camera bag. You could even have them laminated at your local office supply store. This is the first set of Chasing Picture Perfection Tips Cards. Download the file at this link http://www.4shared.com/file/119167214/5e95ce94/TIPS_CARDS_final.html

Don’t Leave Home Without Your Camera

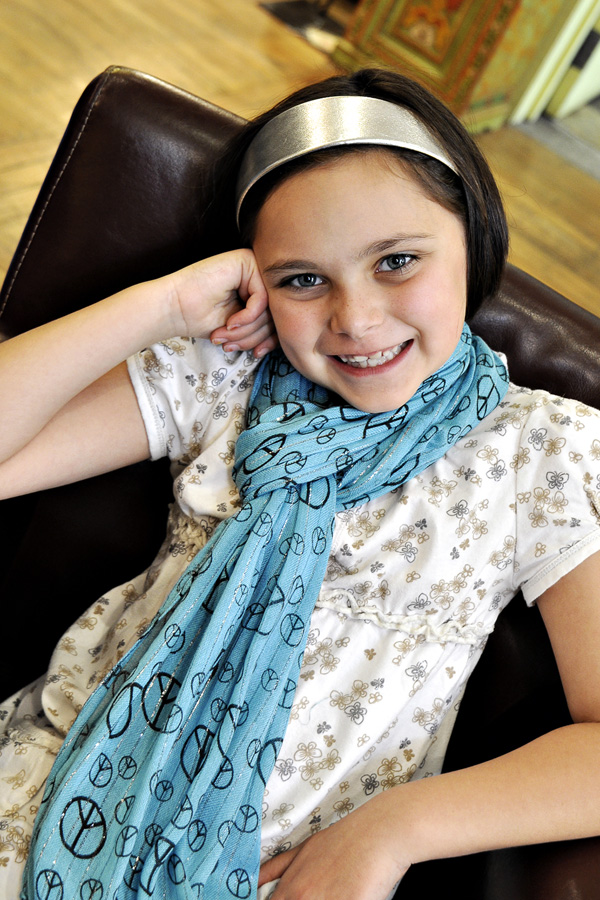
NYC_STORE_1That’s of course one of the tricks to getting a good photo. Just keep taking pictures! But even when your doing some of the most mundane things, you might just find some perfect light and a child with a great attitude for the day! Here are two shots from our recent overnight in NYC. We went window shopping down in SOHO and while in a furniture store, she sat down while we browsed. When I checked on her, I noticed that the window light streaming in from the high broad windows was beautiful. Her eyes just sparkled when she looked up at me. Of course, I said, oh, you look so pretty, stay right there! The warm tones in the store made it even more beautiful and she cooperated for two or three shots. (32mm; F/5; ISO 400).

NYC_STORE_2
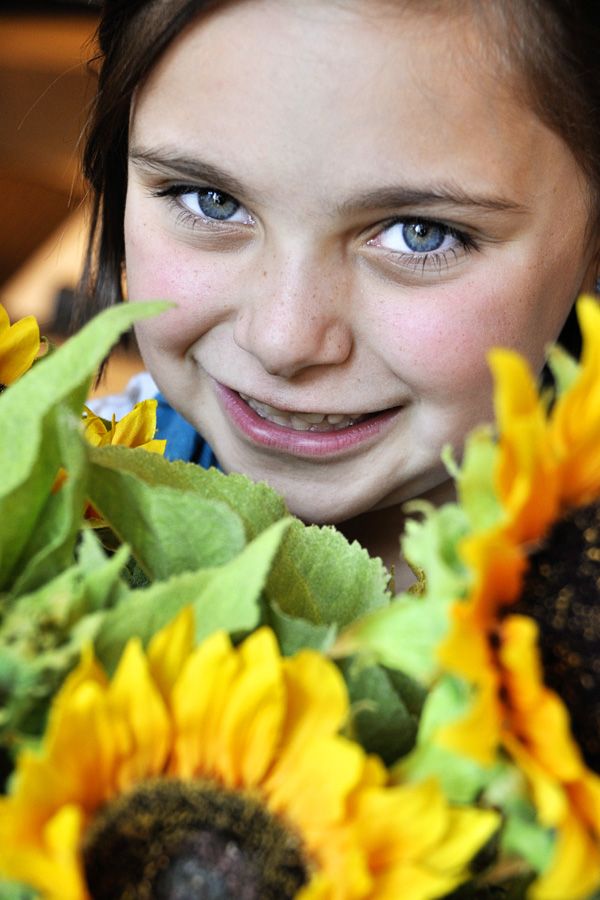
At the next store, there were floor to ceiling windows all around the 2nd floor store. And she picked up a nice prop- a bouquet of artificial sunflowers – and promptly sat on the floor in front of the window. Because I was so close to her, not more than five feet, and used a focal length slightly more than normal (65mm), the flowers are out of focus. (65m; F/5; ISO 400). For both shots, I had my camera in aperture priority mode so that I could always pick the most wide open aperture I could get given the lighting. This way I ensured the background would be a little softer to make her pop out. And I always focus on the eyes (or the eye that is closest to the camera).

Guest Post at Elementally Speaking

BALLERINA

My friend CrisDee over at Elementally Speaking asked if I would guest post for her site where she shares with you ideas for creating, capturing and keeping family memories.(see the post below, or at http://elementallyspeaking.wordpress.com/2009/07/06/new-feature-photo-tips-from-stacie-errera/Thanks Cris!)

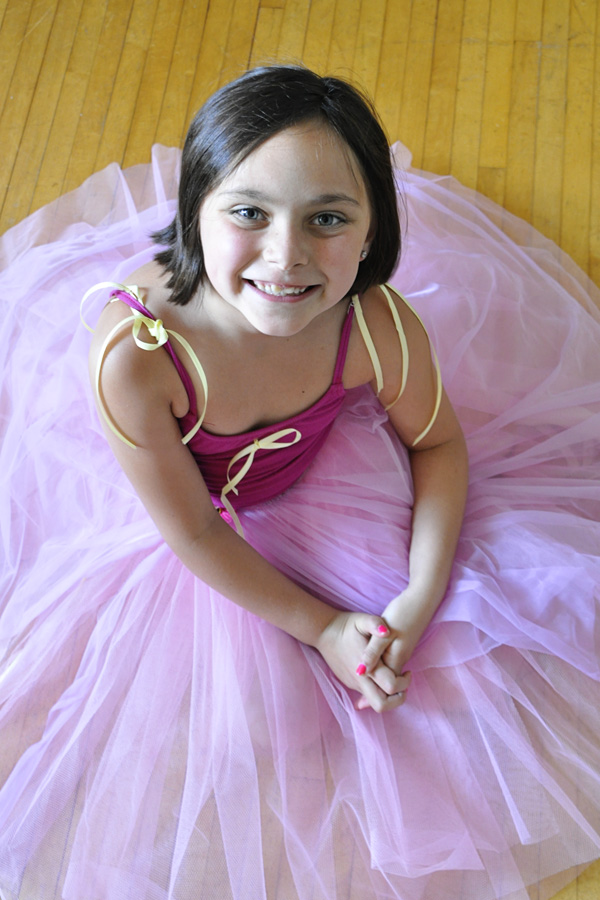
When it comes to our children’s stage performances, it is very difficult to get great shots unless you have total access during a rehearsal. The mistake most people make is to take photos from their seat in the auto mode.  If you do this, the flash will go off and you’ll get a dark stage and very well lit heads of the people in front of you.  So sit back and enjoy you child’s live performance with your eyes rather than through your camera’s viewfinder (I know, any of us shutterbugs find this an almost impossible suggestion!).Instead, concentrate on getting a nice shot of your child in costume by venturing back stage during rehearsals or prior to the performance.  I checked on my daughter the day before her recital and saw her costume for the first time.  I was thrilled when I saw the light streaming in from the windows behind the back stage curtains.  I asked her to sit down for a moment with the side of her face parallel to the windows to get nice side lighting on her face.  I then crouched down just a little so that I could see her ballerina skirt spread all around her and her big happy smile.  This point of view also let me include some of the wood floor that her pretty feet danced on the next day and one that really gives the viewer the true picture of what was happening when I took the photo.  Find a place in the environment that has some windows and position your actor or dancer so that the light brings out the detail in the costume and a highlight in your child’s eyes.  Don’t get too close to the window as the light will be too harsh.  Instead, move a few feet or more away from the window for an even light.  I always try to not use the flash and opt for natural light whenever possible.

Unclutter Your Photo’s Background

earring_F6_150

Understanding the function of F-stops, or the aperture of your lens, is undeniably the most confusing of your DSLR’s features. However, once you master it, you will make a huge leap forward in the quality of your photos.

As a photo student in high school and college, I stuck a slip of paper onto the back of my camera (yes, in film days SLRs had a bookplate slot on the back of the camera where you slipped in a flap from your film box so that you could remember what film you had loaded. Can you imagine?!). On this slip I wrote, “open aperture=blurry” and “small aperture=sharp.”

An open aperture lets in a lot of light. On your lens it is a setting like F/2.8, 3.5, 5.6, or 6.3. Think of the aperture as your eye’s pupil. If there is not much light, your pupil gets bigger, or “opens” to let in more light. But a big result of using an open aperture is the effect of a blurry background that really makes your subject pop off the page (or screen). You can easily control the aperture setting on your camera by putting the camera on “A” and dialing in one of the aforementioned numbers. Your camera will automatically pick a shutter speed to make a proper exposure.

If you have a distracting background, dialing in a wider (or open aperture) will make the background blurry and eliminate the distractions. However, maybe you want the background really clear. Like if you’re standing in front of a sign that you want to be able to read in the photo. Then you would dial in a small aperture.

In this first photo, her eye is in focus, but her earring is not, and neither is the tip of her nose. I was just a few feet away and had the camera set to “A” (Aperture Priority) and dialed in F/6.3. Now conversely, if you choose a small aperture, like F/22 or F/32, your background will appear more sharp. Again, imagine a bright sunny day and how your pupils react: they get smaller and let in less light. But also, think about when you squint and how things get clearer. This is sort of how a smaller aperture works. In the second photo, I dialed in F/32 and her earring is now in more focus.

{F/6}

{F/6}

{F/32}

{F/32}


{F/6.3}

{F/6.3}

{F/22}

{F/22}