Shooting Sample Images to Learn How to Achieve Shallow Depth of Field

I find that the best way to make aperture-setting selections stick in your mind to be able to achieve a desired effect is to shoot sample images at two aperture extremes. Start by putting your camera into the aperture-priority mode (A on Nikon cameras; AV in Canon cameras). Then set your aperture to the widest setting (like F/2.8, F/3.5, etc.) and take a photo. This will be your sample A (see my sample below). Then move your aperture to its smallest setting (like F/22, F/32). This is your sample B. Then study the difference between the shots.

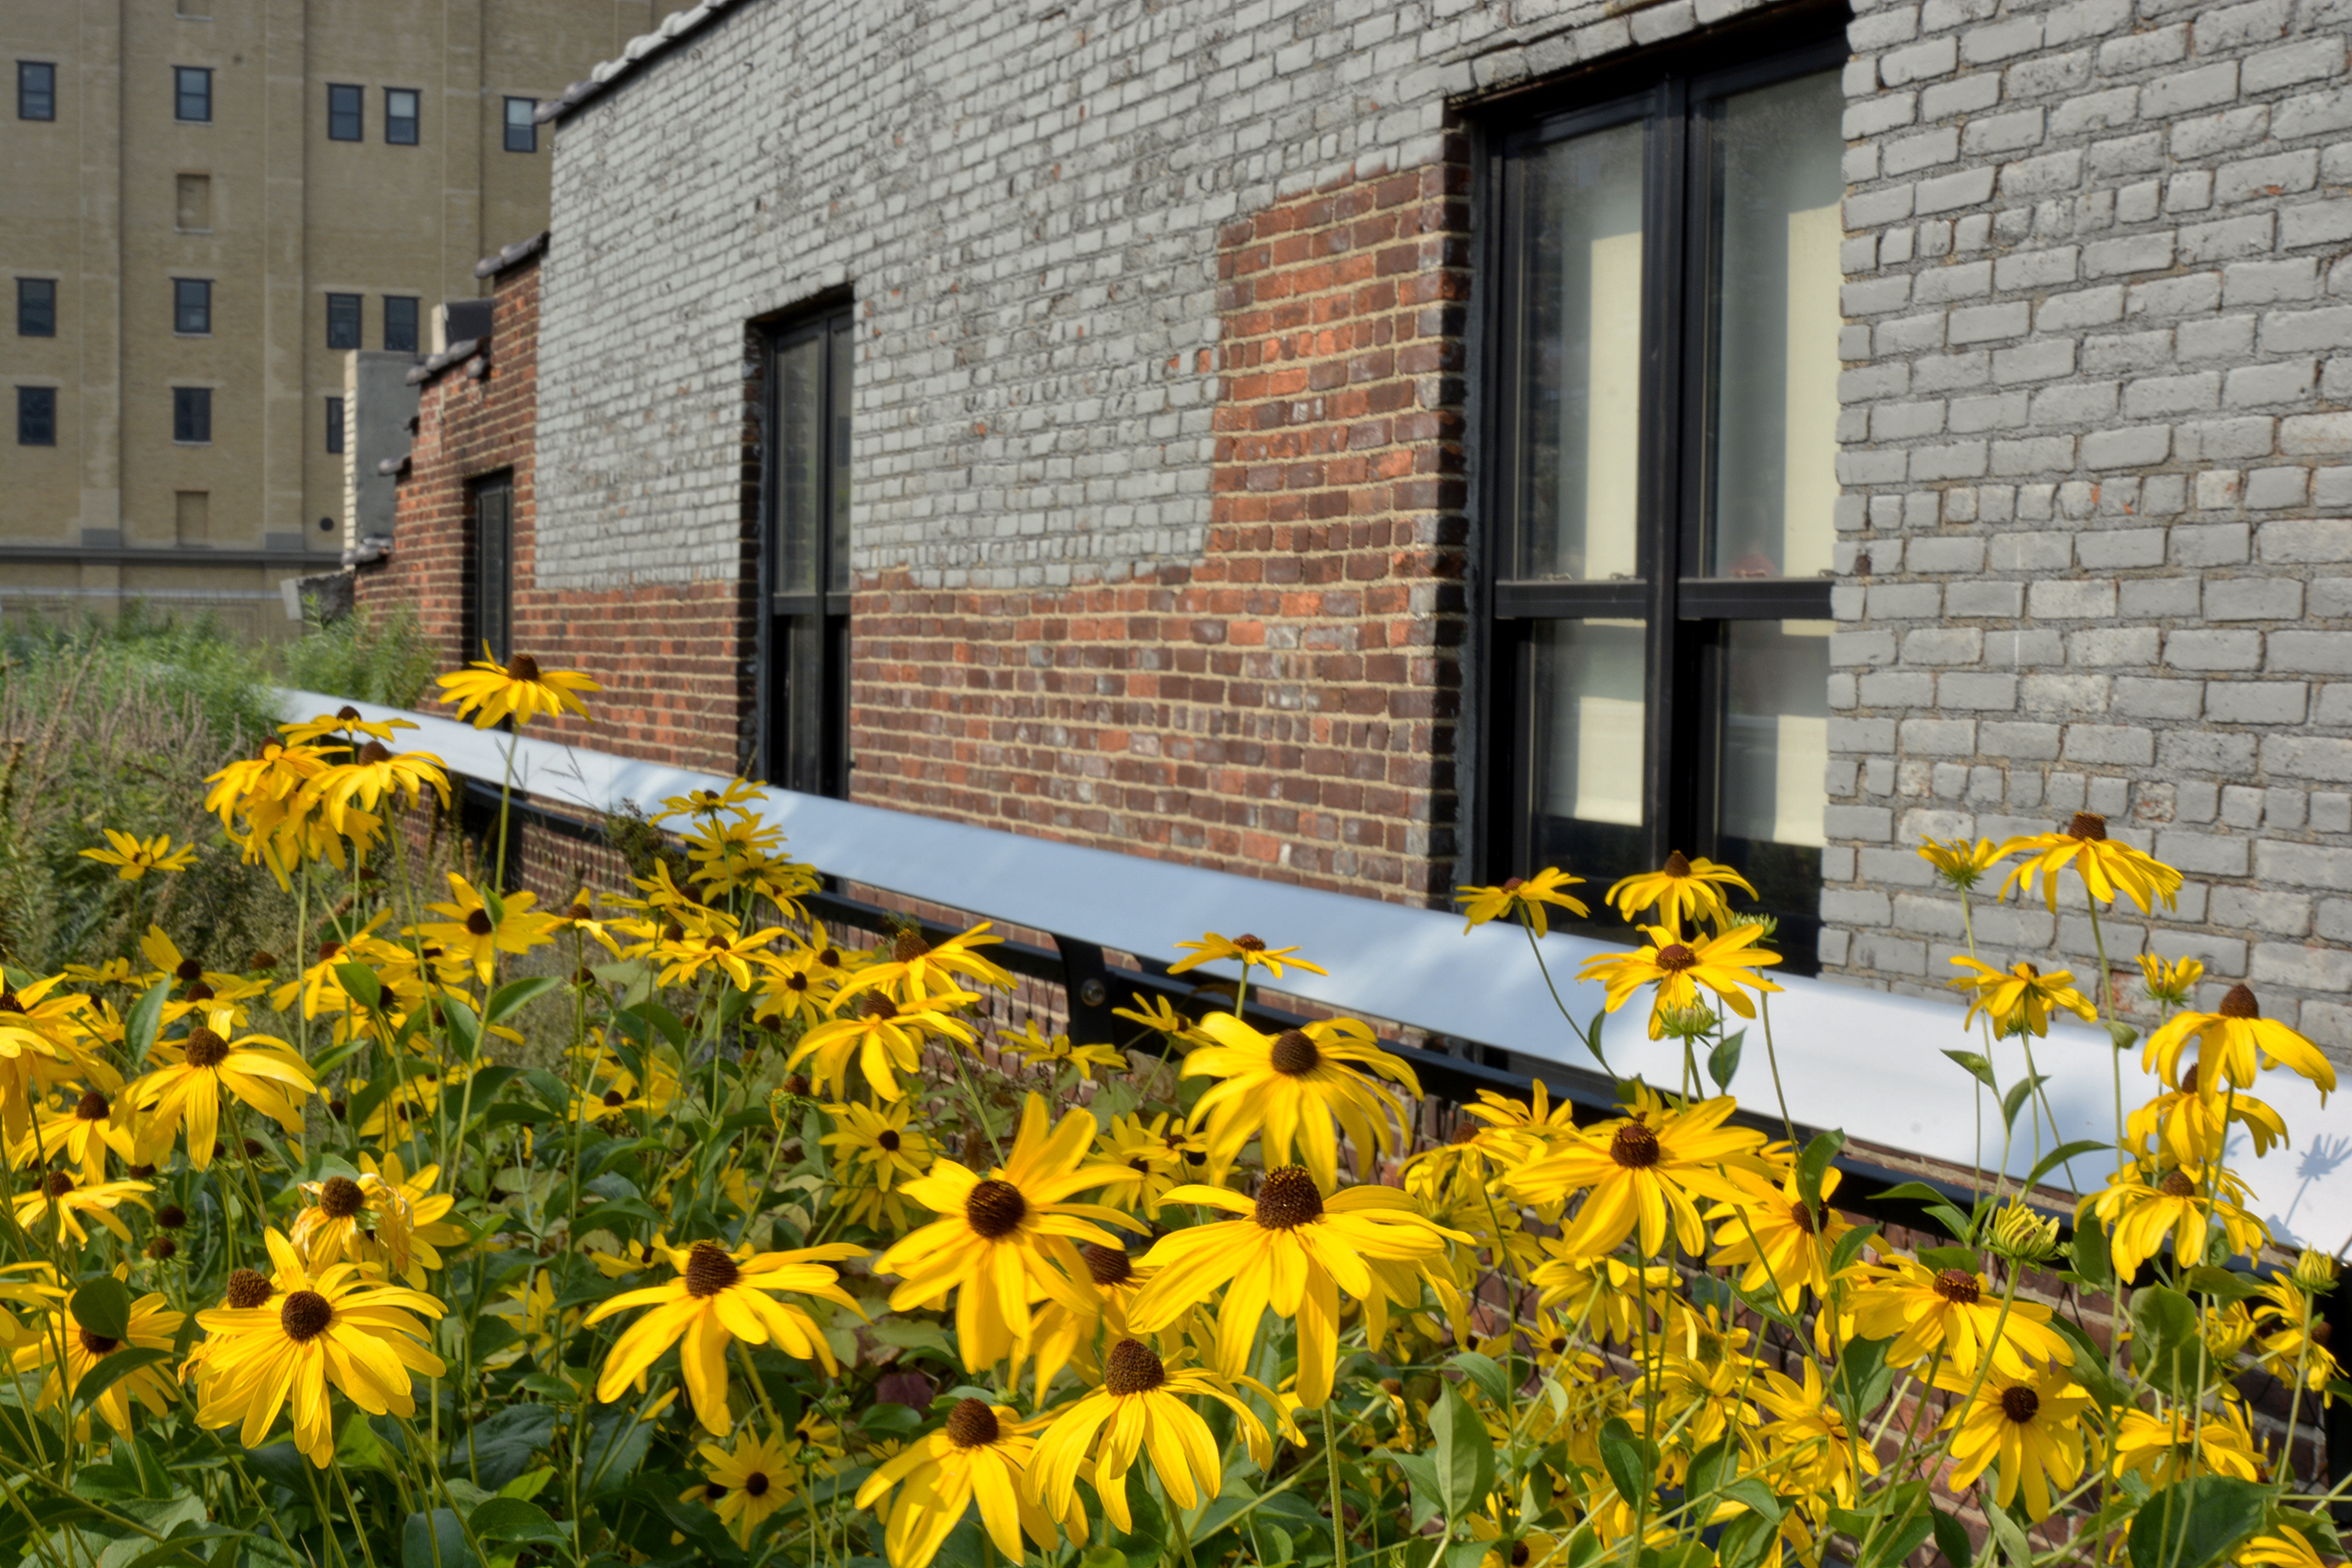
{Sample A} Wide Open Aperture (F/2.8 – 1/1000th sec shutter speed – 34mm)

{Sample B} Smallest Aperture (F/22 – 1/125th sec shutter speed – 34mm)

Now, to make things confusing, your results will vary depending on your widest aperture setting, focal length setting and how close you are to the subject. In my sample shots above, I was very close to the flowers I focused on and my aperture was F/2.8 in the first, so the brick building in the background is out of focus perhaps more so or less so than your sample shots may show.

If you keep making samples for yourself like this, eventually it will become second nature when you are shooting to select the appropriate aperture to get the photo you have in mind (with out of focus background or sharp background).

Typically you will want to blur the background a little for portraits for a more professional look; or if the background is very distracting; or if you want the viewers of your photos to be drawn to so a very specific part of the shot.

Photographers will use a smaller aperture to get the foreground to background in focus for landscapes, and sometimes for shots that tell a story of where you are. For example, you may want a store name to be in sharp focus so that it is legible. Or you may want the details of a landmark to be in sharp focus as well as your family standing in front of it.

However, sometimes landmarks, such as the Disney Castle, are so recognizable, that having the castle slightly out of focus works really well to give you a “here we are” shot that is elevated to a more professional looking image. Below is a sample from Epcot’s China Pavilion.

A slightly wider open aperture.


Freeze the Action in Your Summer Water Shots

RT_DSC8372

During the summer, we find ourselves in or near water a good part of the time. It’s always fun to capture the moment and freeze every water droplet, too. When trying to freeze motion, you need a fast shutter speed. Usually 1/1000th sec or higher will guarantee crisp sharp water droplets as well as a sharp fast-moving subject like this wake-boarder. Here, I used a tele zoom positioned at 95mm off the back of a boat. I also used a higher ISO of 400, even though the sun was shining brightly, to ensure I could get a very fast shutter speed. The exposure setting for this shot was F/9 aperture at 1/1250th sec shutter speed. You can set your camera to the action icon and the camera will take over all settings to give you the fastest shutter speed possible for your lighting situation. Or you can set your camera to “A” for aperture-priority and adjust your aperture until you see a desirable shutter speed when you look through your viewfinder at the settings along the bottom or when you look on your LCD panel on your camera. Next time the kids are splashing around at the pool or under a sprinkler, or you’re capturing tubing or wake boarding from a boat, set your camera to the fastest shutter speed you can to freeze the action. (Note: This will be the same setting you will use to freeze any sports motion).RT_DSC8263

What I Learned Taking Basketball Photos

_DSC6403_RTIt’s hard. It’s really hard to get a good shot. That’s what I learned. Today I took photos at the basketball game again. I brought along the “big gun” – a 70-200mm F/2.8 lens. And I really assumed this would take care of all of the issues I had previously trying to get a good shot. And it did help quite a bit. But there are several issues you’ll be faced with if you plan to take photos in a gym. The biggest issue is lighting. The lighting in gyms can vary greatly. A gym with windows is much easier to shoot in since the brighter light is not only more natural for color, but it allows you to shoot at higher shutter speeds to stop action. In my case, there were no windows and only dull mercury vapor lights to shoot under. So not only was the lighting so low that I could not stop action effectively with my slower F/6.3 lens, but the color cast I got while using auto WB was unacceptable. So taking the following steps really helped me to finally get a better shot (but I am no Walter Iooss):

  1. Use a fast lens if you can. I used an F/2.8 lens that lets in lots of light
  2. Set your camera to aperture-priority and open the lens to the widest opening your lens allows since this will make the camera default to the highest shutter speed it can to stop action.
  3. Boost your ISO to 1600 or higher. Make sure you are able to get a shutter speed of at least 1/250th of a second to stop the action. If the camera is shooting slower, you will need to boost your ISO some more.
  4. Search thru your menus and see if you can find a setting to turn on “High ISO Noise Reduction” and set it to high. This will help reduce some of the noise you get when using an ISO over 800.
  5. Use manual white balance to get the best color that you can. See this post for information on how to set a manual white balance. And see the download card here for information about white balance in general.
  6. Position yourself near your team’s basket if you can so that you can get facial expressions when they have opportunity to shoot. Shooting under the basket does require a wider angle lens. Shooting from across the court calls for a telephoto lens.
  7. Shoot vertically as most action is vertical rather than horizontal. This will allow you to get full length shots, get the ball while in the air, and get players and the net in the shot.
  8. Watch your framing. I found I cut off the feet of my players quite often as I was concentrating on the ball so hard. Footless platers are sort of disturbing.
  9. Look for side line action like coaches giving their players direction, player interaction after a score, and details like the ball, the scoreboard, etc.

I hope these tips will help your sports shooting. And of course, practice and knowing the game go without saying.