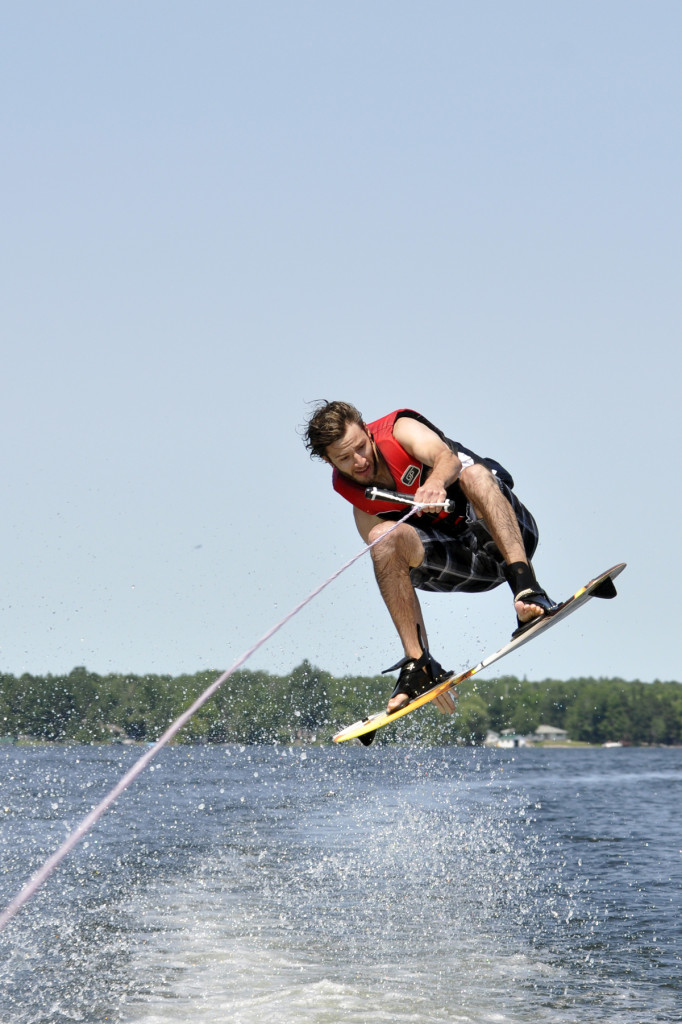
During the summer, we find ourselves in or near water a good part of the time. It’s always fun to capture the moment and freeze every water droplet, too. When trying to freeze motion, you need a fast shutter speed. Usually 1/1000th sec or higher will guarantee crisp sharp water droplets as well as a sharp fast-moving subject like this wake-boarder. Here, I used a tele zoom positioned at 95mm off the back of a boat. I also used a higher ISO of 400, even though the sun was shining brightly, to ensure I could get a very fast shutter speed. The exposure setting for this shot was F/9 aperture at 1/1250th sec shutter speed. You can set your camera to the action icon and the camera will take over all settings to give you the fastest shutter speed possible for your lighting situation. Or you can set your camera to “A” for aperture-priority and adjust your aperture until you see a desirable shutter speed when you look through your viewfinder at the settings along the bottom or when you look on your LCD panel on your camera. Next time the kids are splashing around at the pool or under a sprinkler, or you’re capturing tubing or wake boarding from a boat, set your camera to the fastest shutter speed you can to freeze the action. (Note: This will be the same setting you will use to freeze any sports motion).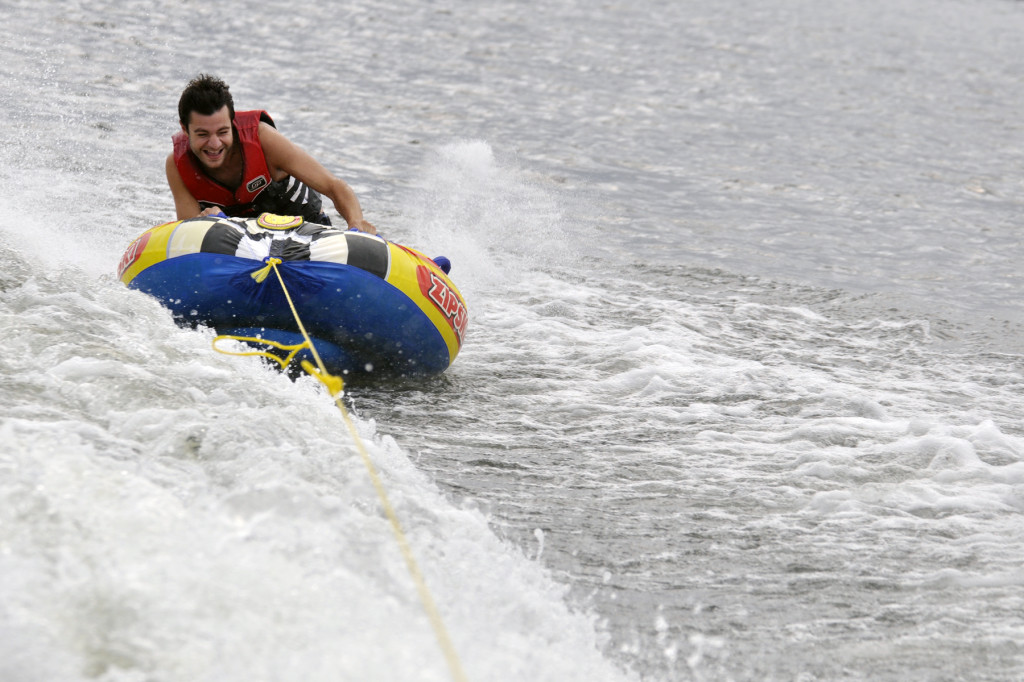
Tag Archives: sports
For Great Candid Photos, Keep Your Distance
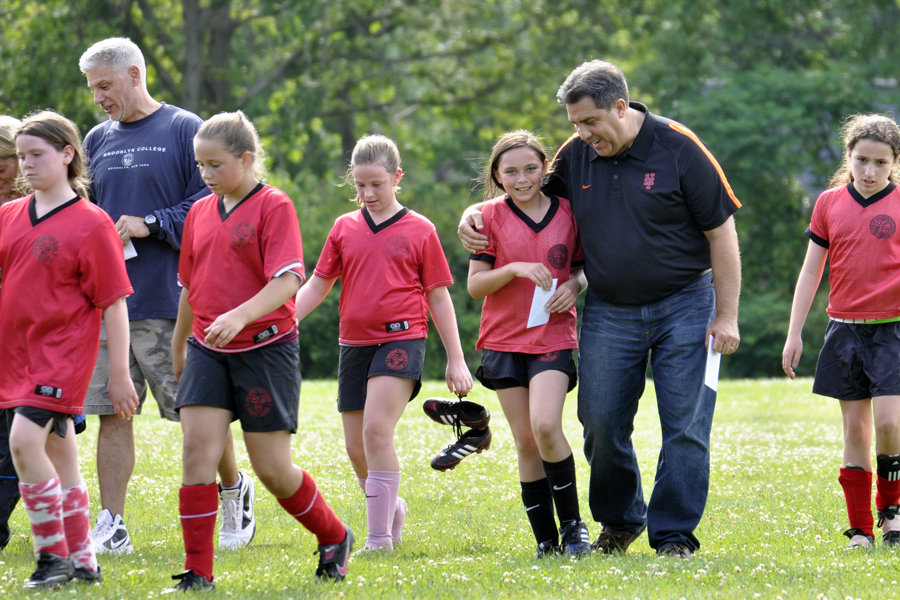
As all of the school year activities wind down, and some fun summer times begin, take a step back from it all and zoom in on the moments with your telephoto zoom lens. Not only will you get some more natural expressions, but your subjects will really stand out from the background with your tele lens setting. At the end of the last soccer game of the season, I remained at the side lines while the coaches gave encouragement and praise to their players and zoomed in. I caught a very natural expression on both coach and player. Additionally, while outdoors this summer, pay attention to where the sun is. Try to shoot later in the day when the sun is not so harsh. And look where the sun is hitting your subjects. Here, the sun is lower in the sky and behind the team, which adds a nice rim light to their hair and shoulders. In this lighting situation, set your camera to spot meter, as I did here, to be sure the camera gives the proper exposure for your subjects, and does not “put on sunglasses” because of the bright light behind and make your subjects darker than desired. Look for the metering button on your camera and turn it to spot. When you look through your viewfinder, you will see a the smallest of circles in the center of the frame (see below). Be sure this circle is on your subject, press and hold your shutter release button half way to lock in both focus and exposure, adjust your composition if necessary, and then take the shot by pressing the button the rest of the way.
"My Photos Are Blurry" — Solutions for Common Photo Problems: Part 1
 So while talking with friends who are all new DSLR owners this past weekend, we discussed the solutions for the most common problems people have with their photos. So of course, it sparked an idea for a blog post. Here is part 1: “My Photos Are Blurry.”
The reason for a blurry photo is that the shutter speed is too slow to stop either fast moving action or camera shake in low light situations. The faster action moves, the faster the shutter speed required to stop the action; the longer your lens setting (telephoto), the faster the shutter speed required to stop camera shake since the shake is magnified (think about looking through powerful binoculars and how hard it is to hold them without the seeing shake); and finally, in lower the lighting conditions, the shutter speed slows down to let in more light, making it harder to hand hold.
So what to do? First, you need to understand what the ideal shutter speed is for hand-holding to avoid camera shake. The quick answer to to shoot at a shutter sped that is no slower than the reciprocal of the focal length setting of your lens. So if you are zoomed out to 300mm to catch sports, nature, wildlife or candid portraits, the ideal shutter sped will be 1/300th of a second or faster to stop hand shake blur. However, with today’s stabilized lenses, you can shoot a 2-3 or even 4 stops slower with no resulting hand-shake. Second, understand that it is almost impossible for anyone to hand hold the camera at any focal length setting if the shutter speed goes below 1/30th of a second. Thirdly, if action is moving fast, like soccer or basketball, you will need a shutter speed of approx. 1/500th of a second. If the action moves even faster than that, such as car racing or horse racing, you will need to shoot even faster (1/1000th, 1/2500th, etc.(.
Solution 1: Open your aperture to let in more light and the camera will pick a faster shutter speed.
If you set your camera to aperture priority, move the aperture towards a wider opening (e.g., F/6.3, F/5.6, F/3.5) and watch your shutter speed get faster. Hopefully, you will be able to get a shutter speed / aperture combination that allows you to have a fast shutter speed for the action or zoom setting. Be mindful that with an open aperture, you have less depth of field, so precisely focusing on the critical part of your image is very important.
Solution 2: If opening the aperture does not give you a shutter speed high enough to action blur or stop hand shake from slow shutter speeds as a result of low light or long telephoto settings, then the next solution is to boost your ISO higher. A higher ISO, will automatically provide you with higher shutter speeds. While your photo might have a little more noise or not as vibrant of color, you will be able to shoot the image. (Some DSLRs have really great high ISO capabilities, so don’t be afraid to try higher ISO settings).
Solution 3 (and my least favorite): If neither solution above works, then you can try to increase the lighting in the scene. One way is by adding flash. Flash will certainly freeze action and eliminate hand shake blur (as long as you are not in night time portrait mode). While flash can lead to an artificial feeling in your shot, hence my reason for it not being my favorite, it can do the job effectively and send you home with images of the moment. Remember, however, that flash can only cover a certain distance, and is sometimes not allowed at certain venues, so solutions 1 or 2 or a combination of both may be your only choices to correct the problem.
The image above would have been completely different had I used flash. So I boosted my ISO to 1600 so that the little bit of light coming into the room could be captured naturally. My lens was zoomed to 60mm, making the magic shutter speed 1/60th of a second. However, with my stabilized lens, I was fortunate to be able to catch the image at 1/8th of a second, the fastest shutter speed I could achieve with the given lighting, ISO setting and open aperture (F/4). The VC stabilization allowed me to shoot 3 stops slower than what would be normally required.
And of course, a solution that works the best for low light situations is a tripod. As long as there is no movement in your shot, a tripod will stabilize your camera and let you shoot at rather slow shutter speeds. Tripods are the most essential tool for landscape and nature photographers since a smaller aperture like F/11, F/16 or F/22 are required to achieve deep depth of field, but shutter speeds are naturally slower.
Next time you are shooting in low light, shooting at a longer telephoto zoom setting, or shooting action, consider the solutions above and you should find your images will be sharp as a result.
What I Learned Taking Basketball Photos
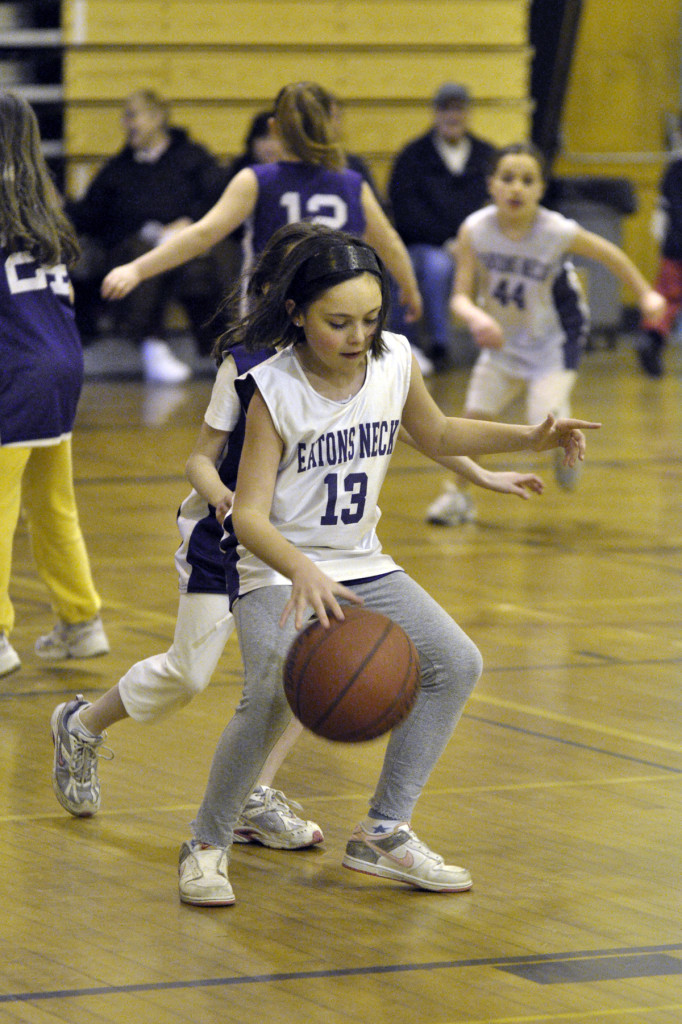
It’s hard. It’s really hard to get a good shot. That’s what I learned. Today I took photos at the basketball game again. I brought along the “big gun” – a 70-200mm F/2.8 lens. And I really assumed this would take care of all of the issues I had previously trying to get a good shot. And it did help quite a bit. But there are several issues you’ll be faced with if you plan to take photos in a gym. The biggest issue is lighting. The lighting in gyms can vary greatly. A gym with windows is much easier to shoot in since the brighter light is not only more natural for color, but it allows you to shoot at higher shutter speeds to stop action. In my case, there were no windows and only dull mercury vapor lights to shoot under. So not only was the lighting so low that I could not stop action effectively with my slower F/6.3 lens, but the color cast I got while using auto WB was unacceptable. So taking the following steps really helped me to finally get a better shot (but I am no Walter Iooss):
- Use a fast lens if you can. I used an F/2.8 lens that lets in lots of light
- Set your camera to aperture-priority and open the lens to the widest opening your lens allows since this will make the camera default to the highest shutter speed it can to stop action.
- Boost your ISO to 1600 or higher. Make sure you are able to get a shutter speed of at least 1/250th of a second to stop the action. If the camera is shooting slower, you will need to boost your ISO some more.
- Search thru your menus and see if you can find a setting to turn on “High ISO Noise Reduction” and set it to high. This will help reduce some of the noise you get when using an ISO over 800.
- Use manual white balance to get the best color that you can. See this post for information on how to set a manual white balance. And see the download card here for information about white balance in general.
- Position yourself near your team’s basket if you can so that you can get facial expressions when they have opportunity to shoot. Shooting under the basket does require a wider angle lens. Shooting from across the court calls for a telephoto lens.
- Shoot vertically as most action is vertical rather than horizontal. This will allow you to get full length shots, get the ball while in the air, and get players and the net in the shot.
- Watch your framing. I found I cut off the feet of my players quite often as I was concentrating on the ball so hard. Footless platers are sort of disturbing.
- Look for side line action like coaches giving their players direction, player interaction after a score, and details like the ball, the scoreboard, etc.
I hope these tips will help your sports shooting. And of course, practice and knowing the game go without saying.
Take a Stop Action Photo
Freezing a droplet of water or a smiling face zipping past you on a bike both require using a fast shutter speed and usually a higher ISO setting. I prefer to set my camera on aperture priority in order to prevent under-exposing my shot. In this shooting mode, using a wide open aperture like F/2.8, F/3.5 or F/5.6 will let a lot of light into the camera, and the camera will then automatically choose the fastest shutter speed it can—given the ISO setting and your lighting conditions. If it is a bright day, the shutter speed will be higher in this mode when using a wide aperture. And the higher you set your ISO, the higher the resulting shutter speed will be. So start with your camera in the “A” or “AV” mode, set the aperture to a wide open setting, and set your ISO at 400. Look thru the camera and see what shutter speed your camera says it will use. If it is slower than 1/500th of a second, then boost your ISO to 800, or 1000. Keep in mind that if your subject is moving very fast, you may need a very high shutter speed, like 1/1000th or 1/1250th in order to freeze the motion. To refresh your memory about aperture priority, take a look at the aperture download card posted here. Take a break from raking leaves, grab the camera and take a few shots of autumn fun. Or, if it is already snowing in your part of the country, take some creative snowball fight shots. Use a fast shutter speed to capture sports action, falling confetti, sprinkler water and more.
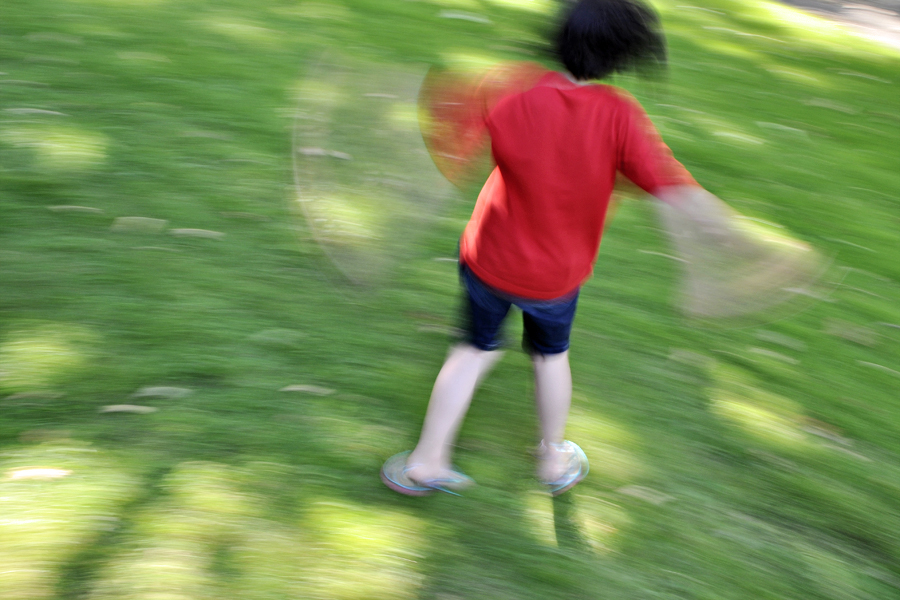
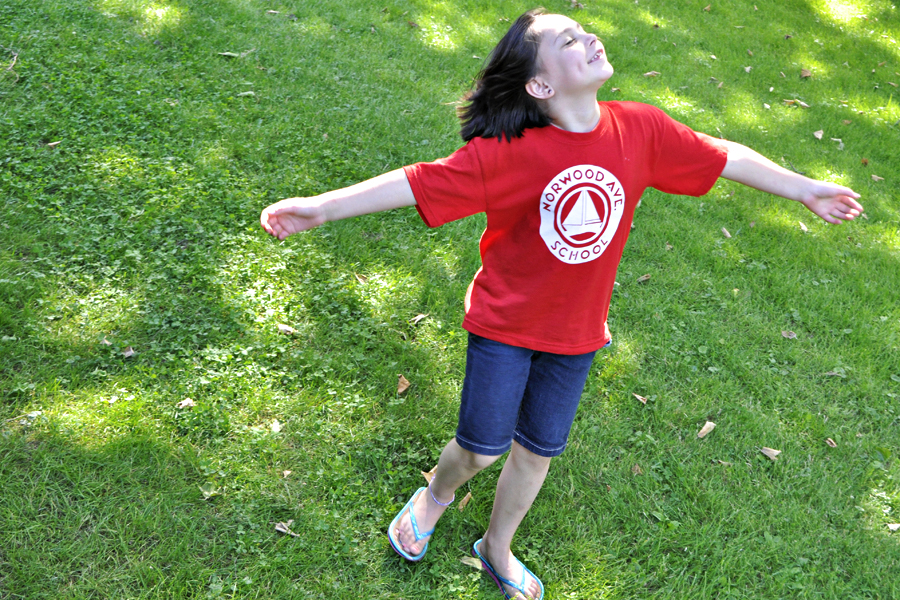
Lawn Angels: Blurring and Freezing Motion in Photos
Sideline Shooting
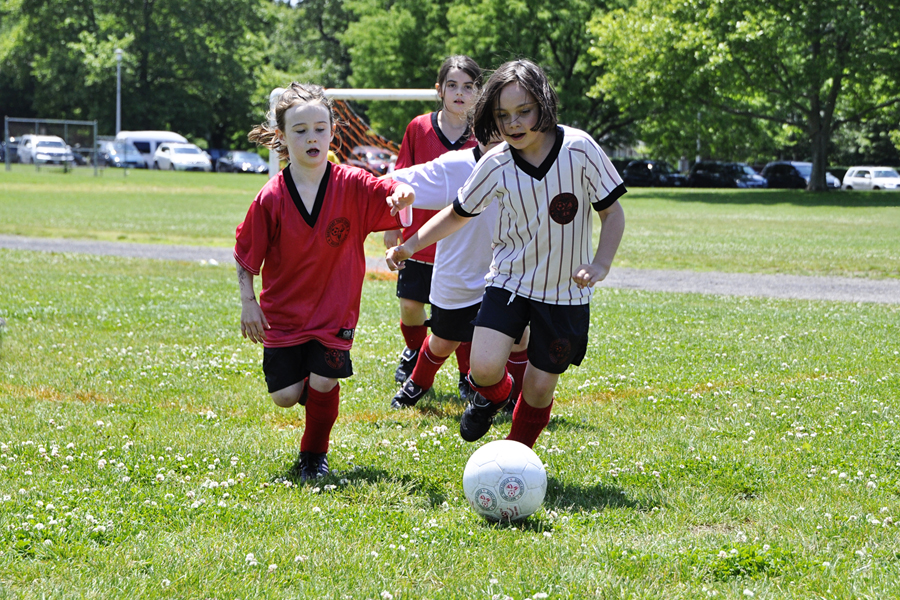
Today was her last game of the season (they tied 1-1). And today was the first time I shot a game this season. Shooting any sport from the sidelines can be challenging. But I’ve found a few of the following tips to be useful. First, make sure your camera is set to aperture priority and select the widest aperture you can with your lens. This way, your camera will always choose the fastest shutter speed for you. Plus, you’ll bring the focus on your subject since the background will then blur out a little.
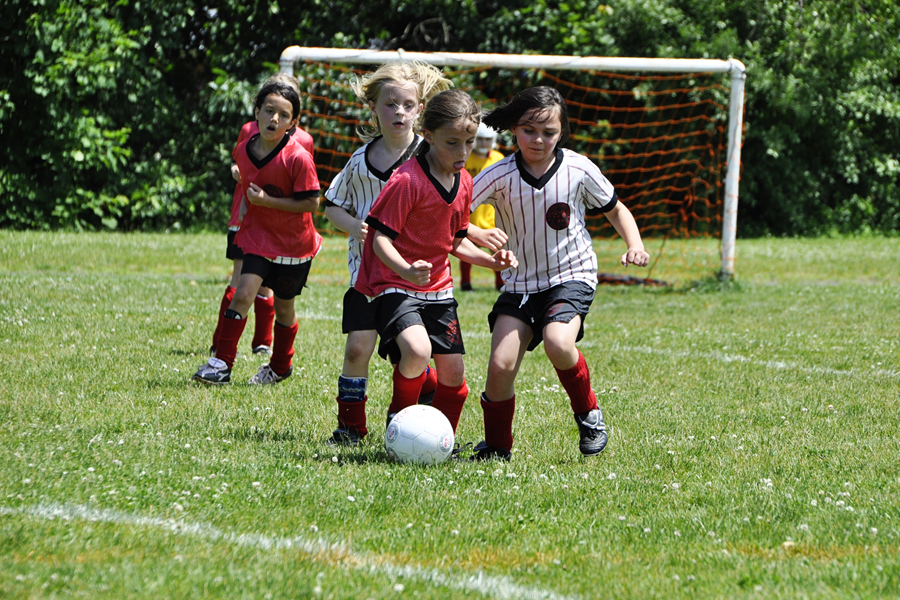
Set your ISO a little higher (400 or 800 if sunny; 1000 if overcast) to ensure faster shutter speeds to stop the action. (If you have a point and shoot camera, try setting the camera on the sports mode). Next, put your camera on both the continuous auto focus and continuous shooting mode. If you have to lift your finger after each shot to take the next, you’re guaranteed to miss something. If you’ve ever had the opportunity to watch a pro shoot, you’ll remember that their finger stays on the shutter release until the ball is out of play! You almost feel as if you’re watching a video when you review their thousands of shots. For sure, knowing the game is a big help since you can anticipate where the action will be. But, if you’re sports-challenged like me, then following the ball through your viewfinder will naturally keep you where the action is and then start pressing the shutter as soon as your child enters the frame. You may also choose to follow your child, but then you sort of miss the game. Another good tip is to not stay in one place. If your child plays on the same side as where you are seated (left wing, e.g.), you may wind up shooting a lot of his or her back. If you venture to the opposing side, on your team’s goal end, you may have a better chance at getting a shot of them facing you rather than the back of their jersey. And of course, your positioning may need to change throughout the game, so be prepared to walk/run the field on a day you plan to take lots of photos. Crouch down once in a while to get a different perspective, and zoom in on details like cleats and balls to make a full story for your album, photo book, scrapbook or digital frame. And last but truly not least, make sure you have a lens that can zoom over a wide range so you can get in close when the action is far down the field (a lens that goes up to around 300mm on a digital SLR is ideal) and you can capture it all as the action gets close to the sidelines by zooming out to a wide angle setting. Additionally, while you still may want to crop in a little closer later on, the closer you are to start, the better quality your cropped photo will be in the end. (ISO 400; 232mm; 1/1250 sec; F/6.3)
Play with Panning for Action Photos
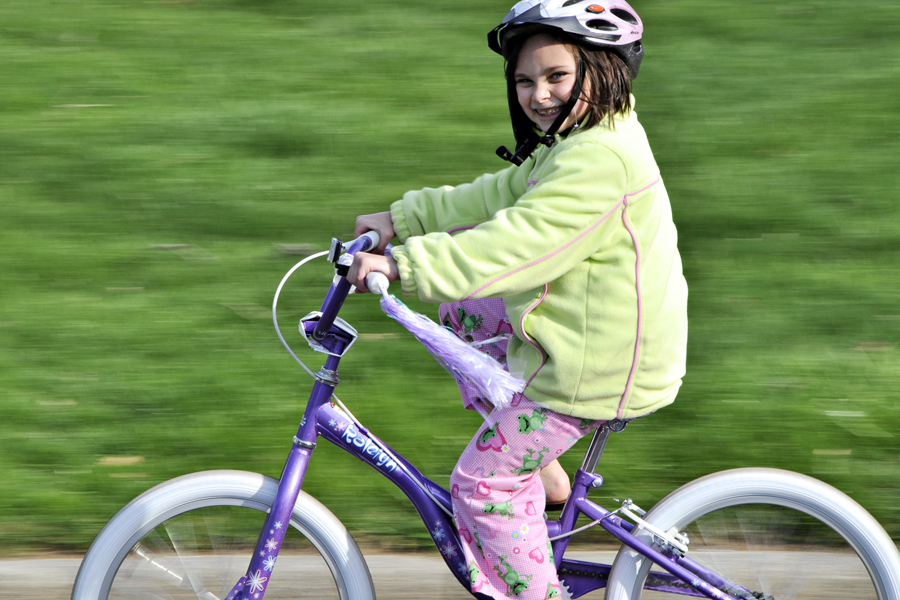
I took about 100 photos of Sydney riding her new bike to show what panning is. Panning is when you follow the action at the same rate of speed as the subject, resulting in a blurry background and a sharp subject. I discovered it is not so easy as it sounds. There are several steps to follow in order to get the result:
1) set your camera to Aperture Priority and select a very small aperture like F/22. This slows down your shutter speed to about 1/25th sec depending on how bright it is out;
2) in order to ensure your camera can select a slow shutter speed, set your ISO to 200;
3) set your camera to continuous shooting and continuous AF; and
4) take lots and lots of shots as the action speeds by you parallel to your camera. Pivot your whole body while keeping the camera level, following the action as it passes in front of your camera. Keep your finger on the shutter release button until after the action has passed you.
The background will be streaks of color (the slower the shutter speed, the more streaky). If your subject appears blurry, you are moving slower than your subject. This technique requires lots of practice. So don’t be discouraged your first time out. The images here were shot at varying shutter speeds and the result in each differs slightly. Notice a nice clean background makes the best image, but this technique also helps to make a cluttered background look better.

