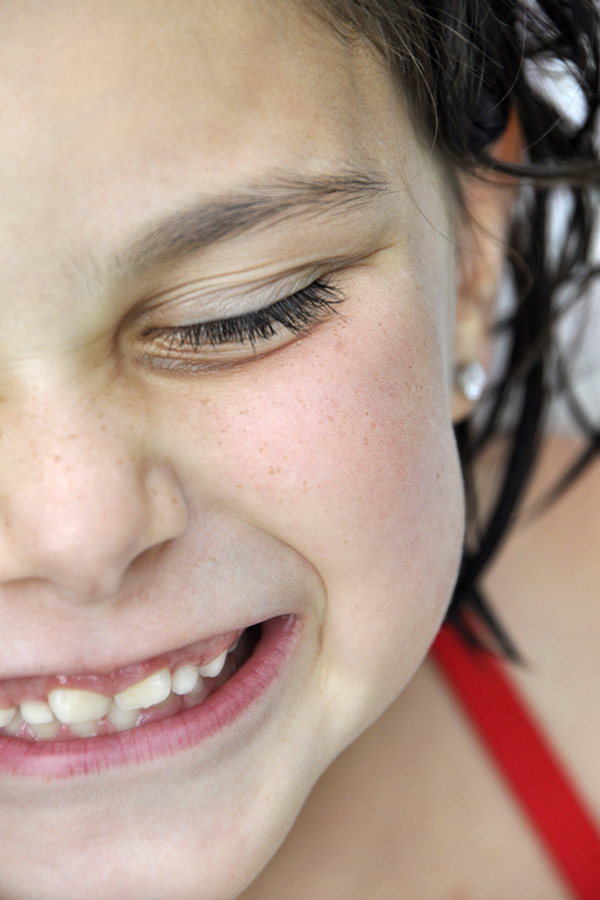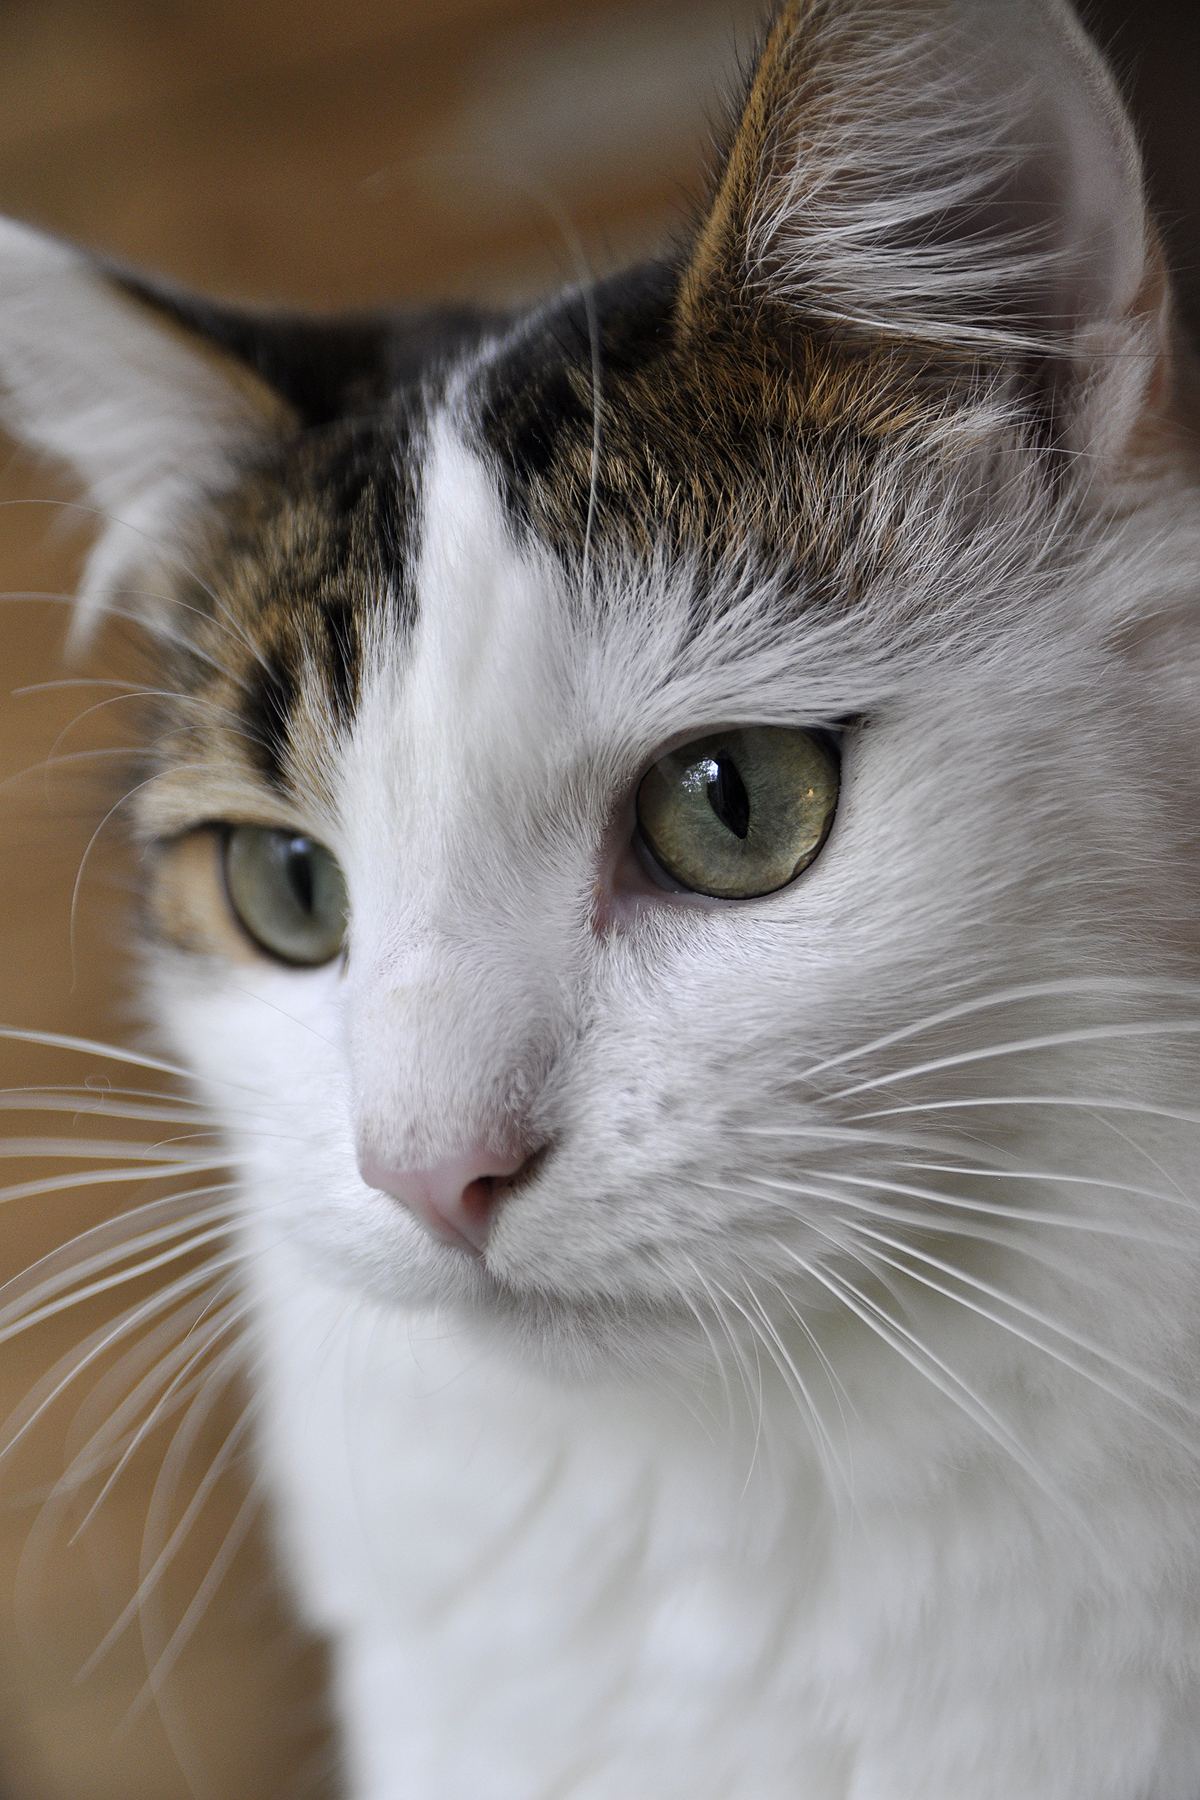
The key to taking good photos of your pets is to approach them in much the same way you do people in regards to lighting and composition. Much like children, however, it may be hard to get them to actually pose for you. I took a few shots of Spanky and Darla while they were having a quieter day. The lighting in each of the shots is slightly different, but each photo is done without flash and using only window light. Try to not use flash when taking photos of pets to avoid washing out their fur. In the main photo, Spanky was positioned very close to the window and looking out of it. You can actually see the window reflected in his eyes. I was close to him, and at 70mm, the F/2.8 aperture really helped to drop out the background and keep the main focus on his eye closest to the camera.
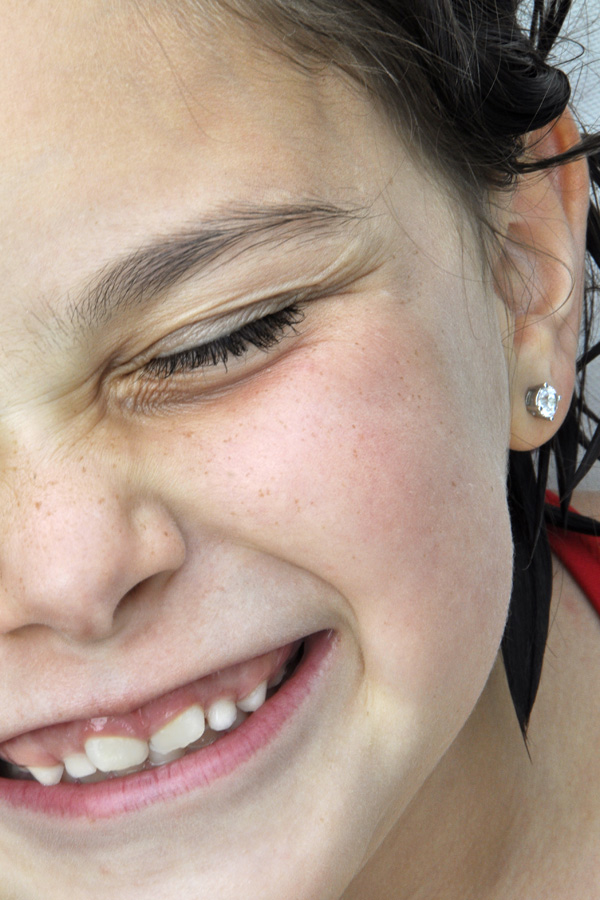
In picture B, Spanky moved to another table in my work area to lounge. Here, that same window is behind him, creating a nice bright background, and he is lit by the light from that same window that is bouncing off the white wall he is now facing. When taking portraits of people or pets, reflected or bounced light provides a beautiful even lighting that can be very flattering. See a post about reflected light off of a house in the backyard here. You can see the door reflected in his eyes, where a skylight in the hallway has provided extra light and makes a great catch light in his eyes. As with people and birds, it is important to get a catch light in your cat or dog’s eyes to really bring their portrait to life.
-
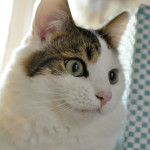
- {Photo B}
-
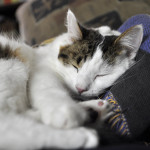
- {Photo C}
-
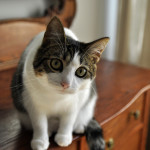
- {Photo D}
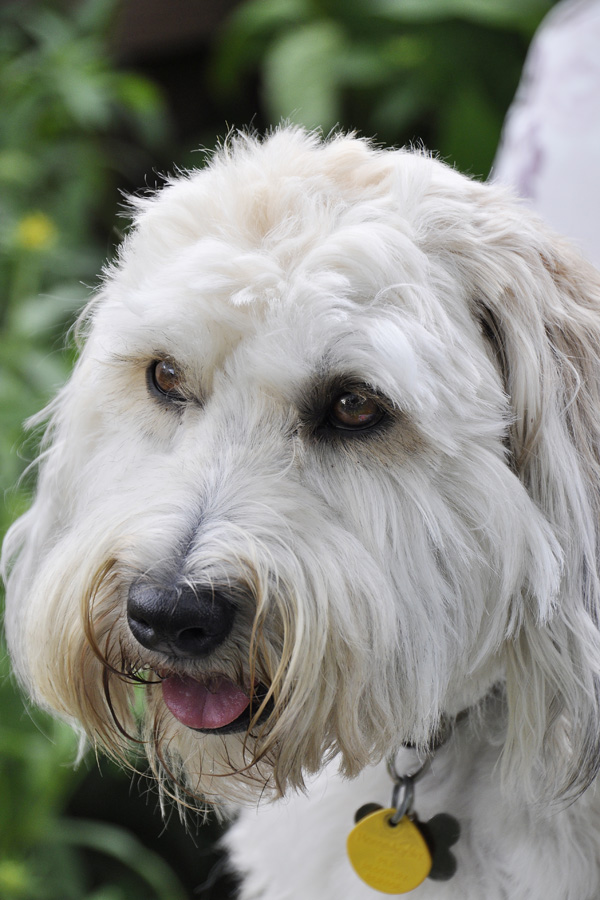
In photo C, Spanky was bored of posing, and moved to a location further away from the window and while the light here was not as bright as close to the window, it was spread out over the room for some nice even lighting (see how even the background is lit up). So here, I boosted my ISO a little higher to be able to capture more light. The very shallow depth of field throws his paws out of focus, but helps to show off his comfy sleeping position.
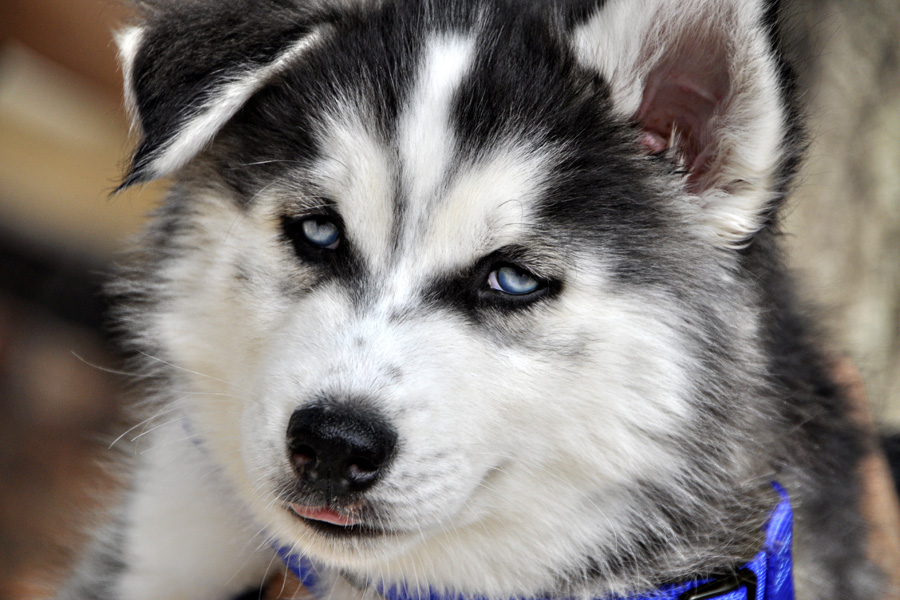
Lastly, in photo D, Darla is photographed in a diffused side-lit manner. The window partially covered by drapes is still allowing a lot of light to come into the room, and the slight side lighting gives the shot a little more definition and drama as opposed to the flattering and softer front or reflected lighting in Spanky’s portraits. Darla was much more curious about the camera and moved in closer to me for a look. The wide open aperture gave me sharp focus on her eyes and everything else drops out of focus.