

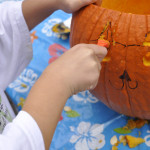
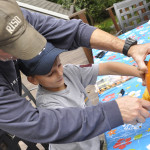
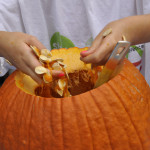
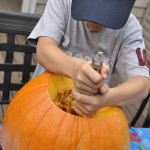
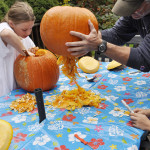
The annual holiday tradition of carving pumpkins to make jack-o-lanterns running the gamut from sweet to ghoulish is one that is filled with picture-taking opportunities. Get up above the action to capture all of the fun, and zoom in close to get great detail shots of the tools and mess involved in pumpkin-carving. See the shots below for examples. But after the mess is all cleaned up and the sun has gone down, set out your pumpkins and light them up for a great shot. Make sure your camera is stable. Using a tripod is highly recommended. Next, turn your ISO down low to 100 or 200. Your exposure will be long and you do not want to create unnecessary noise in your shot. Set you camera to manual exposure and open the aperture to about F/4. Fill your frame as desired and shoot, using a cable release or remote control to avoid any camera shake when you trip the shutter. If you do not have a release, you could set the camera to self-timer. Adjust your shutter speed to 30 seconds and take a shot. The photo will be either too light or too dark. Adjust the shutter speed to faster, like I did here to 15 seconds, if the photo was too bright. If it was too dark, add more time to the exposure. I had two other pumpkins on either side of this one, so the ambient candle light was picked up during the long exposure to make a nice fun jack-o-either portrait.
Tag Archives: low light

One Location. Two Entirely Different Photos.
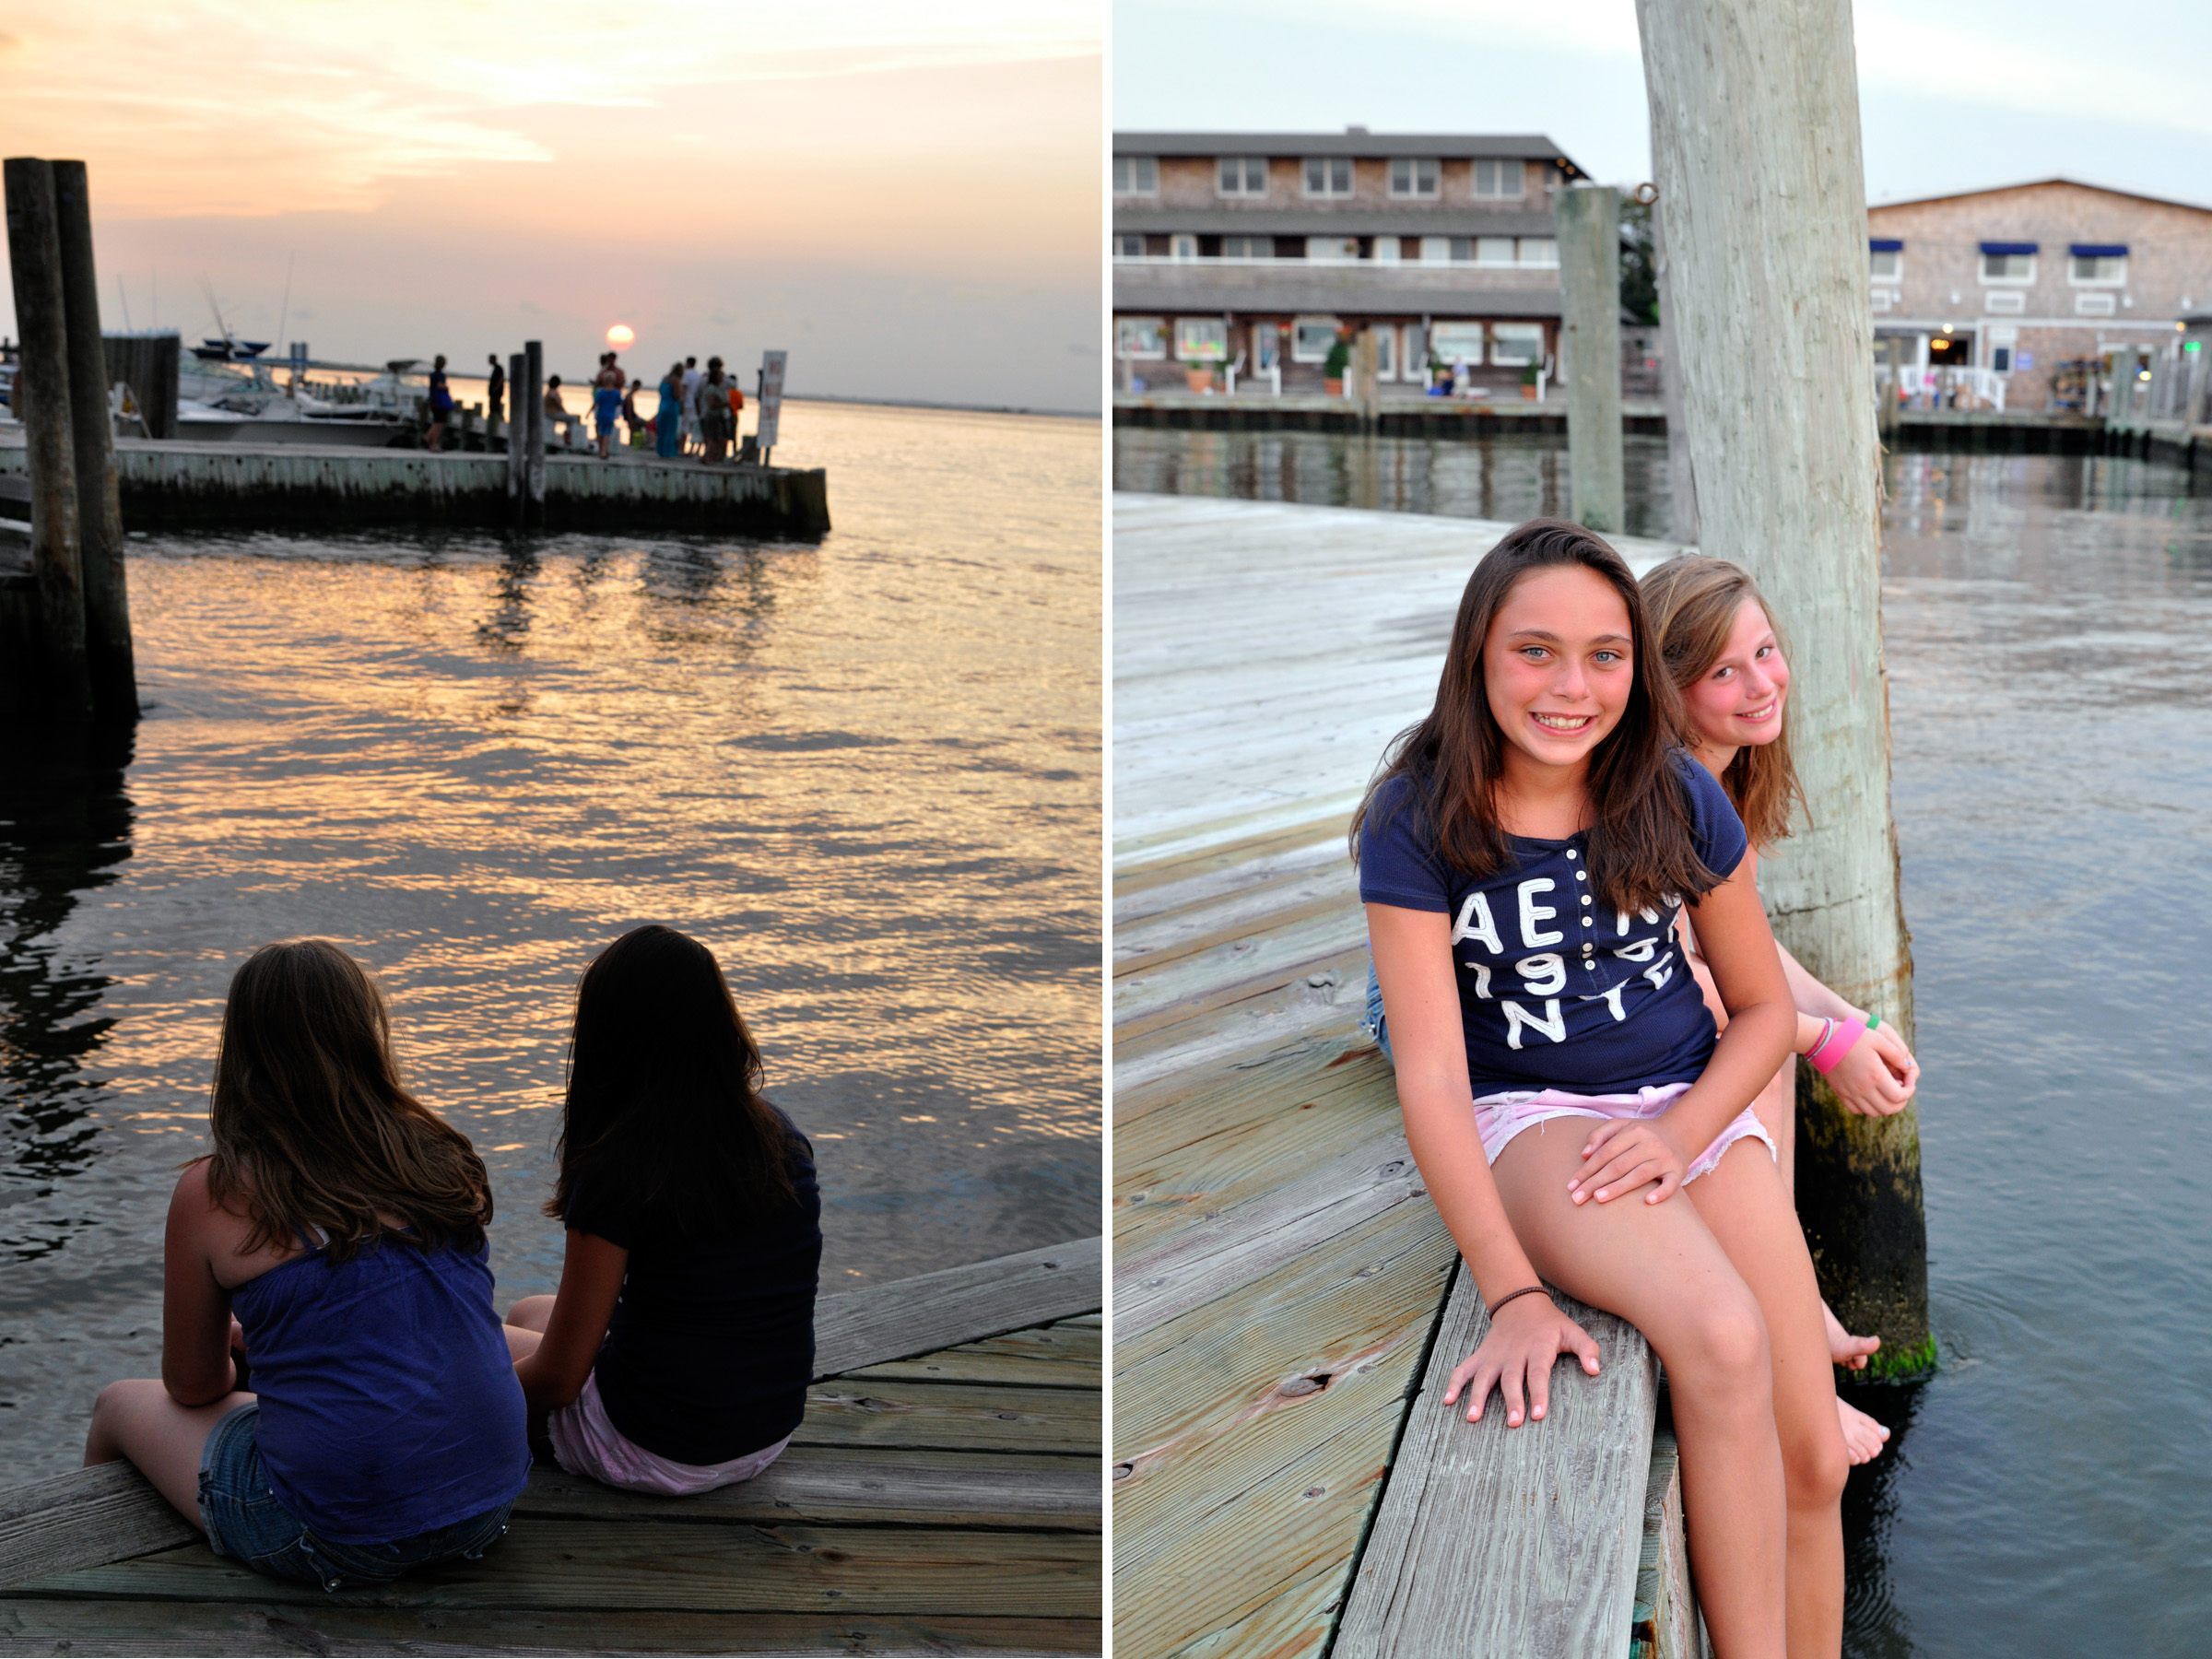 Sometimes we take the shot we had in mind and call it a day. But when the light is so beautiful at sunset, it pays to take a few steps around just to check out how the sun is lighting your subject. The photo on the left was the one I was after: two girls watching the sunset, captured in near silhouette as the center-weighted meter gave an exposure for the bright setting sun and made most of the other parts of the shot go dark. Just what I wanted. But then I sat down next to the girls to watch the sunset with them, and wow, was the light across their faces gorgeous. So of course I snapped away while the sun set! Because the light was low, I boosted my ISO to 640 and got a shutter speed of 1/100th sec at F/5.0 aperture. If I had unlimited cooperation from my two subjects, I would have boosted the ISO to 1000 and shot more photos at F/8 so that the girl further back would be in sharper focus. When shooting more than one person, either try to get them on the same plane of focus, or deepen your depth of field by using a smaller aperture like F/8. Not always possible, as was the case here, but the sweet expressions and the light make the shot a perfect one for me.
Take in the Scene with a Slower Shutter Speed
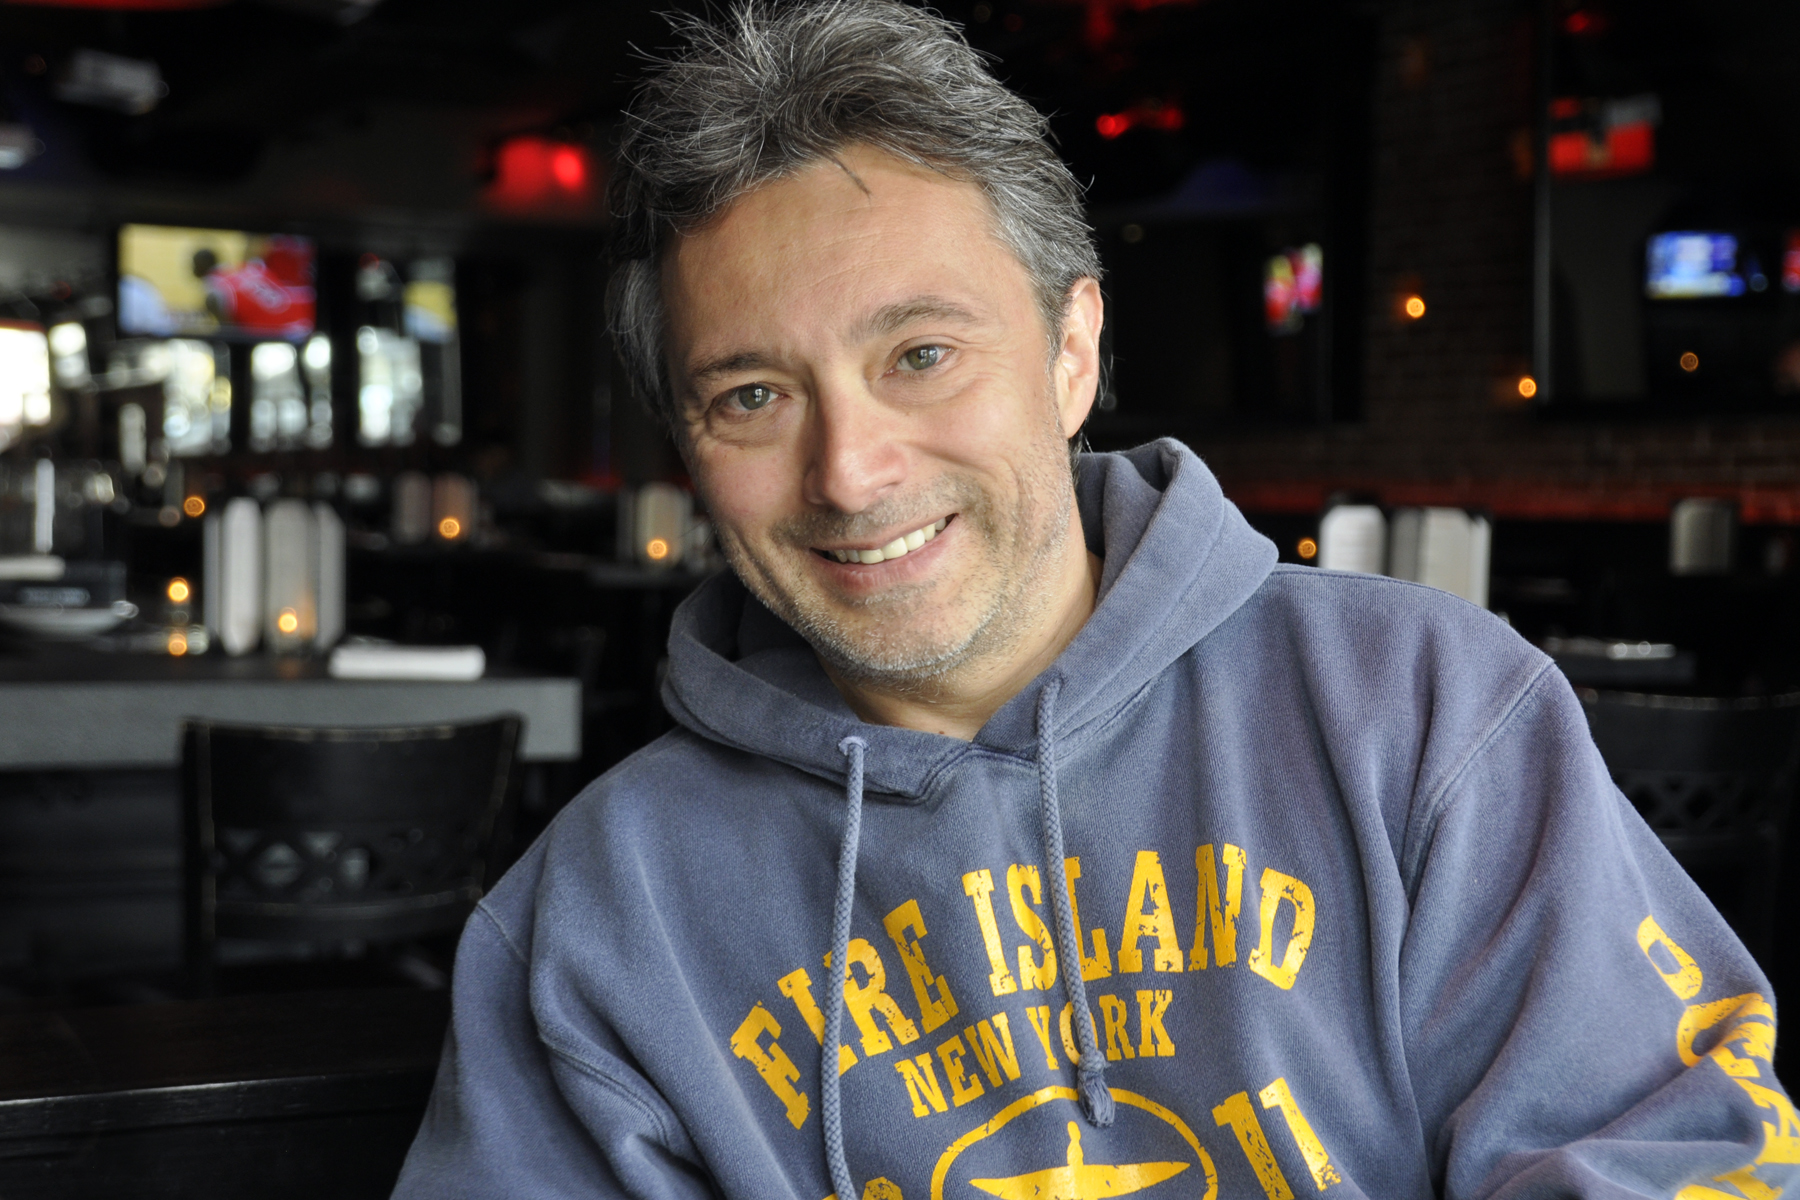
It’s very hard to catch him smiling naturally. So, as I did in this restaurant during lunch, I often snap a few photos in a row hoping for that “in-between” moment when he’s more relaxed. I think I got it here! This photo has a nice natural background since I used only the light from the window my subject was facing for lighting, rather than using my flash. And since my ISO was set to 400, my shutter speed was a slower 1/50th of a second (I turned on the anti-shake on the lens to eliminate any blur that might have occurred from hand-shake). That slower shutter speed allows the shutter to remain open long enough to capture the ambient light in the background, also lit by the large bright windows. The result is a nice shot that shows the whole scene. So when indoors, ask for a seat near a window and capture the ambiance of the whole scene.
Photographing a Spooky Jack O’Lantern
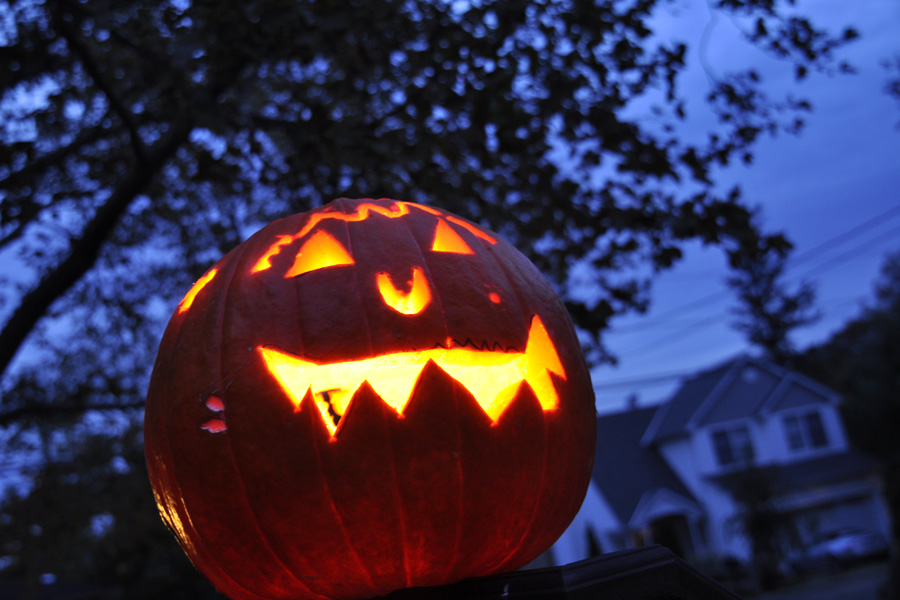 Tonight is the perfect night to light up your carved pumpkin and snap a few spooky shots. I found that taking a shot a little bit after the sun sets, while there is still some light left in the sky, can make your pumpkin look more scary. The tree branches will be back-lit, which adds to the mood of the shot. Start by setting your camera to aperture priority and selecting the widest aperture your lens allows (F/2.3, F/3.5) and a low ISO (200 or 100). Next, put your camera on a tripod or other stable surface. Using a cable release or electronic remote control like I did will ensure that you do not get an blur when you press the shutter release button during your long exposure. If you have a lens with an anti-shake mechanism (like Tamron’s VC, Nikon’s VR or Canon’s IS systems), be sure to turn it off when using a tripod as it is counter-productive to use the stabilizer system in that situation. Then, shoot your pumpkin at a lower angle using a wide angle setting on your lens to get some of the trees in the background. You can add extra exposure if your background is too dark by using the exposure compensation dial and going to the plus side. This slows down your shutter speed even more. Your exposure will be somewhere around 15 seconds to get the soft glow of the jack o’lantern and the bluish sky in the background.


Happy Halloween!
Photos by Candlelight
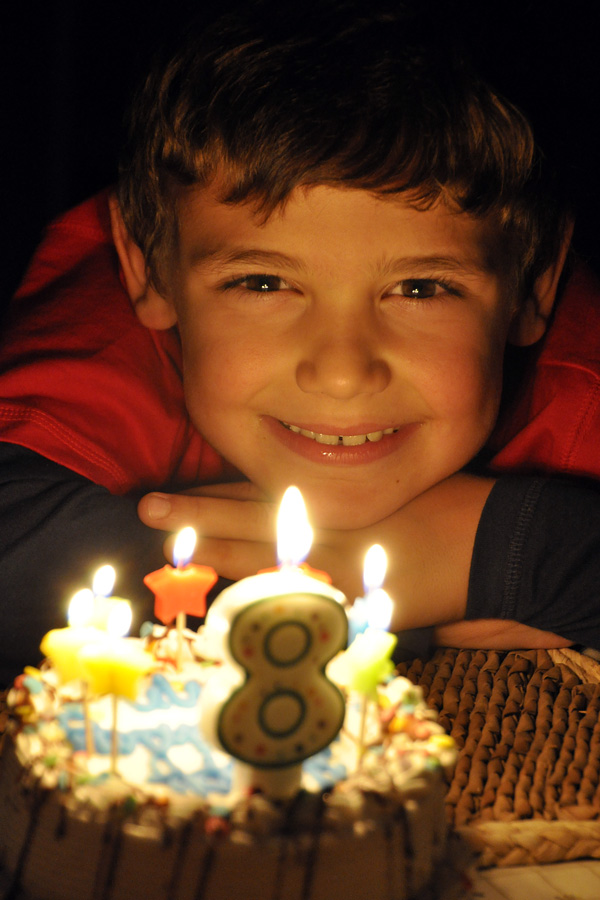
Taking a photo by candlelight can be a little tricky. But boosting your ISO and opening your aperture to its widest opening can really help. In this photo, I asked my subject to move his face close to the cake (but not so close as to get burned). My ISO was set to 1600 and my aperture at F/5.6. I held my camera as steady as possible and used the image stabilizer on my lens. I metered on his face and zoomed out a little to compose and focus. The result is a warm image from the candles, and a nice highlight in his eyes. Use a high ISO and position your subject close to candles for any birthday celebration, or for the lighting of the menorah this holiday season.