Using a Telephoto Lens to “Flatten the Image”

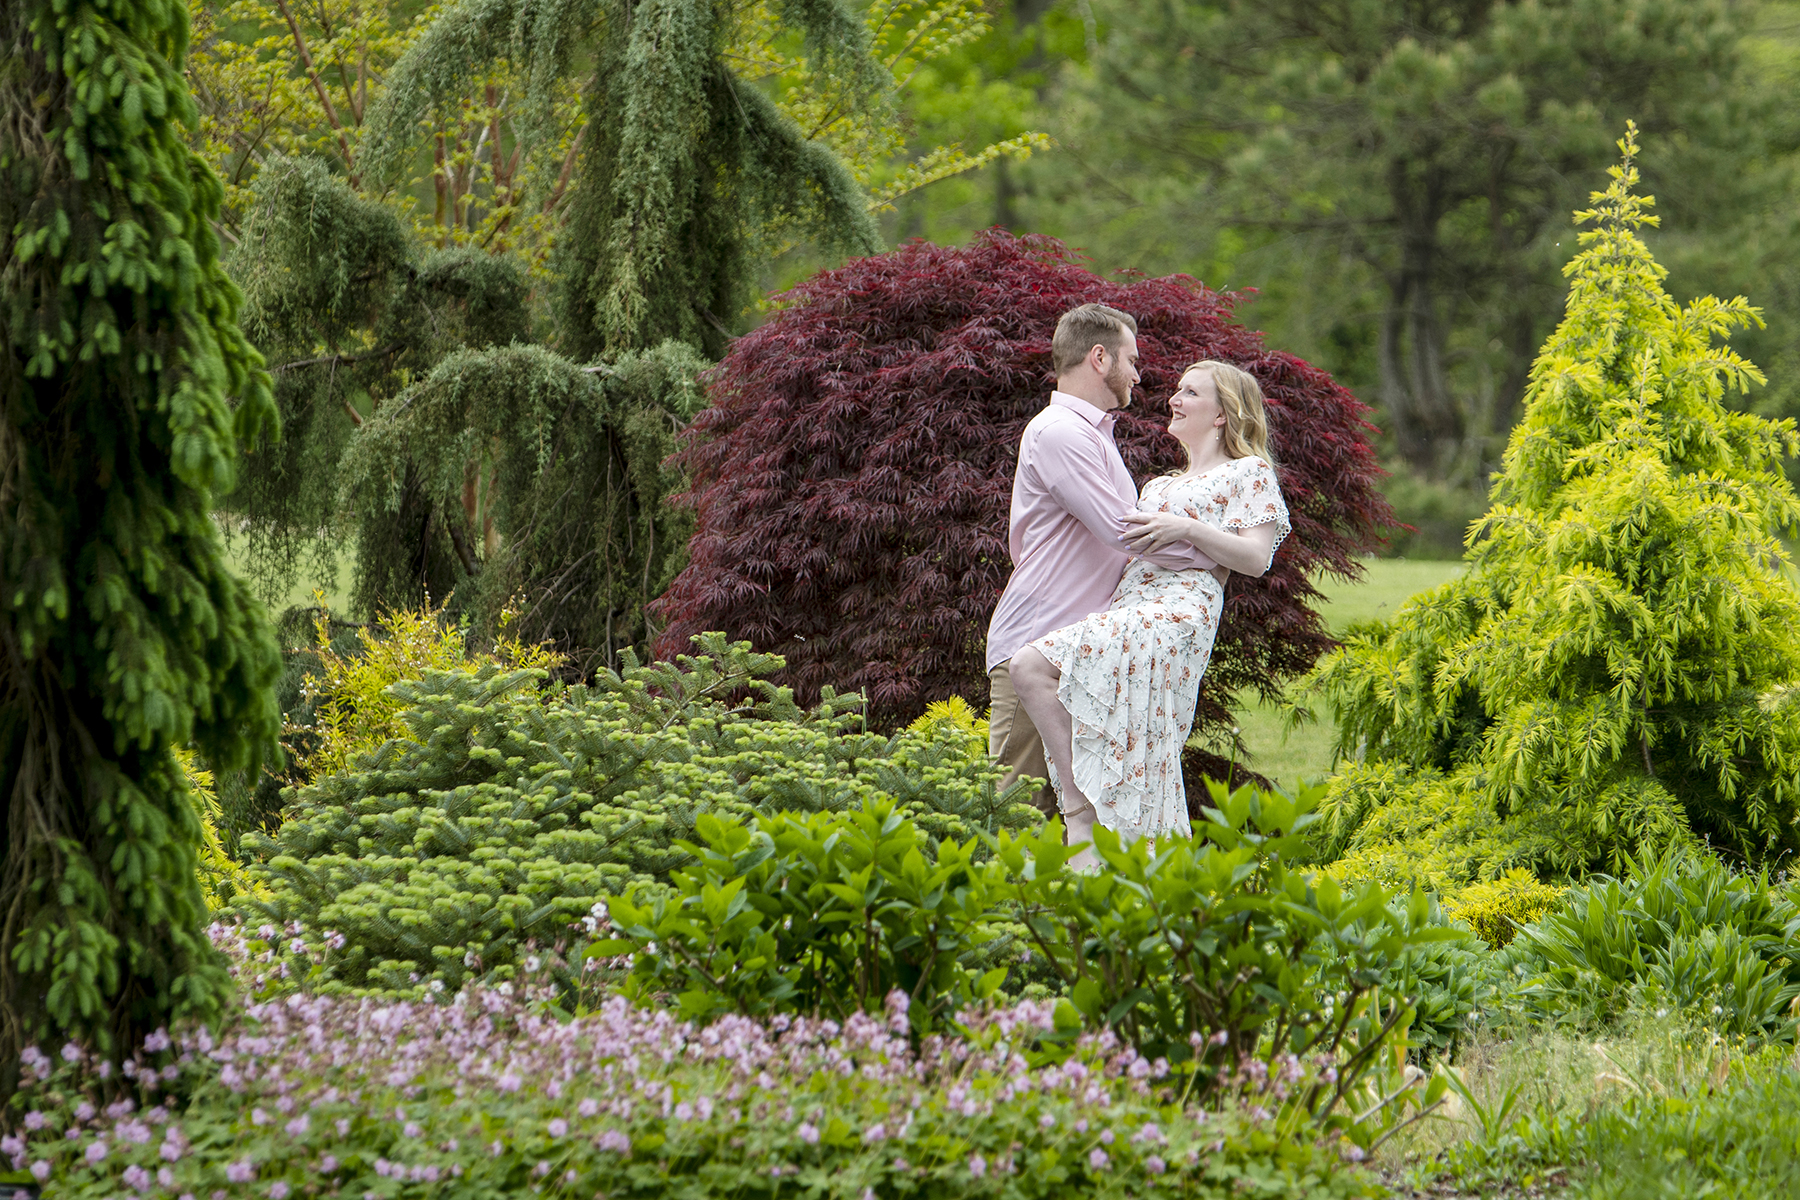
Flattening the image, or compressing the image, is a nice result achieved when you use a telephoto lens and are situated a distance from your subject. I used this effect to make a romantic engagement photo in the Bayard Cutting Arboretum of my newly engaged niece and her fiancé.

The trees in the distance appear much closer than they actually are. And all the “layers” of background objects appear large and stacked closed together. The closest and furthest objects fall out of focus due to the depth-of-field. I like the compression effect as it gives a very clean and almost painterly feeling to the background that might otherwise be too distracting and take away from the subjects in the frame.

This post by photographylife.com has a great explanation of the effect: “This combination of long lens and camera-to-subject distance gives the viewer the impression that distant objects are larger than they actually are. As a result, it gives the appearance that the background is pulled in closer to the subject. The opposite effect occurs when you use a wide angle lens. When we use a wide lens, we tend to stand much closer to our subjects compared to a telephoto lens. Because of this relative closeness, near objects will look proportionally larger than objects in the distance. As a result, the background elements become much smaller and seem farther away.”

I used a moderate telephoto lens, the Tamron 70-210mm F4, on a crop-sensor camera at 170mm, so my effective focal length was 255mm. I stood a distance away and actually used hand signals as they couldn’t hear me. The effect will be more dramatic by standing even further away and using a 300mm or longer telephoto setting. Next time you are headed out to shoot, bring along your tele lens to experiment with compressing the image.

A Little Elevation and Leaning Forward Results in a Better Portrait

May_1012

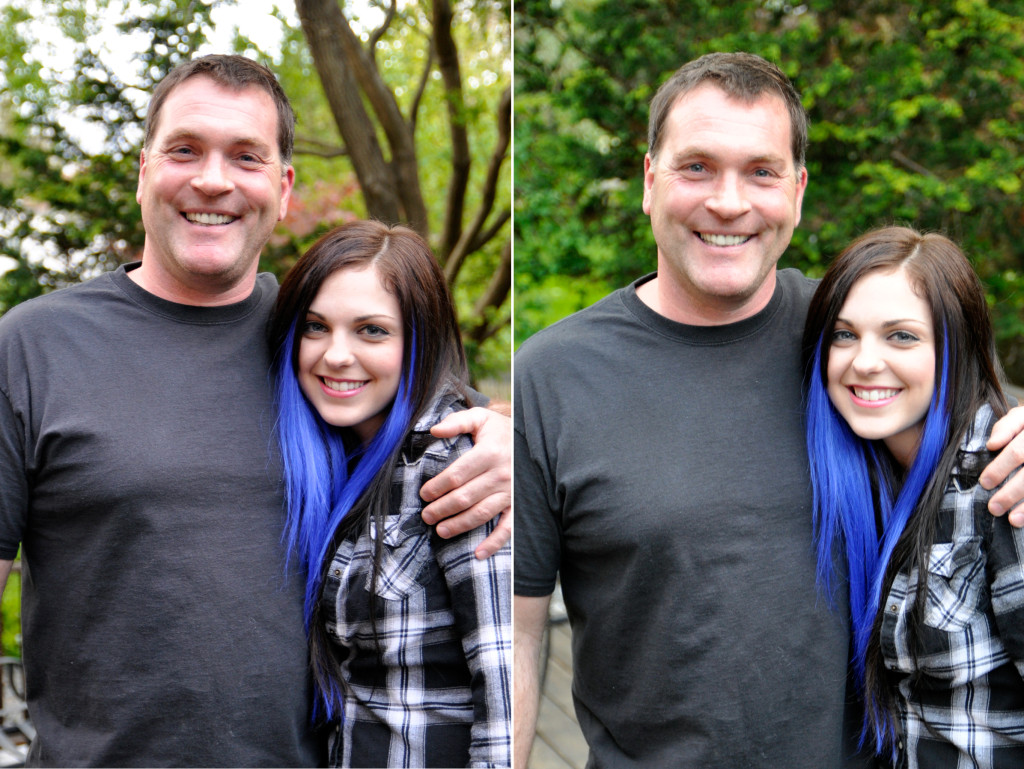
When shooting people, I like to get just a little bit above eye level. When shooting straight on, especially when photographing someone taller than you, results are sometimes less than flattering. Look at the man in the photo on the left, and then compare it to the photo on the right. The only adjustment I made was to stand on a chair and ask him to lean forward just a bit. That slight adjustment results in a much more flattering snapshot that slims him down and eliminates the double chin. A bonus: the background is much less distracting and looking up at me with the sky behind me adds a sparkle to both of their eyes that is not there in the first one! Quick tips to be prepared for that ultra impromptu snapshot of guests who don’t like having their photo taken, but begrudgingly grant you just a moment to do it.

Grab Your Camera and a Towel and Head to the Beach for Fun Photos

_DSC2558_RT

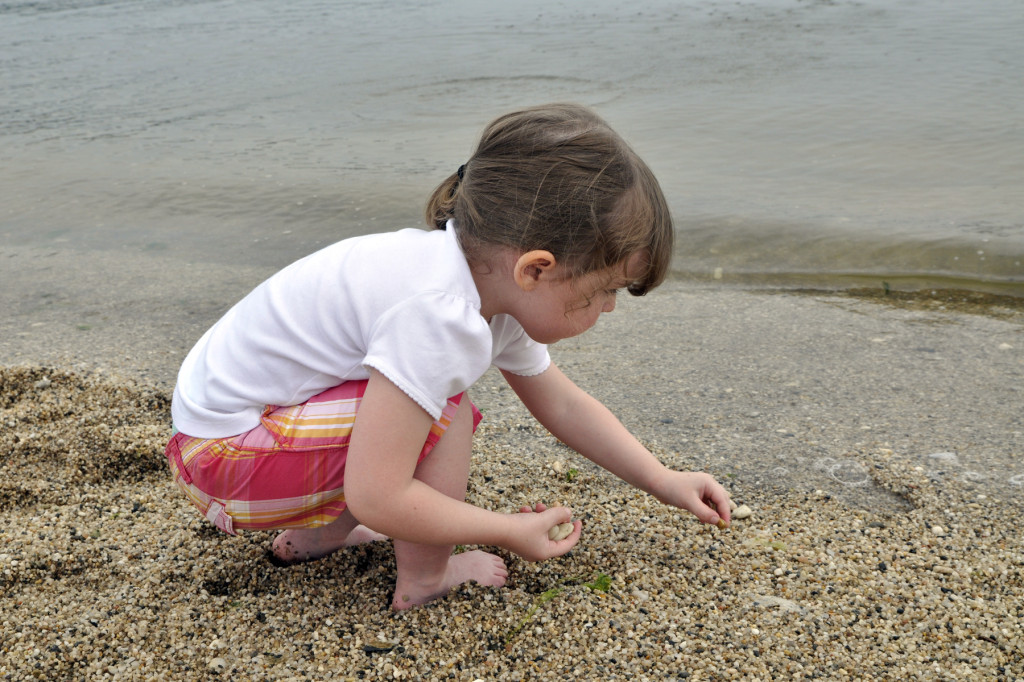
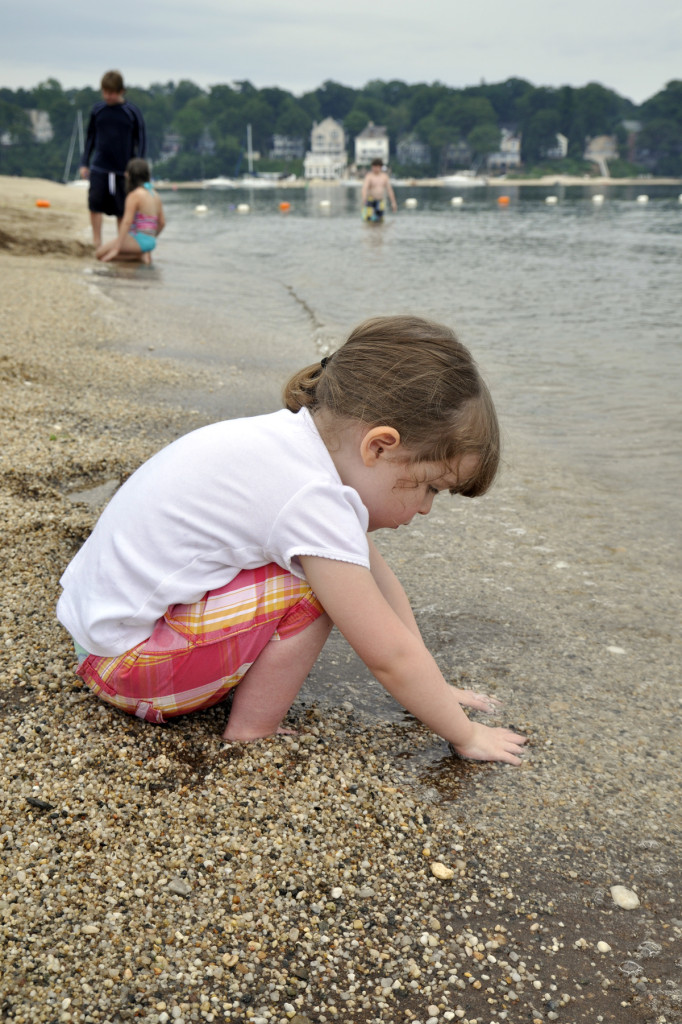
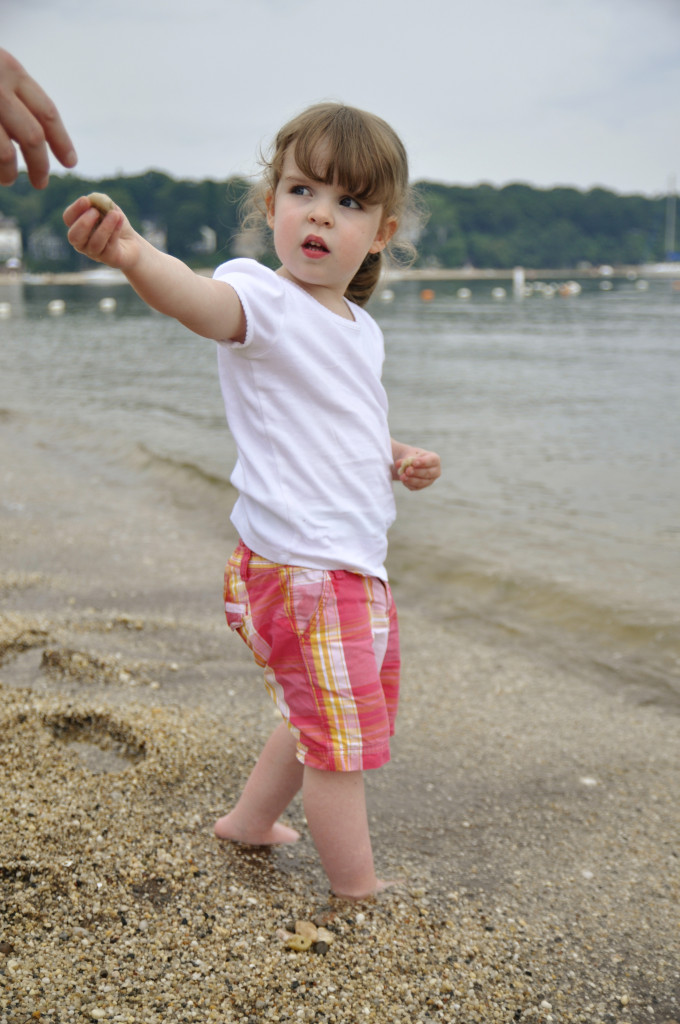
It’s finally summer! And if your family’s like mine, beach figures heavily into the weekend. If you have young children that love to explore the beach, then get down on the sand with them. Make sure to bring a towel so that you can easily sit or even lay down close by in order to capture their explorations (and to keep sand on your hands to a minimum). Getting close and using a wide angle setting on your lens lets you show some more background to give a point of reference (see photos below). On bright sunny days, trying popping up your flash for some fill to eliminate harsh shadows from midday sun, and to add some light to your child’s face often hidden by cute sun hats. But don’t let cloudy days like we had here stop you form heading to the beach with your camera. The over cast sky is actually perfect for picture-taking. One note of caution: Salt water is an enemy of you camera. If the conditions are very “moist” on a hot hazy beach day, salt residue and water can collect on your camera and lens pretty quickly. Try putting your camera in a zip lock bag with a hole cut out for the front of the lens to stick out and be sure to use a UV filter. Clean the lens as soon as you can with lens cleaning fluid and a micro fiber cloth taking extra care to inspect for and remove any sand that may be on your lens before rubbing the lens. Then wash the cloth before using again after the beach. Store the camera back in your camera bag right after use to keep it out of the sun and elements. There are also special bags made for your camera to prevent any damage. Google rain coats for cameras.

_DSC2583_RT

_DSC2577_RT

Shoot From a Different Angle for a Meaningful Perspective

_DSC2061_RTWhile visiting Boston over the Memorial Day weekend, we experienced a moving memorial to the fallen soldiers of Boston: 20,000 flags in the middle of The Boston Commons. Each flag represented a Massachusetts citizen who died in wars and military conflicts during the last 100 years. By shooting low (with the camera nearly on the ground as I knelt in front of the first line of flags) I was able to eliminate the distracting background of visitors and keep the focus on this sea of flags that really puts into perspective the staggering number of lives lost. The 50mm focal length setting combined with a wider open aperture of f/5.3 helped to compress the flags to give the image a painterly feeling as the seemingly never-ending rows of flags dissolves into the background.

Photographing a Spooky Jack O’Lantern

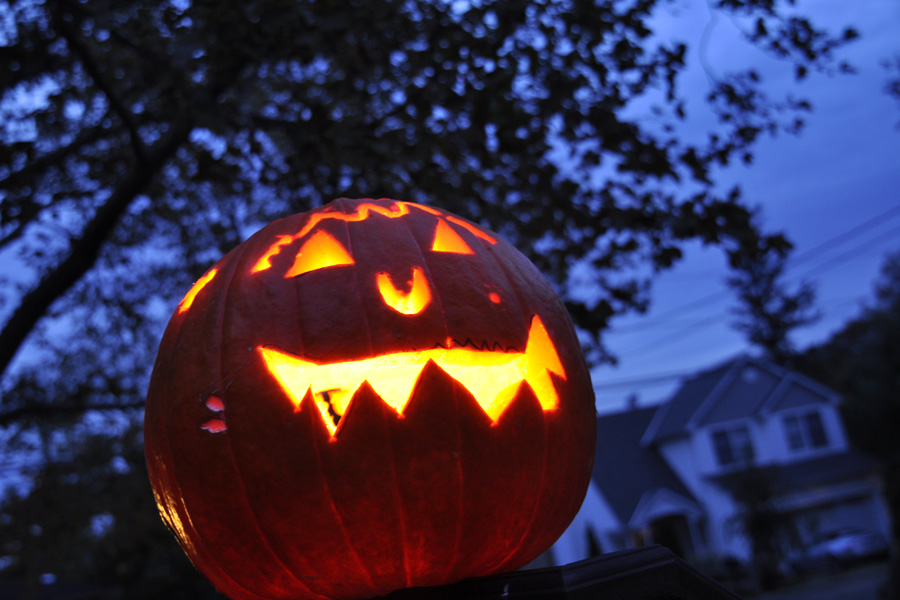
jackolantern3Tonight is the perfect night to light up your carved pumpkin and snap a few spooky shots. I found that taking a shot a little bit after the sun sets, while there is still some light left in the sky, can make your pumpkin look more scary. The tree branches will be back-lit, which adds to the mood of the shot. Start by setting your camera to aperture priority and selecting the widest aperture your lens allows (F/2.3, F/3.5) and a low ISO (200 or 100). Next, put your camera on a tripod or other stable surface. Using a cable release or electronic remote control like I did will ensure that you do not get an blur when you press the shutter release button during your long exposure. If you have a lens with an anti-shake mechanism (like Tamron’s VC, Nikon’s VR or Canon’s IS systems), be sure to turn it off when using a tripod as it is counter-productive to use the stabilizer system in that situation. Then, shoot your pumpkin at a lower angle using a wide angle setting on your lens to get some of the trees in the background. You can add extra exposure if your background is too dark by using the exposure compensation dial and going to the plus side. This slows down your shutter speed even more. Your exposure will be somewhere around 15 seconds to get the soft glow of the jack o’lantern and the bluish sky in the background.

Happy Halloween!

Guest Post at Elementally Speaking

BALLERINA

My friend CrisDee over at Elementally Speaking asked if I would guest post for her site where she shares with you ideas for creating, capturing and keeping family memories.(see the post below, or at http://elementallyspeaking.wordpress.com/2009/07/06/new-feature-photo-tips-from-stacie-errera/Thanks Cris!)

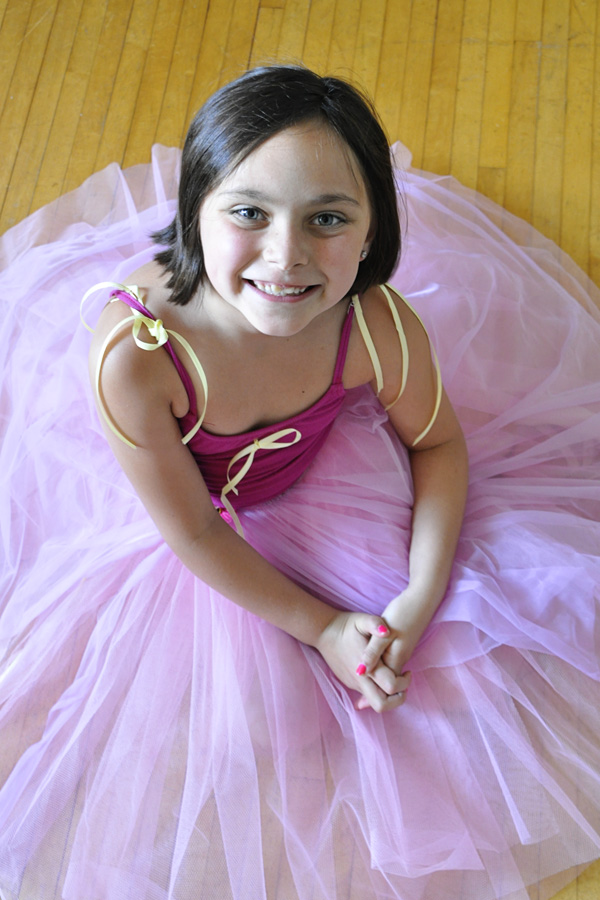
When it comes to our children’s stage performances, it is very difficult to get great shots unless you have total access during a rehearsal. The mistake most people make is to take photos from their seat in the auto mode.  If you do this, the flash will go off and you’ll get a dark stage and very well lit heads of the people in front of you.  So sit back and enjoy you child’s live performance with your eyes rather than through your camera’s viewfinder (I know, any of us shutterbugs find this an almost impossible suggestion!).Instead, concentrate on getting a nice shot of your child in costume by venturing back stage during rehearsals or prior to the performance.  I checked on my daughter the day before her recital and saw her costume for the first time.  I was thrilled when I saw the light streaming in from the windows behind the back stage curtains.  I asked her to sit down for a moment with the side of her face parallel to the windows to get nice side lighting on her face.  I then crouched down just a little so that I could see her ballerina skirt spread all around her and her big happy smile.  This point of view also let me include some of the wood floor that her pretty feet danced on the next day and one that really gives the viewer the true picture of what was happening when I took the photo.  Find a place in the environment that has some windows and position your actor or dancer so that the light brings out the detail in the costume and a highlight in your child’s eyes.  Don’t get too close to the window as the light will be too harsh.  Instead, move a few feet or more away from the window for an even light.  I always try to not use the flash and opt for natural light whenever possible.