Changing the Look of Your Photo with Aperture Priority Mode

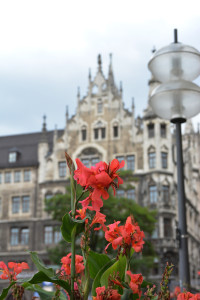
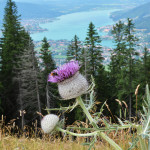
You can dramatically change the look of your photo by changing the aperture of the lens on your camera, which controls the depth of field. Depth of field is how much of your photo in front of and behind your subject is in focus. If foreground to background is all in focus, your depth of field is deep. If the foreground and background are out of focus, then you have shallow depth of field. Learning to control this function on your camera will help you to yield more professional-looking photos that let your subject pop off the image because it will be separated from the background. In the two example photos below, the one on the left shows shallow depth of field. The aperture was set to F/4.5 (a wide open aperture). The photo on the right shows deep depth of field and the aperture was set to F/16 (a small aperture).
RT_Blog4_F4_SAE_1607

RT_Blog5_F16_SAE_1607The aperture is easy to set on your camera by setting your camera mode dial to A (on Nikon cameras) and Av (on Canon cameras). Then use the thumb wheel to move the aperture number to a smaller or a larger number. The smaller the number, the more blurry the background will be like the above left photo. The larger the number, the more in focus both subject and background will be, like the above right photo.

This technique is particularly useful when shooting portraits. You want your subject to stand out from the background, especially if there are distracting items behind the subject. You can choose how blurry or sharp the background will be by experimenting with different aperture settings. To practice, shoot the same subject twice at the two extremes like I did above. Do this several times with different subjects each time you have your camera out until you feel comfortable that you can easily pick the aperture to get the look you want. See more examples below and don’t forget to download the photo tips card for your gadget bag to help you in the field.

Understanding the Histogram on Your Camera to Make Better Photos

What is a histogram?
The histogram on your camera lets you view the exposure of your photos so you will know whether your photo is too light or too dark. This is important since there are so many times that we cannot really see the image on the LCD screen because of bright sunlight. Or you may have your LCD set to a lower or higher brightness and therefore the image on the LCD will not look the same as the image downloaded to your computer. 
Histograms which represent an image that has all tones from the blackest black to the whitest white will look like an even hill as in the sample above. But if your image is over- or under-exposed, the hill will fall short of one or both ends as in the sample below. So how does this information help you? You can adjust your camera setting using exposure compensation (+/- EV) and take another shot that is properly exposed.
 
Is my photo under-exposed or dark?
To read your histogram to determine if the photo is under-exposed, press the info button on the back of your camera while playing back an image. You will see a graph like the one above. Look at the right side. Does the information (the black hills) go all the way to the right side? If it does not go all the way to the right, then your image may be too dark. Try “adding light” to brighten up your image by dialing in a plus (+) exposure compensation, such as +0.33, +0.67 or perhaps +1.0. Then take another shot and see if the right side moved further to the right.
Is my photo over-exposed or too light?
To check if you are “blowing out the highlights” look at the left side. If the information does not reach all the way left, you may not see any detail in the brightest parts of your image (think bride’s dress or facial features). Before making any correction, press the info button once again. You will see any that any areas that are over-exposed or blown out will be blinking. If a critical detail (like the face) is blinking, you will want to make a correction by dialing in a minus (-) exposure compensation, such as -.33, -0.67 or perhaps -1.0 to subtract some light from the image.
Consider what type of image you are shooting before making any correction
Keep in mind that the histogram is giving you a representation of the darks and lights in your image. If you take a photo out in bright snow and your subject is wearing light clothing, there may not be any black in the image and your histogram will naturally lean to the right making a an uneven hill. Making an adjustment in this case might lead to grey looking snow. 
Conversely, if your image is of a black cat in a low lit room in front of a brown wall, there may not be much white or brightness for the camera to record and the histogram hill will lean to the left naturally. Making a correction here might make the blacks look grey and you will lose the richness of your shot.
So the histogram need not be an even hill from left to right.
By checking your histogram from time to time during your shoot, you can be sure before getting you r photos onto your computer whether or not your exposure is on the money. To learn more about the histogram on your camera, consult the owner’s manual. Add information about the histogram to your camera bag by downloading the new Photo Tips Card: Histogram at right and adding it to the others on a D-ring.

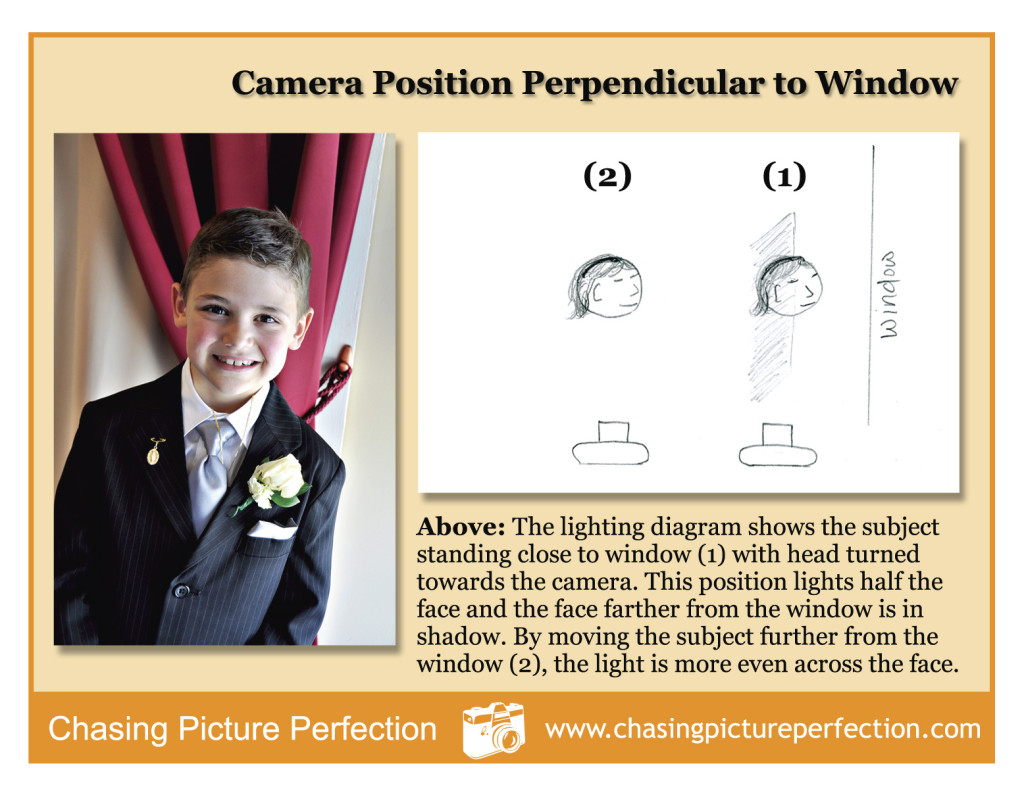
Lighting Diagrams for Window Light Photos

TIPS CARDS_WindowLight_Layered.psd
Window light is one of my favorite ways to take portraits and still life shots as you well know since my blog entries frequently feature this type of shot. I felt by sketching out how I position the camera and the subject might be helpful. I am going to ask you to not laugh at my funny sketches, but I am sure you will not be able to help yourself. I laughed too as I was making the card.

Take a Stop Action Photo

DSC_3800_RT

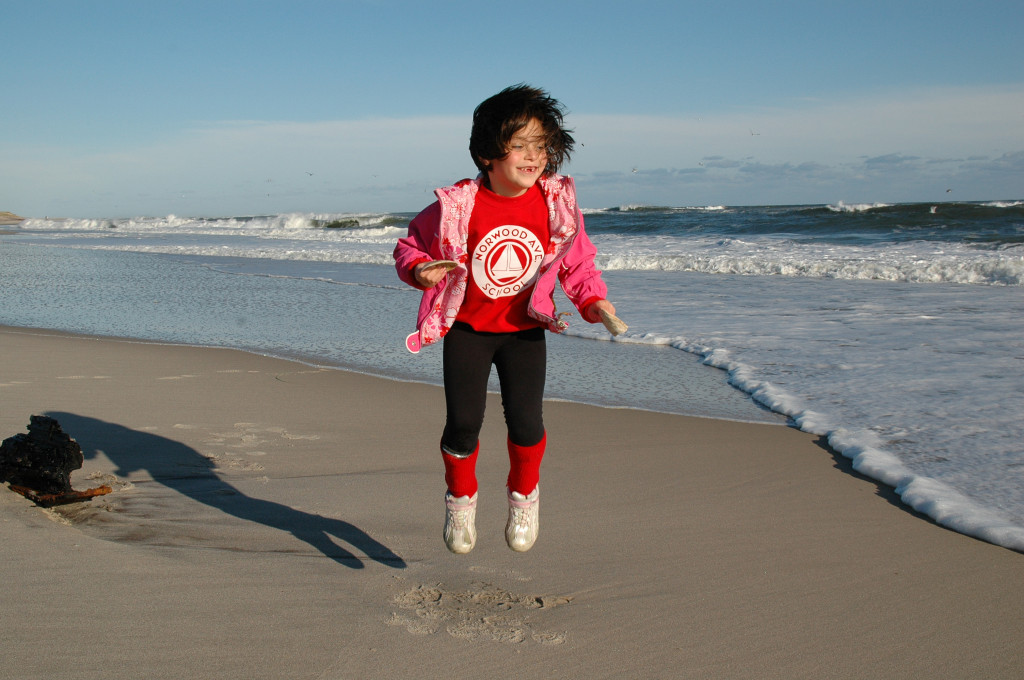
Freezing a droplet of water or a smiling face zipping past you on a bike both require using a fast shutter speed and usually a higher ISO setting. I prefer to set my camera on aperture priority in order to prevent under-exposing my shot. In this shooting mode, using a wide open aperture like F/2.8, F/3.5 or F/5.6 will let a lot of light into the camera, and the camera will then automatically choose the fastest shutter speed it can—given the ISO setting and your lighting conditions. If it is a bright day, the shutter speed will be higher in this mode when using a wide aperture. And the higher you set your ISO, the higher the resulting shutter speed will be. So start with your camera in the “A” or “AV” mode, set the aperture to a wide open setting, and set your ISO at 400. Look thru the camera and see what shutter speed your camera says it will use. If it is slower than 1/500th of a second, then boost your ISO to 800, or 1000. Keep in mind that if your subject is moving very fast, you may need a very high shutter speed, like 1/1000th or 1/1250th in order to freeze the motion. To refresh your memory about aperture priority, take a look at the aperture download card posted here. Take a break from raking leaves, grab the camera and take a few shots of autumn fun. Or, if it is already snowing in your part of the country, take some creative snowball fight shots. Use a fast shutter speed to capture sports action, falling confetti, sprinkler water and more.

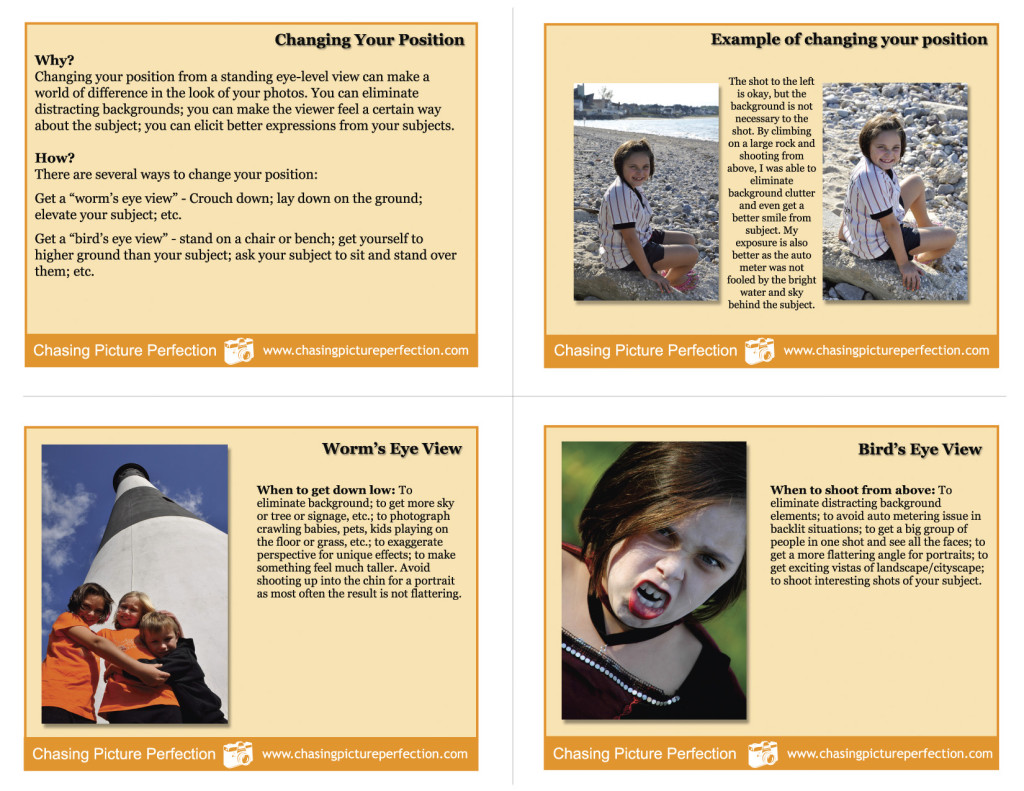
Free Photo Tips Card Download #3: Positioning

TIPS CARDS_Positioning_Layered.psd

Getting above or below your subject makes your images interesting. Download this card set here and add to set 1 and set 2. Printing it on photo paper is best so it is heavier weight (luster or matte) and add it to a D-ring to clip onto your camera bag. Enjoy!

Free Photo Tips Card Download 2: White Balance

Download the second set of photo tips cards on White Balance and add them to the first set about Aperture. I hope you find this set useful as you shoot. Experiment with your white balance outdoors to warm up or cool a shot. Click here to download.