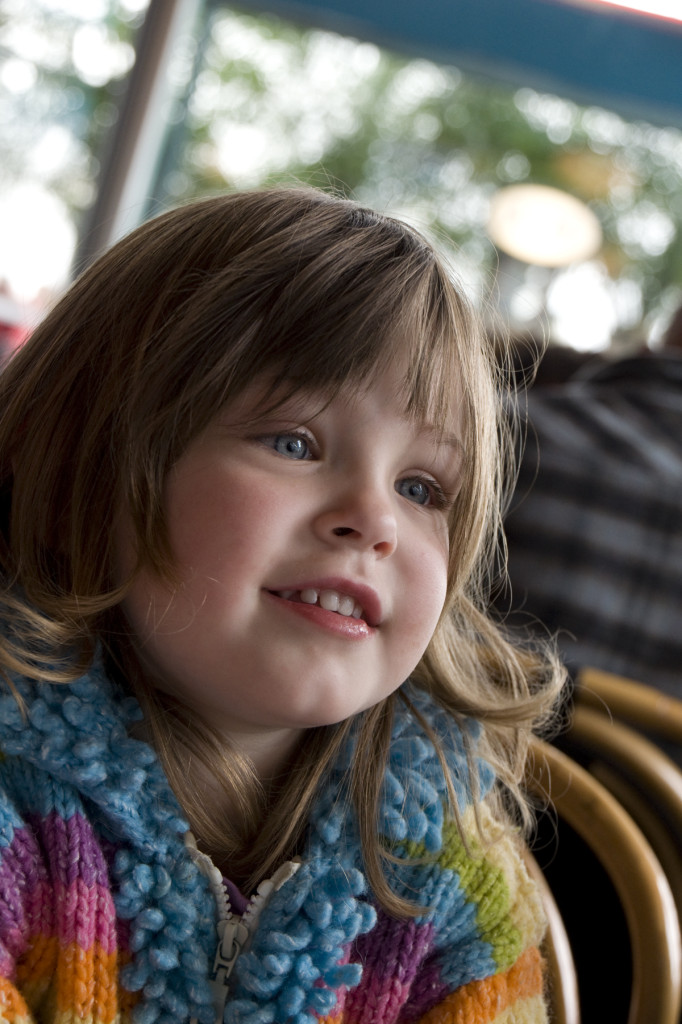
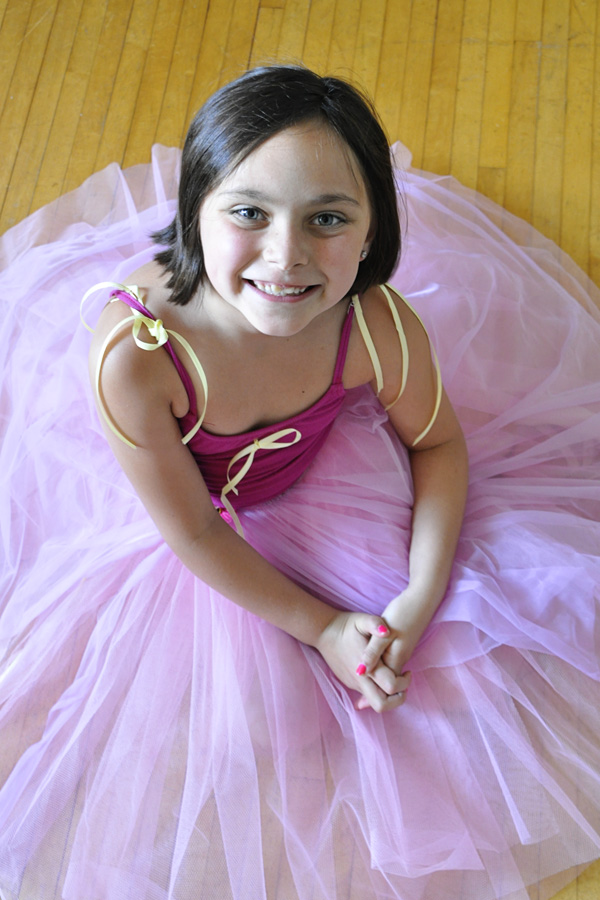
I have to admit it. Flash is my least favorite type of photography. I suppose since it seems so technical and the results can vary from situation to situation, looking artificial, too dark or too washed out. Luckily, today’s flashes can run pretty much on auto pilot and can be used for creative effect with just a little practice. But this time of year, and for the next four or five months, we’re all stuck indoors a great deal of the time, especially during the holiday season when we take so many candid photos at get-togethers. So I thought I’d share just a few basic flash tips to improve your indoor photos:
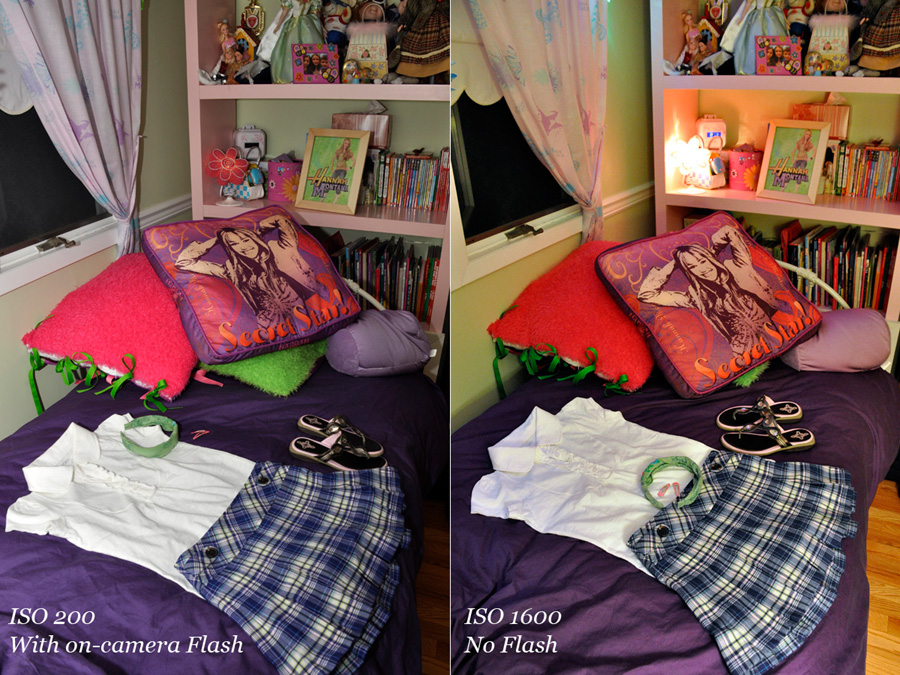
1) Your pop-up flash, the one that is part of the camera and pops up automatically if you are shooting in the “green box” total program mode, can cover just a short distance. Most of the time, any subject further than ten feet cannot get enough of the flash illumination for a properly exposed shot and that is why they look dark. You can boost your ISO to higher than normal (try 800 or 1000) to try and get more reach.
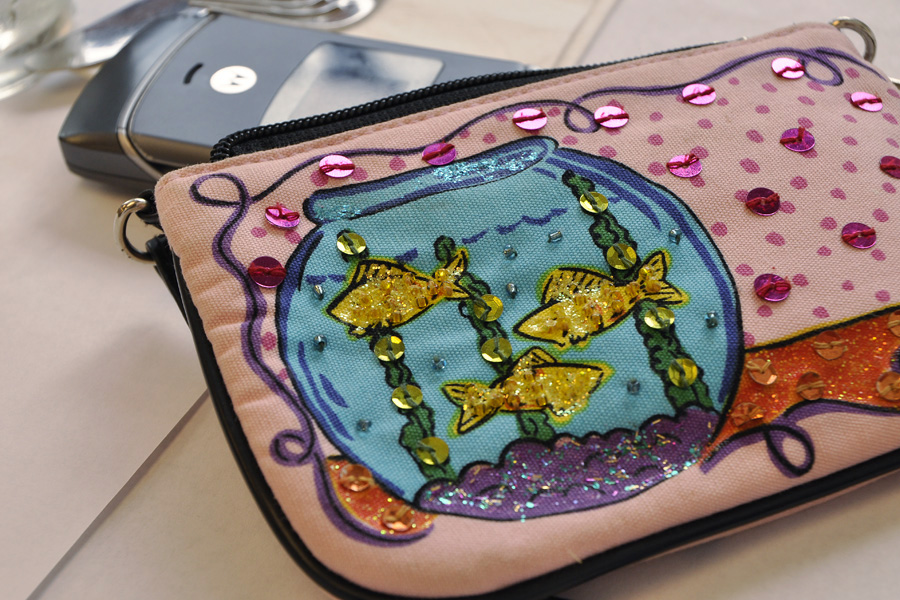
2) When you position your subject too close to a wall and use your pop-up flash, you are bound to get harsh shadows behind your subject. Eliminate this by having your subject step a few feet away from the wall and by shooting from a little bit above the subject (which is also a more flattering angle for portraits).
3) Your pop-up flash can cause red-eye quite often. This is because the flash is so close to the lens. It is worse on point-and-shoot cameras than DSLR cameras, but typical in either case. To eliminate red-eye, you can use the red-eye reduction function that throws out a pre-flash to make your subject’s eyes close down, but I find often that people think you’re done and move before the photo is actually shot. You can also try turning up the lights in the room to help the iris naturally close down a little.
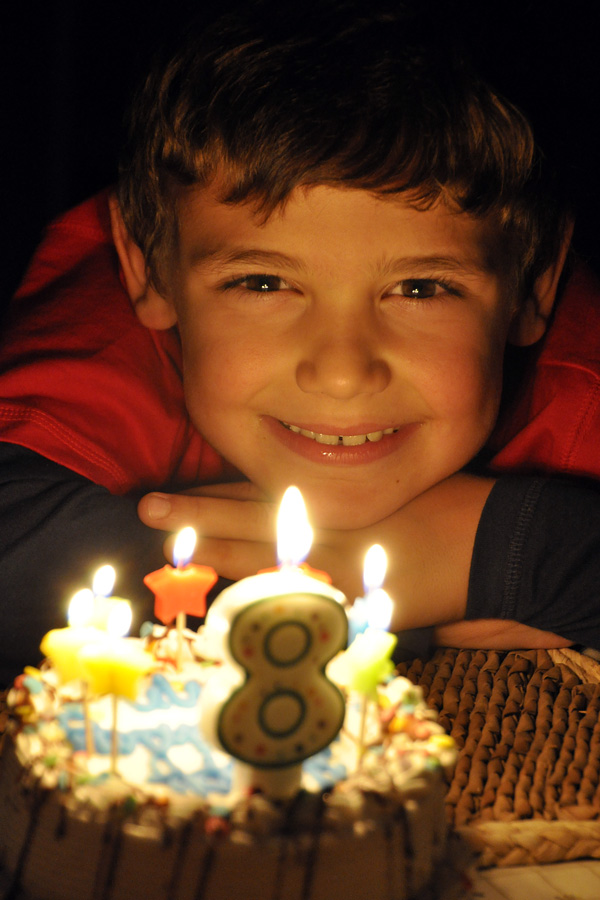
4) If you are in a very dark room, the camera/flash may over-expose your subject (you know, the white face that appears to have nothing but eyes and lips) since the camera reads the room as very dark and wants to make it brighter. This also happens if you are too close to your subject. One solution is to back up to correct the latter, and turn up the room lights if you can for the former. If you cannot control the lighting, try moving your subject closer to a room light like I did above.
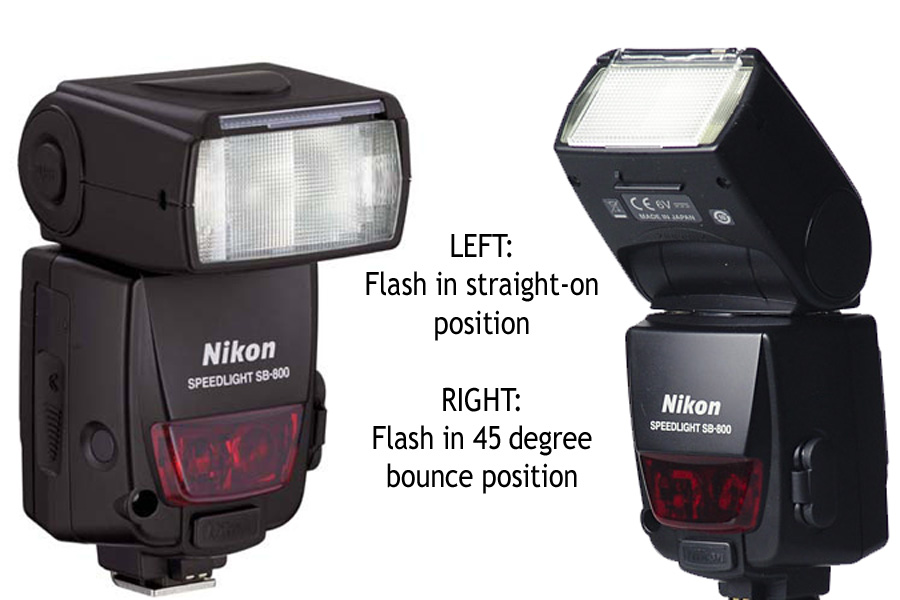
An on-camera auxiliary flash, like the one for my camera shown above, elevates the flash away from the lens and helps to reduce red-eye dramatically. This type of flash also helps in other ways: a) it can throw the flash further allowing you to be further away from your subject; and b) you can change the position of the flash to get more even lighting with much less shadows. This is called “bounce flash.”
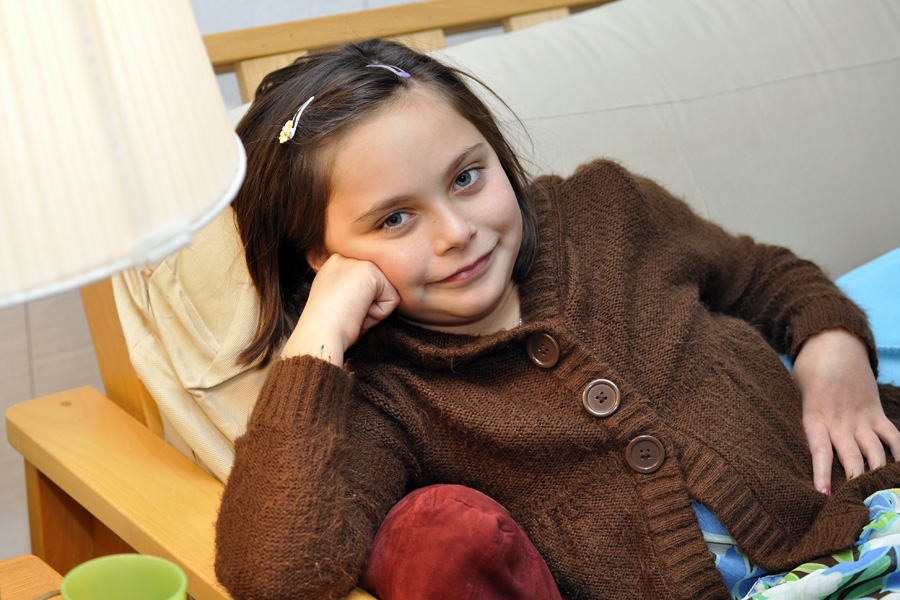
{bounce flash}
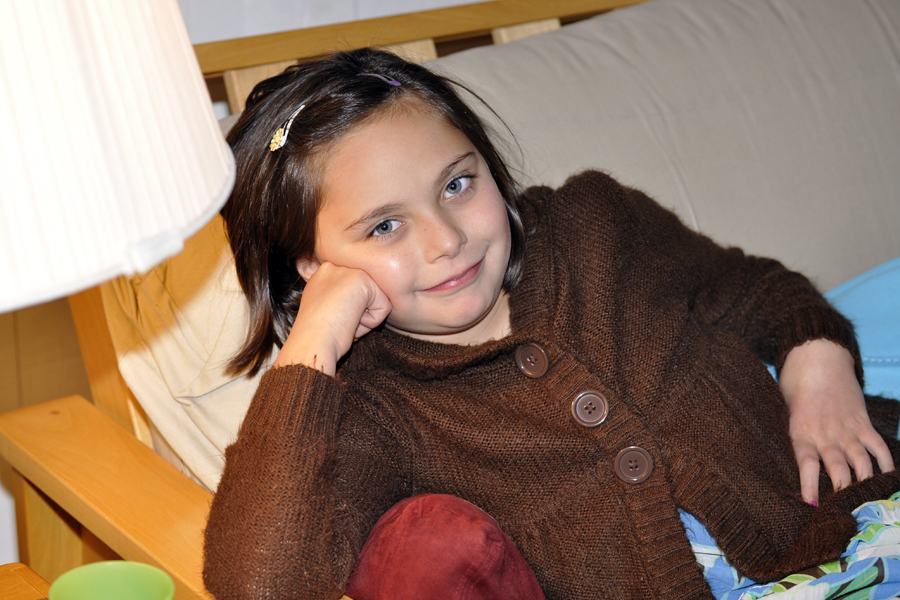
The photo above of my very Thanksgiving-weary subject was taken with the auxiliary flash in a bounce position. The flash bounced off of the ceiling and back down onto my subject. You can see the lighting looks much more natural and softer than in either of the two photos below where the shots look more artificial and harsh. In the photos below, you can also see the harsh shadow under the lamp and on the futon frame. And, there are hot spots on her cheeks. You can also see how quickly the flash “drops off,” meaning the couch gets darker, whereas in the photo above, the couch and subject are all evenly illuminated since the bounced flash showers the whole area with light. One caution–always bounce off of a white wall or ceiling as the flash will take on the color cast of what it is being bounced off of (e.g., a green ceiling will produce a ghoulish effect).
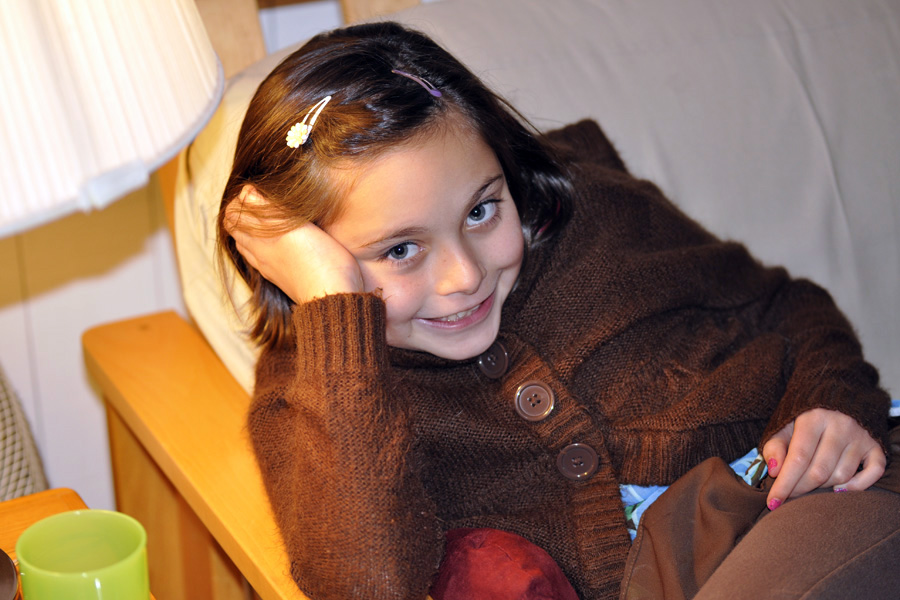
{pop-up flash on camera}
{straight-on auxiliary flash}
Like learning how to control your depth of field to blur backgrounds, mastering your flash is a must for anyone who is looking to take better people photos. So this season, try to remember some of the tips above when shooting your flash candids at family gatherings. And if you can get an auxiliary flash made for your camera onto your wish list, it will be a worthwhile investment for many years.
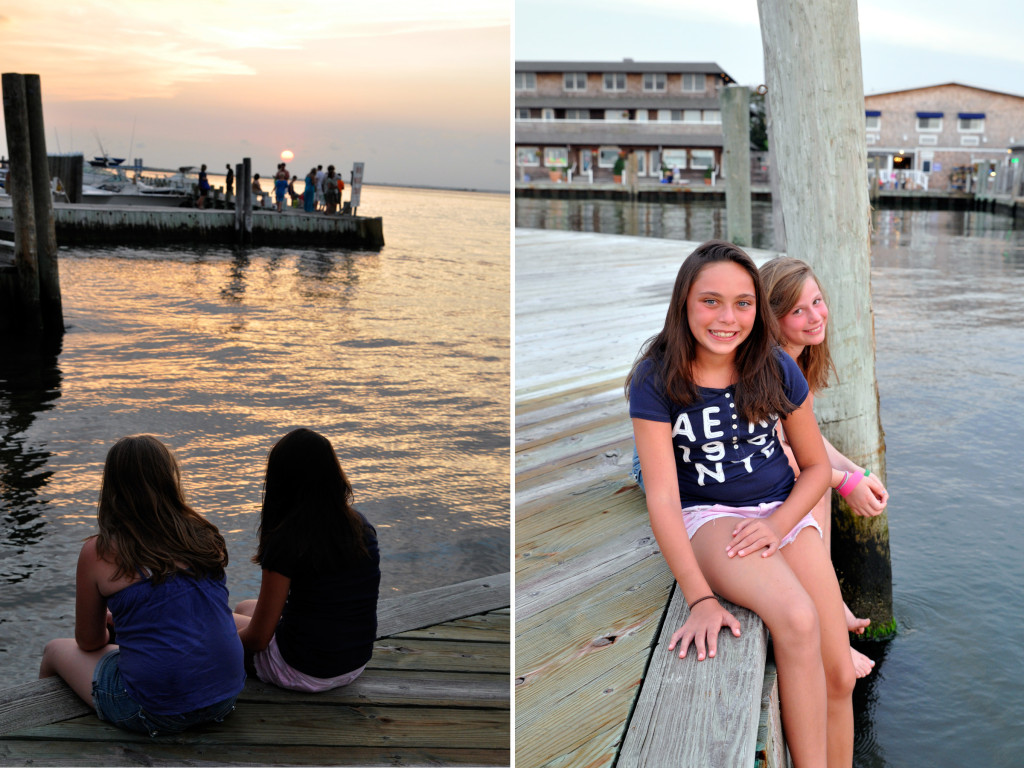 Sometimes we take the shot we had in mind and call it a day. But when the light is so beautiful at sunset, it pays to take a few steps around just to check out how the sun is lighting your subject. The photo on the left was the one I was after: two girls watching the sunset, captured in near silhouette as the center-weighted meter gave an exposure for the bright setting sun and made most of the other parts of the shot go dark. Just what I wanted. But then I sat down next to the girls to watch the sunset with them, and wow, was the light across their faces gorgeous. So of course I snapped away while the sun set! Because the light was low, I boosted my ISO to 640 and got a shutter speed of 1/100th sec at F/5.0 aperture. If I had unlimited cooperation from my two subjects, I would have boosted the ISO to 1000 and shot more photos at F/8 so that the girl further back would be in sharper focus. When shooting more than one person, either try to get them on the same plane of focus, or deepen your depth of field by using a smaller aperture like F/8. Not always possible, as was the case here, but the sweet expressions and the light make the shot a perfect one for me.
 Sometimes we take the shot we had in mind and call it a day. But when the light is so beautiful at sunset, it pays to take a few steps around just to check out how the sun is lighting your subject. The photo on the left was the one I was after: two girls watching the sunset, captured in near silhouette as the center-weighted meter gave an exposure for the bright setting sun and made most of the other parts of the shot go dark. Just what I wanted. But then I sat down next to the girls to watch the sunset with them, and wow, was the light across their faces gorgeous. So of course I snapped away while the sun set! Because the light was low, I boosted my ISO to 640 and got a shutter speed of 1/100th sec at F/5.0 aperture. If I had unlimited cooperation from my two subjects, I would have boosted the ISO to 1000 and shot more photos at F/8 so that the girl further back would be in sharper focus. When shooting more than one person, either try to get them on the same plane of focus, or deepen your depth of field by using a smaller aperture like F/8. Not always possible, as was the case here, but the sweet expressions and the light make the shot a perfect one for me.
