Shooting Sample Images to Learn How to Achieve Shallow Depth of Field

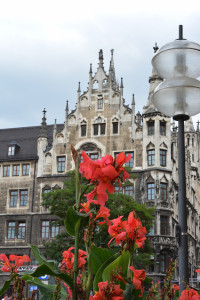
I find that the best way to make aperture-setting selections stick in your mind to be able to achieve a desired effect is to shoot sample images at two aperture extremes. Start by putting your camera into the aperture-priority mode (A on Nikon cameras; AV in Canon cameras). Then set your aperture to the widest setting (like F/2.8, F/3.5, etc.) and take a photo. This will be your sample A (see my sample below). Then move your aperture to its smallest setting (like F/22, F/32). This is your sample B. Then study the difference between the shots.
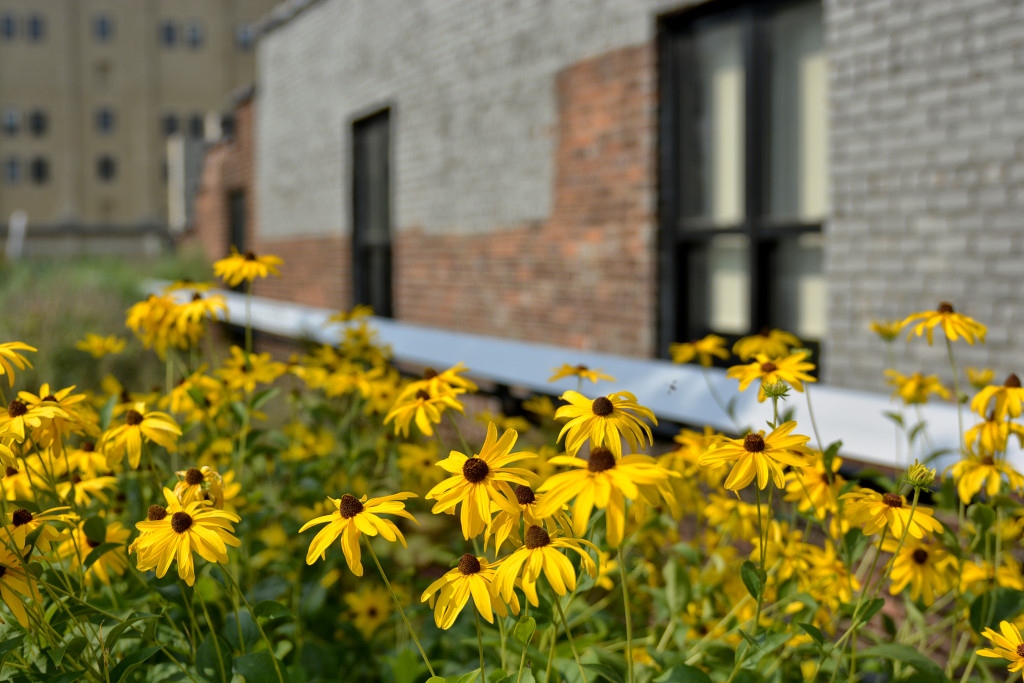
{Sample A} Wide Open Aperture (F/2.8 – 1/1000th sec shutter speed – 34mm)
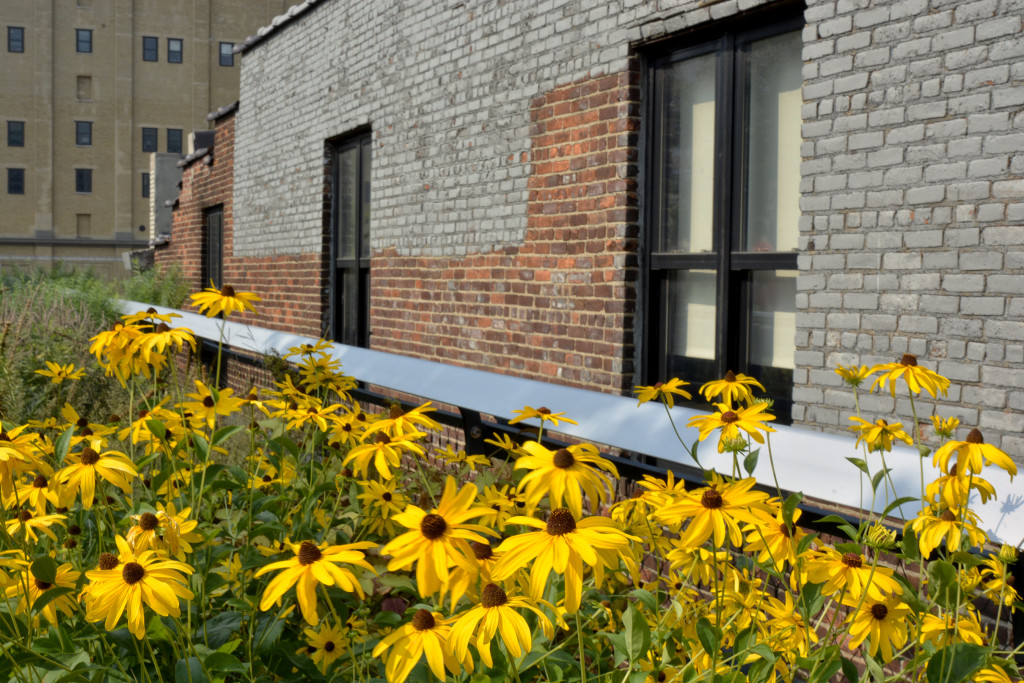
{Sample B} Smallest Aperture (F/22 – 1/125th sec shutter speed – 34mm)

Now, to make things confusing, your results will vary depending on your widest aperture setting, focal length setting and how close you are to the subject. In my sample shots above, I was very close to the flowers I focused on and my aperture was F/2.8 in the first, so the brick building in the background is out of focus perhaps more so or less so than your sample shots may show.

If you keep making samples for yourself like this, eventually it will become second nature when you are shooting to select the appropriate aperture to get the photo you have in mind (with out of focus background or sharp background).

Typically you will want to blur the background a little for portraits for a more professional look; or if the background is very distracting; or if you want the viewers of your photos to be drawn to so a very specific part of the shot.

Photographers will use a smaller aperture to get the foreground to background in focus for landscapes, and sometimes for shots that tell a story of where you are. For example, you may want a store name to be in sharp focus so that it is legible. Or you may want the details of a landmark to be in sharp focus as well as your family standing in front of it.

However, sometimes landmarks, such as the Disney Castle, are so recognizable, that having the castle slightly out of focus works really well to give you a “here we are” shot that is elevated to a more professional looking image. Below is a sample from Epcot’s China Pavilion.

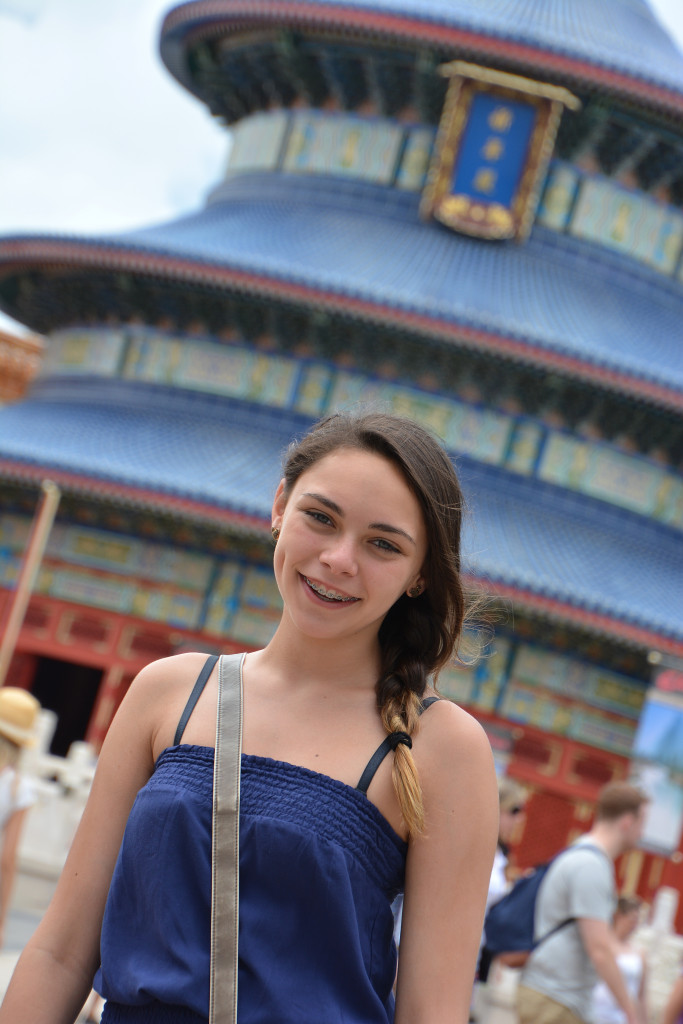
A slightly wider open aperture.


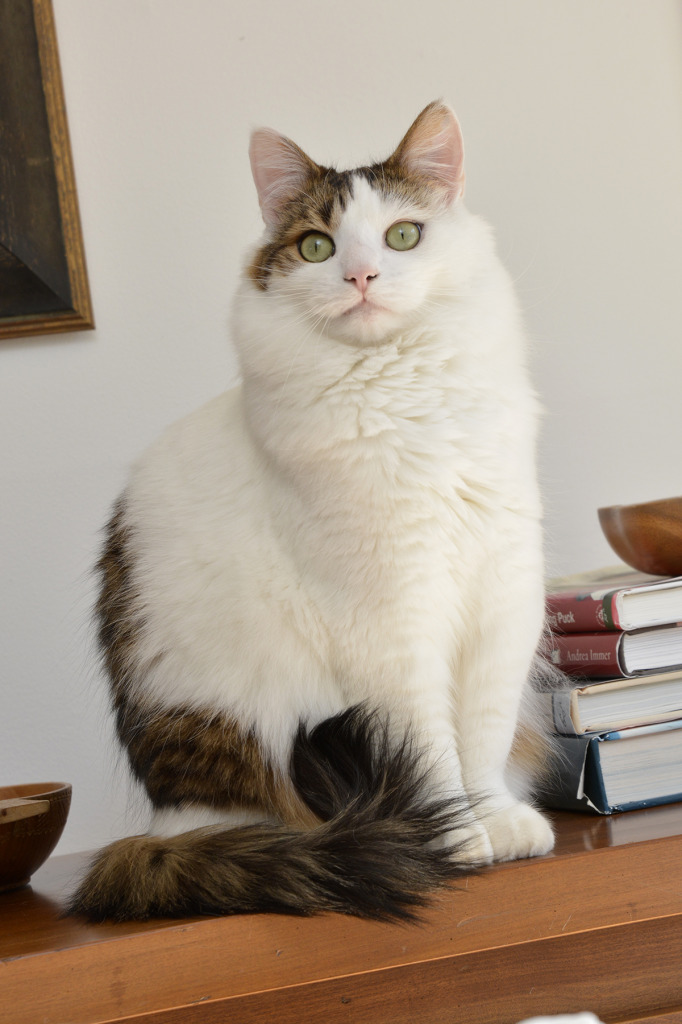
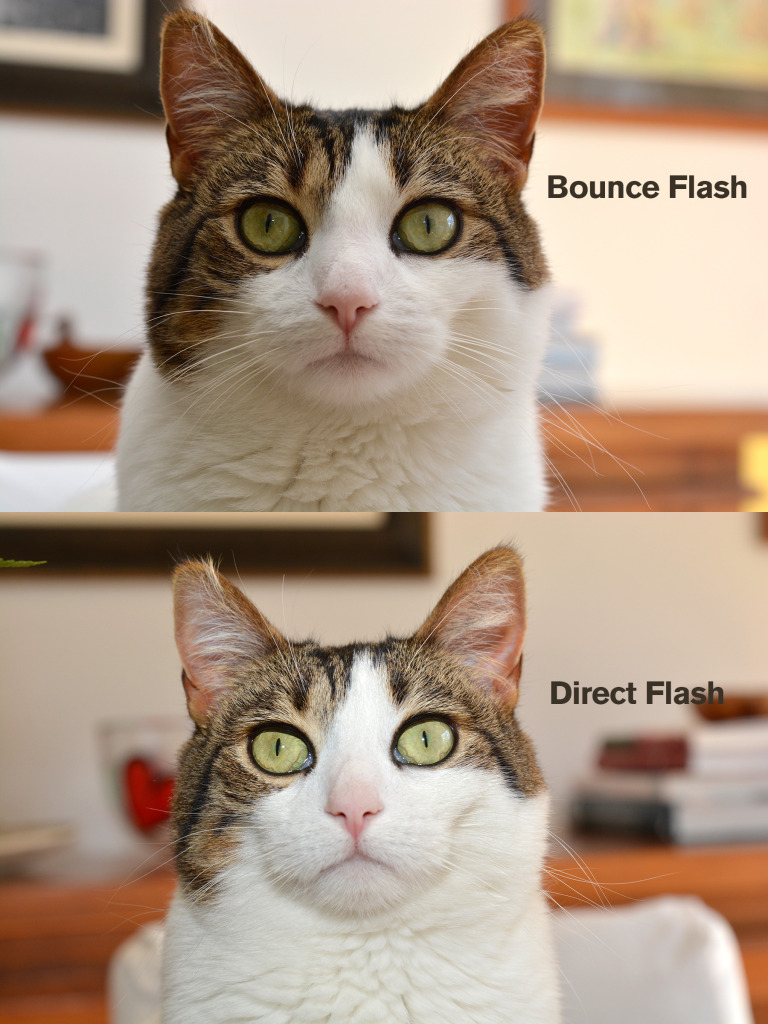
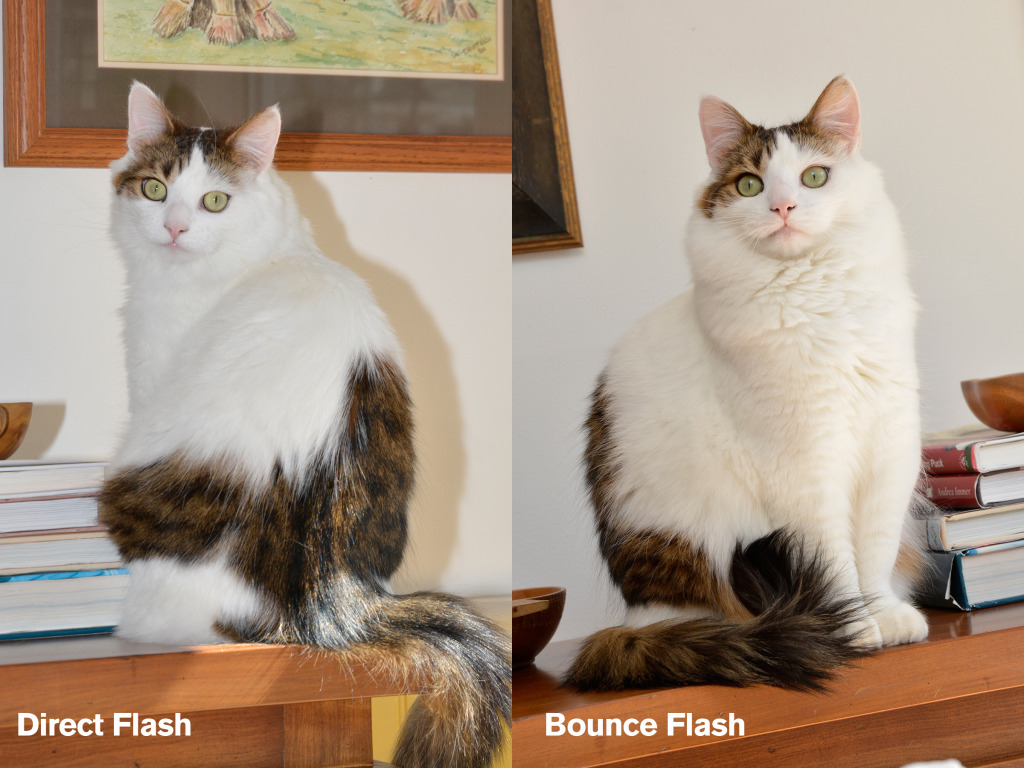
Bounce Flash So Much More Flattering Than Direct Flash

RT_SE27380Using an external flash on top of my camera instead of the pop-up one built into my camera gives me much more natural-looking photos. So I use it a lot; but because I feel I have not really mastered flash lighting, I keep everything in a program mode. My camera is set to “P” and my flash is in its program mode. The real trick, however, is the bouncing of the light off of the ceiling. With many external flashes, the head of the flash swivels so that you can make the light from the flash bounce off of a wall or ceiling. Below are two examples of direct flash, like your built-in pop-up flash, versus bounce flash. The images with bounce flash feel more natural – the shadow in the background disappears and the overall result is not harsh. An external flash does make your camera heavier, but the results are so flattering that to me it is worth the extra weight. Be sure when you bounce a flash, the wall of ceiling is white or very light. If you bounce off of a green wall, for example, the photo will have a green cast.

Flash Comparison 2 Fash Comparison

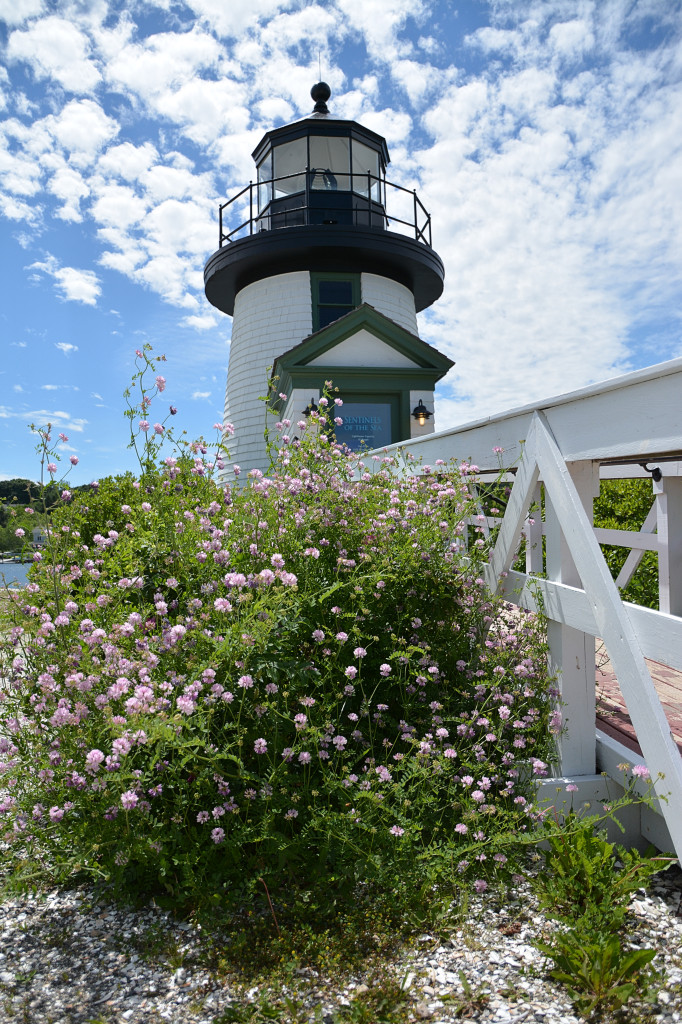
Change Your Position to Eliminate Distractions in Your Photo

RT_SAE_3490Sometimes when you travel to busy tourist areas, like Connecticut’s Mystic Seaport, the idea you have for a photo may seem impossible because of the distractions like signage and people. One way to eliminate the distractions, especially when there is not enough time to wait it out or come back when it is not so busy, is to change your position. In this case, I crouched down very low and shot upward towards the lighthouse, which helped to hide some of the more distracting words on the door of the lighthouse. This position also allowed me to use the flowering bush to hide the people standing next to the lighthouse. Another advantage? The small lighthouse (a replica of the Brant Point Lighthouse on Nantucket) appears taller than it actually is and the sky becomes a beautiful background against which the lighthouse stands.

Quick Silhouette

Exp Comp(-2.0)_SAE_3640There are several ways to capture silhouettes. I find one of the easiest is to use your exposure compensation function, the same feature discussed in the previous post. The image above was shot at -2.0, under-exposing the image by two stops. The sky is a rich color, and the couple on the beach swing is completely black. Below, you will see variations of compensation (0, -1.0 -2.0 and -3.0) of the same scene. Next time you’re shooting around sunset, take several images of your subject that has strong identifiable lines at different exposure compensation settings until you find the one that best suits your vision.

Exp Comp(0)_SAE_3637

Exposure Compensation 0

Exp Comp(-1.0)_SAE_3639

Exposure Compensation -1.0

Exp Comp(-2.0)_SAE_3640

Exposure Compensation -2.0

Exposure Compensation -3.0

Exposure Compensation -3.0


My Picture is Too Dark

There is a quick fix when you feel your photos are too dark. The +/- exp on the top of your camera lets you add or subtract light from the photo. This button is called the Exposure Compensation Button and is the fastest way to adjust the exposure of your image. Most cameras can do this in small stops of .33 at a time. Hold the button down while turning the wheel at your thumb (or forefinger depending on your camera model) and dial towards plus (+) to add light to the image if it is too dark and towards minus (-) to subtract light if the image is over-exposed.

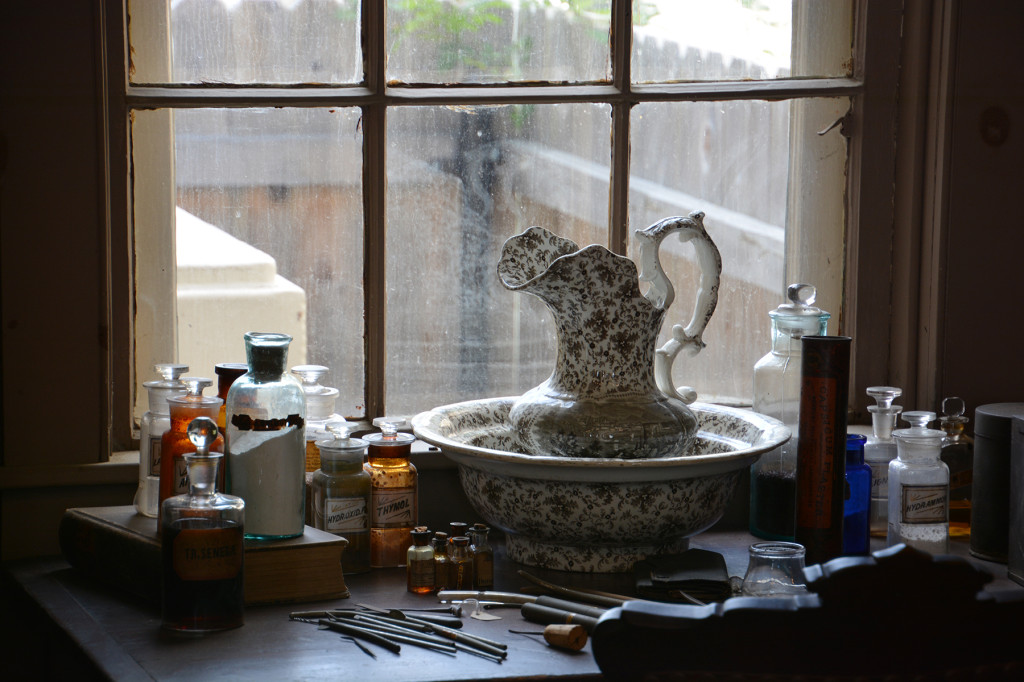
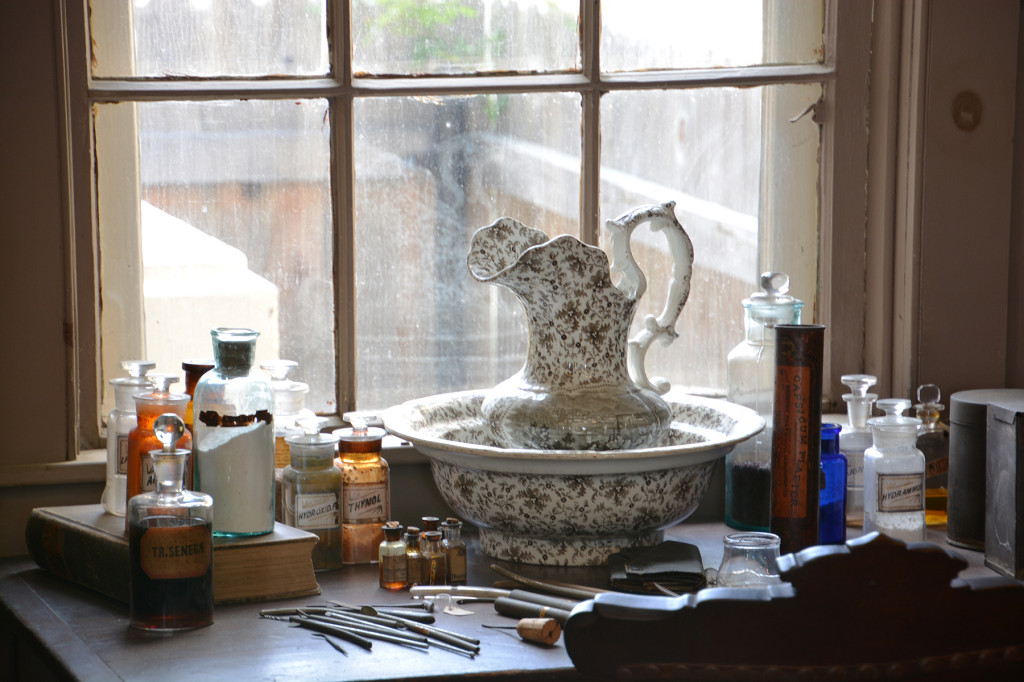
Look at the first photo below. It was shot normal, no exposure compensation. Since the subject on the table was backlit by the window, the image is slightly dark. By adding a bit of light with the +/- button, I can brighten up the image.

0 Exp Comp_SAE_3512

The photo below shows a real difference at +1.33. I added more than I really normally would have for demonstration purposes so that you can see the difference.

+ 1.33 Exp Comp_SAE_3514


Photograph Your Thanksgiving Spread

_DSC1034_RT

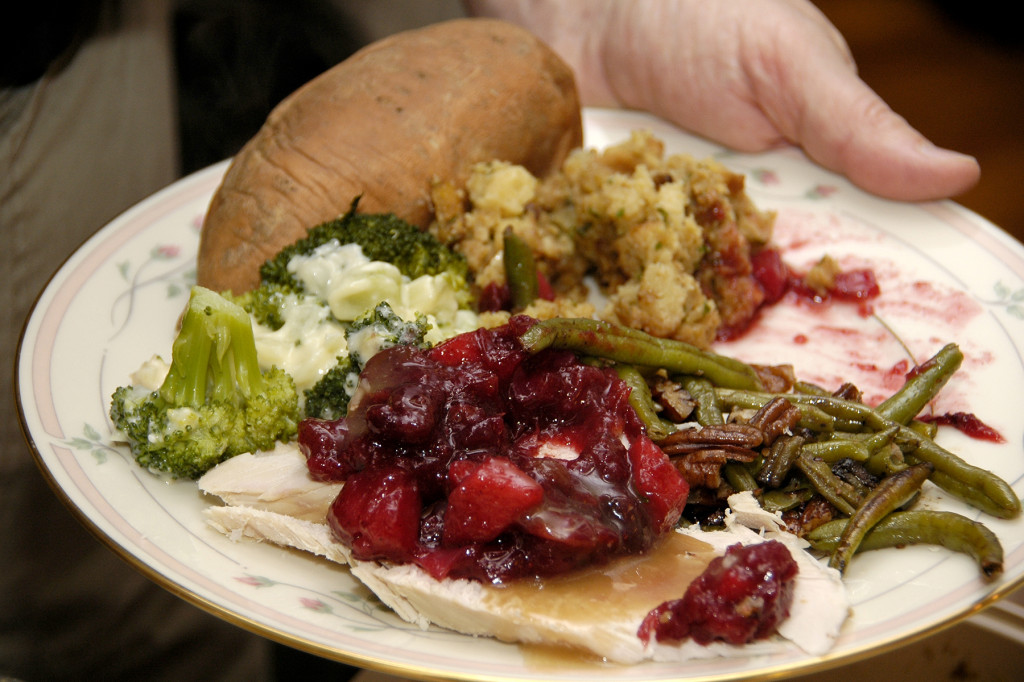
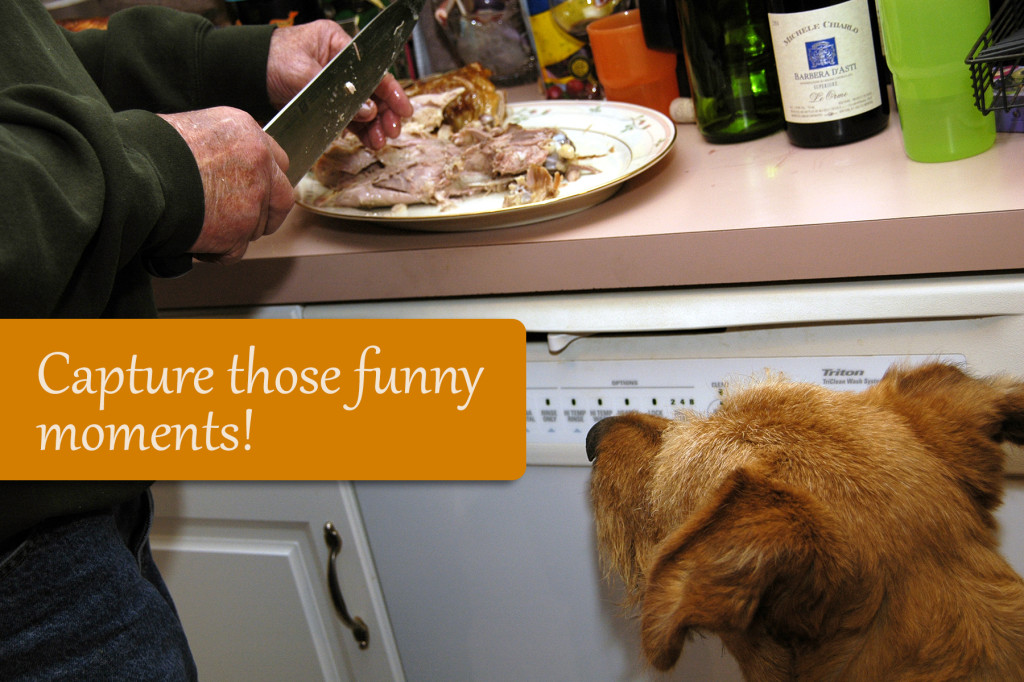
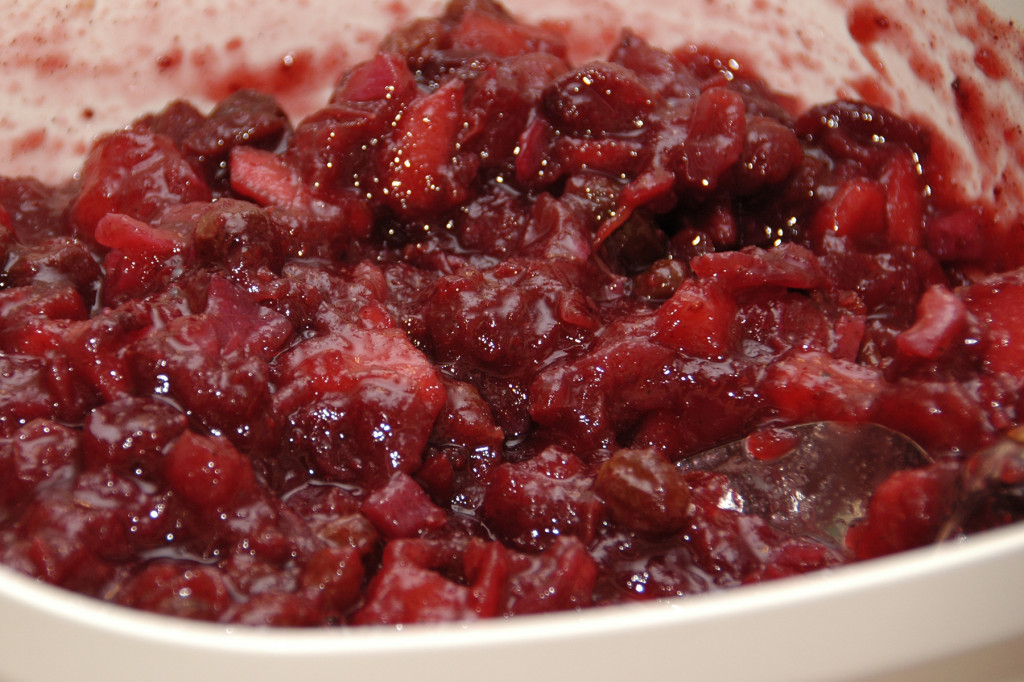
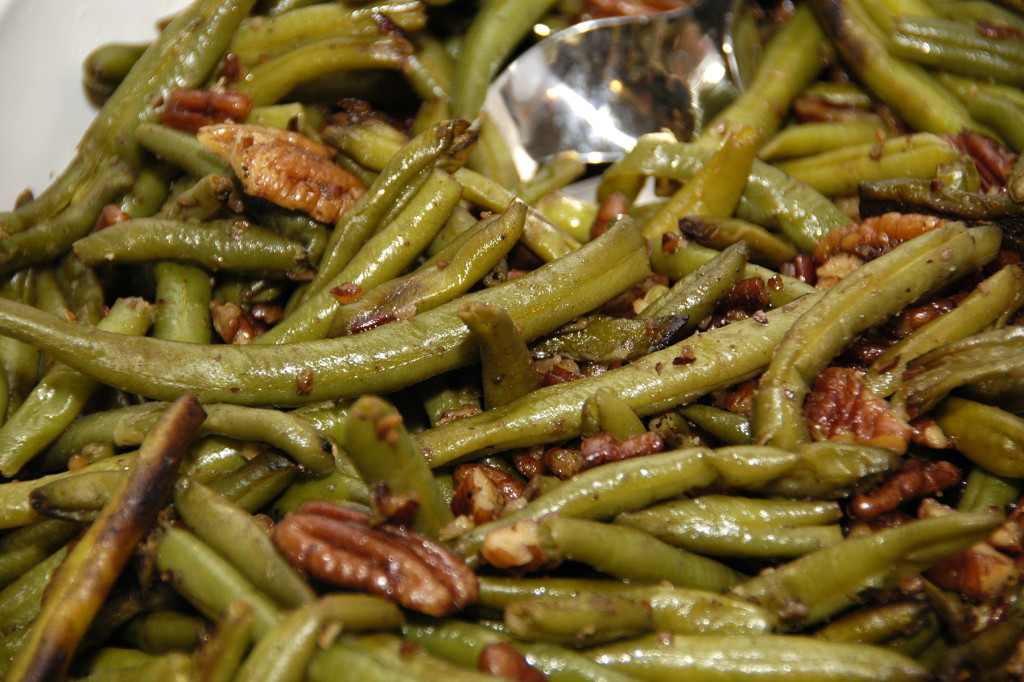
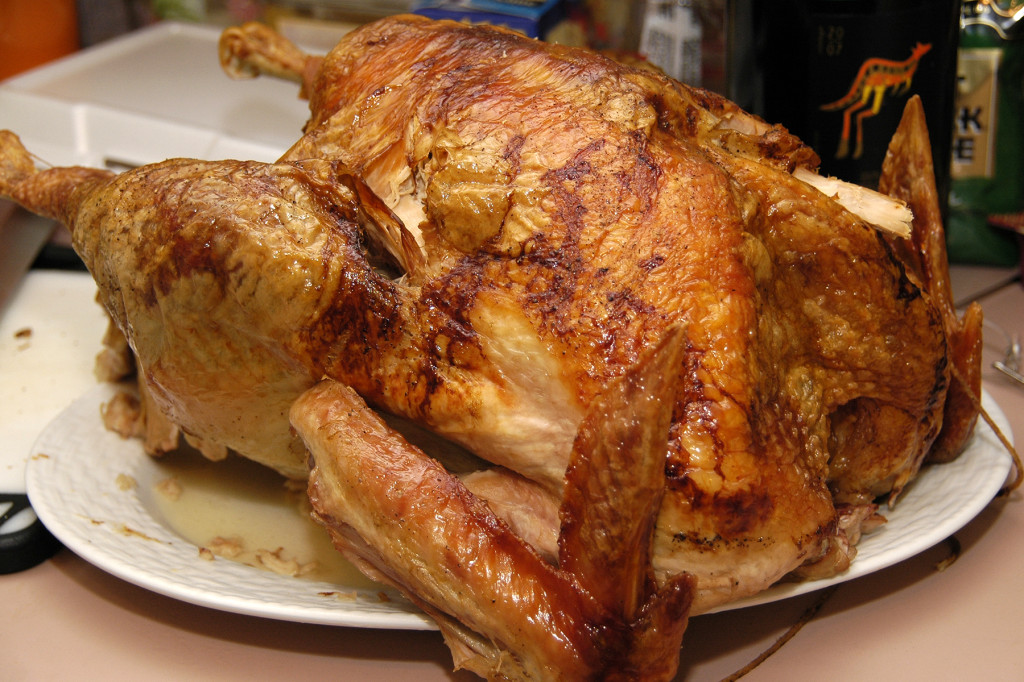
When the family is gathered for the holidays, it’s the perfect time to catch up with relatives and document happy faces around the table (tip: try bouncing your flash off the ceiling to avoid harsh shadows on the walls behind your subjects). But Thanksgiving is so much about the food, why not make it one of your “must-photograph” subjects of the day? Most of us are not food photographers, and when the feast is being served, no one wants to wait around for us to stylize the scene and chance the food getting cold. So my trick is to zoom in close to eliminate as much of the cluttered background as possible when photographing your favorite dishes on the Thanksgiving table. The photos are not only fun to look at (and drool over), but they will also make nice additions to any recipes you pass around to other family members! See the recipe card using one of my food photos that I made to share my sis-in-law’s amazing Cranberry Chutney recipe with friends and family. This midwest chutney has become a staple now on our east coast Thanksgiving table. And don’t forget to capture funny moments (see the turkey carver’s helpful assistant below) and the cooks of the greatest meal of the year! Happy Thanksgiving.

_DSC1006_RT_DSC1015_RT

Recipe_CranberryChutney

_DSC1020_RT _DSC1008_RT _DSC1040_RT _DSC1035_RT _DSC1018_RT _DSC1001_RT

Changing the Look of Your Photo with Aperture Priority Mode

You can dramatically change the look of your photo by changing the aperture of the lens on your camera, which controls the depth of field. Depth of field is how much of your photo in front of and behind your subject is in focus. If foreground to background is all in focus, your depth of field is deep. If the foreground and background are out of focus, then you have shallow depth of field. Learning to control this function on your camera will help you to yield more professional-looking photos that let your subject pop off the image because it will be separated from the background. In the two example photos below, the one on the left shows shallow depth of field. The aperture was set to F/4.5 (a wide open aperture). The photo on the right shows deep depth of field and the aperture was set to F/16 (a small aperture).

RT_Blog4_F4_SAE_1607

RT_Blog5_F16_SAE_1607The aperture is easy to set on your camera by setting your camera mode dial to A (on Nikon cameras) and Av (on Canon cameras). Then use the thumb wheel to move the aperture number to a smaller or a larger number. The smaller the number, the more blurry the background will be like the above left photo. The larger the number, the more in focus both subject and background will be, like the above right photo.

This technique is particularly useful when shooting portraits. You want your subject to stand out from the background, especially if there are distracting items behind the subject. You can choose how blurry or sharp the background will be by experimenting with different aperture settings. To practice, shoot the same subject twice at the two extremes like I did above. Do this several times with different subjects each time you have your camera out until you feel comfortable that you can easily pick the aperture to get the look you want. See more examples below and don’t forget to download the photo tips card for your gadget bag to help you in the field.

Pump Up Your ISO & Turn on Your Flash for Great Sparkler Photos

Sparkler Fun

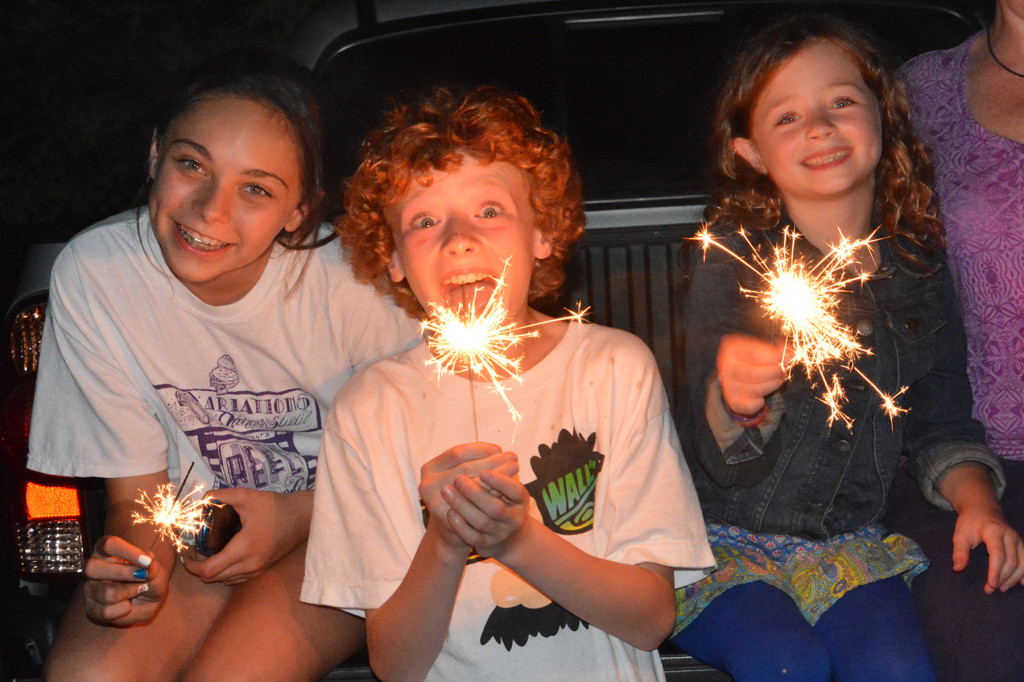
We have one two more nights of the long Independence Day weekend. When the sun finally sets, break out your camera and sparklers for fun holiday shots. Since it will be very dark out, you will need to boost your ISO to avoid both camera shake and blur from subject movement. Try ISO 1600. For the photo here, I also added a flash on slow sync. This flash mode sends out a burst of light to freeze the subject but keeps the shutter open just a bit longer to capture the sparkler motion as well as some ambient light for an image with more depth. If you are unsure how to set your flash to slow sync mode, you can also try the automatic “nighttime” mode on your camera, denoted by a person + star or moon on the mode dial.

You Never Know When the Photo of the Day will Happen

Yardley, PA, 2012

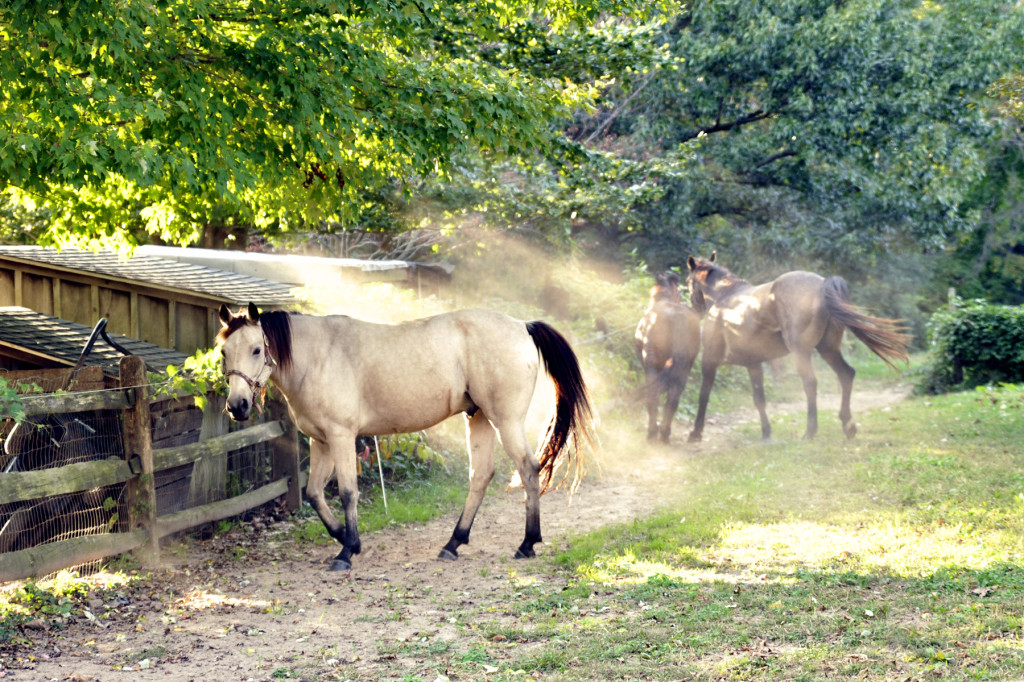
We all know it– have your camera ready at all times because you just never know when the right moment will strike to capture your favorite photo of the day. On a recent day of apple-picking in Pennsylvania, such a moment happened. I watched as a man walked a horse back into the horse corral and followed behind him. I quickly zoomed in on the horses already in the corral, but as soon as the new horse entered, they galloped off leaving a cloud of dust that reflected in the low sun streaming through the trees. I snapped off three images, and then this horse just looked at me for a second, and then he galloped off right behind his friends, two more shots. This was the last one. I had no time to think about settings, so whatever my camera was set on from my previous shots was what I caught this image at. I usually keep my camera in aperture priority in the F/5.6-F/8 range and my ISO is almost always at 400. So for this shot, the shutter speed was just fast enough to freeze the action.So the lesson today? Look around you for activity beyond what you came to shoot and watch for those special moments. Try to anticipate a shot when you see some activity around you. And when out for the day, keep your camera handy. If my camera was in my gadget bag, I would have missed this altogether. My favorite shot of the day.

Photographing Pets

Spanky

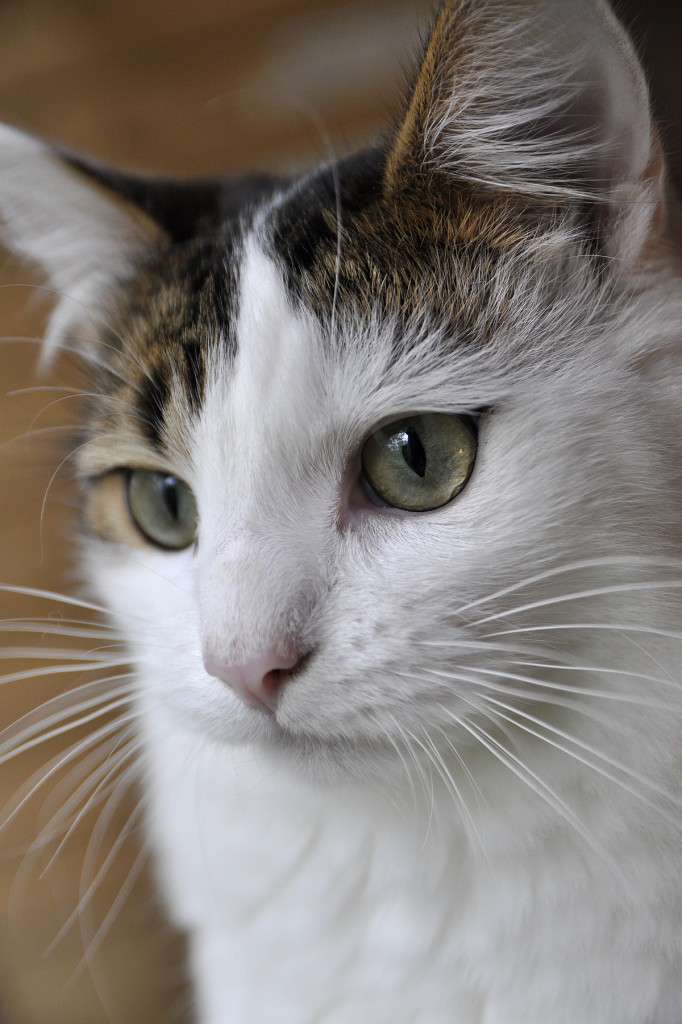
The key to taking good photos of your pets is to approach them in much the same way you do people in regards to lighting and composition. Much like children, however, it may be hard to get them to actually pose for you. I took a few shots of Spanky and Darla while they were having a quieter day. The lighting in each of the shots is slightly different, but each photo is done without flash and using only window light. Try to not use flash when taking photos of pets to avoid washing out their fur. In the main photo, Spanky was positioned very close to the window and looking out of it. You can actually see the window reflected in his eyes. I was close to him, and at 70mm, the F/2.8 aperture really helped to drop out the background and keep the main focus on his eye closest to the camera.

In picture B, Spanky moved to another table in my work area to lounge. Here, that same window is behind him, creating a nice bright background, and he is lit by the light from that same window that is bouncing off the white wall he is now facing. When taking portraits of people or pets, reflected or bounced light provides a beautiful even lighting that can be very flattering. See a post about reflected light off of a house in the backyard here. You can see the door reflected in his eyes, where a skylight in the hallway has provided extra light and makes a great catch light in his eyes. As with people and birds, it is important to get a catch light in your cat or dog’s eyes to really bring their portrait to life.

In photo C, Spanky was bored of posing, and moved to a location further away from the window and while the light here was not as bright as close to the window, it was spread out over the room for some nice even lighting (see how even the background is lit up). So here, I boosted my ISO a little higher to be able to capture more light. The very shallow depth of field throws his paws out of focus, but helps to show off his comfy sleeping position.

Lastly, in photo D, Darla is photographed in a diffused side-lit manner. The window partially covered by drapes is still allowing a lot of light to come into the room, and the slight side lighting gives the shot a little more definition and drama as opposed to the flattering and softer front or reflected lighting in Spanky’s portraits. Darla was much more curious about the camera and moved in closer to me for a look. The wide open aperture gave me sharp focus on her eyes and everything else drops out of focus.